
Race Tech Suspension Install
Most stock motorcycle suspensions are made for the masses. They are made to accommodate the widest range of people possible for the largest type of riding styles. The XR1200 isn’t your average Sportster. It was built to rip on the street and the track. What better way to maximize the handling characteristics of this awesome machine than to install a custom suspension?
Basic rear shock replacement is easy, but front fork cartridges can get tricky and require special tools. For example, a lathe is needed to properly tap the spring-only leg to add a second cartridge. For that reason, you might want to enlist the help of a qualified shop. We went straight to the source to do the dirty work. You’d be hard-pressed to find a company with more experience or knowledge about suspension than Race Tech.
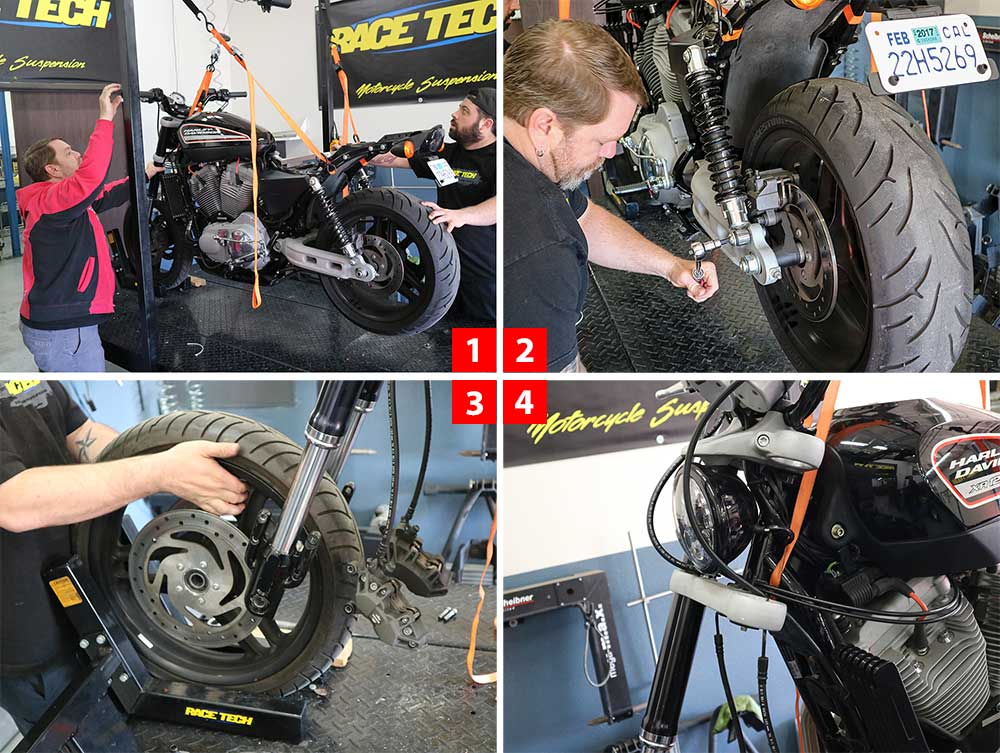
Steps 1-4
John Zamora
Step 1
Suspend the motorcycle on a lift or something similar to allow removal of both the front and rear suspension.
Step 2
With the rear wheel in the air, remove the rear shocks.
Step 3
Remove the front fender, wheel, and brakes.
Step 4
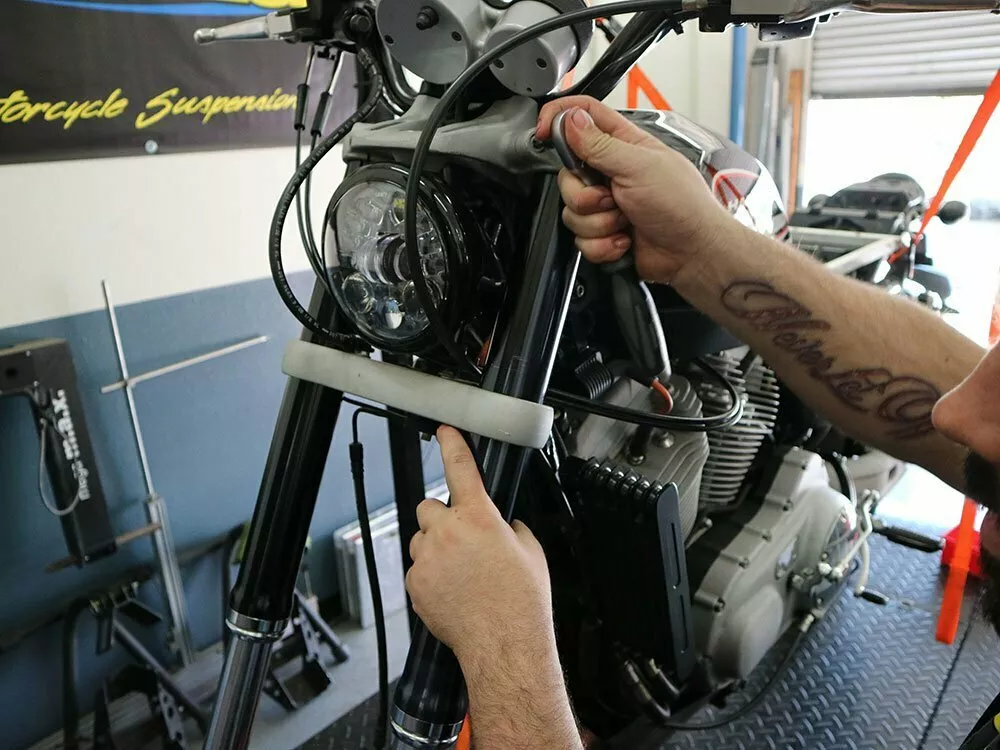
Loosen the triple clamps and remove both front forks.

Steps 5-8
John Zamora
Step 5
Replacing the rear shocks is simple. Simply bolt on the rear shocks and torque to specs.
Step 6
Disassemble the forks according to the directions. Be careful not to mar or damage the fork tubes.
Step 7
Remove the stock emulators. Race Tech uses a specialized vise to hold the shock.
Step 8
It’s always a good idea to replace the stock dust seals when working on shocks.
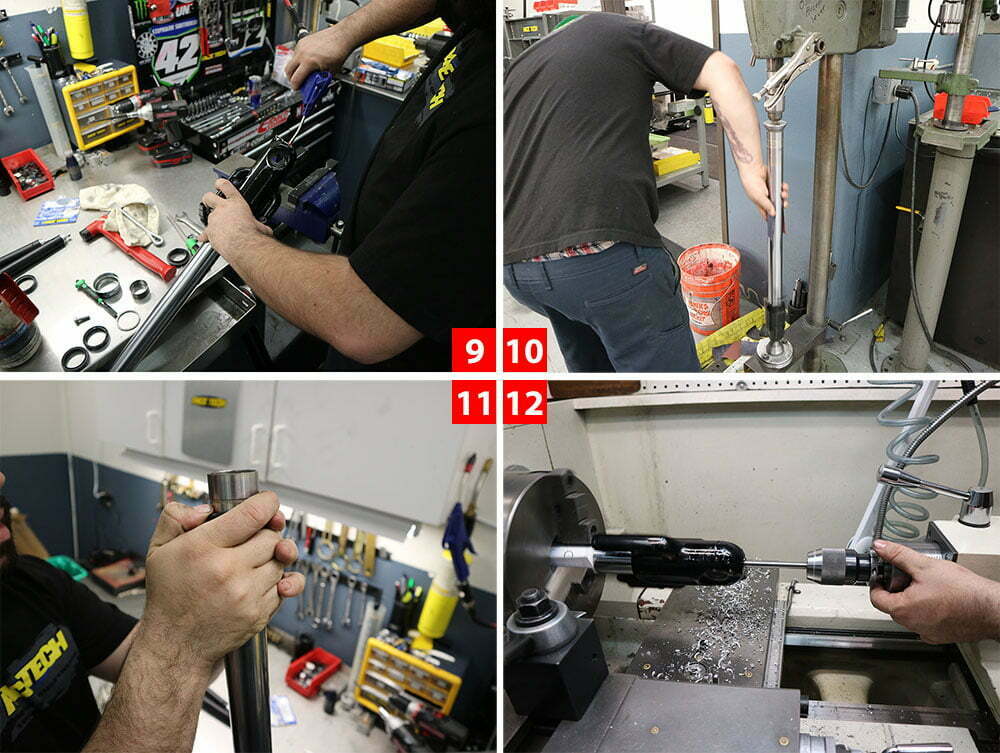
Steps 9-12
John Zamora
Step 9
Clean, clean, and clean some more. Make sure all materials are clean of any metal or fluids.
Step 10
Race Tech runs the fork tubes on a lathe and runs a light sandpaper on them to give them a slightly rough surface.
Step 11
Following instructions, reassemble the bushing, seals, and clips.
Step 12
Stock forks, one side is spring only. In order to add a cartridge kit, the fork must be tap and died. Race Tech uses a lathe to ensure perfect accuracy. It is recommended you let a professional shop do this.
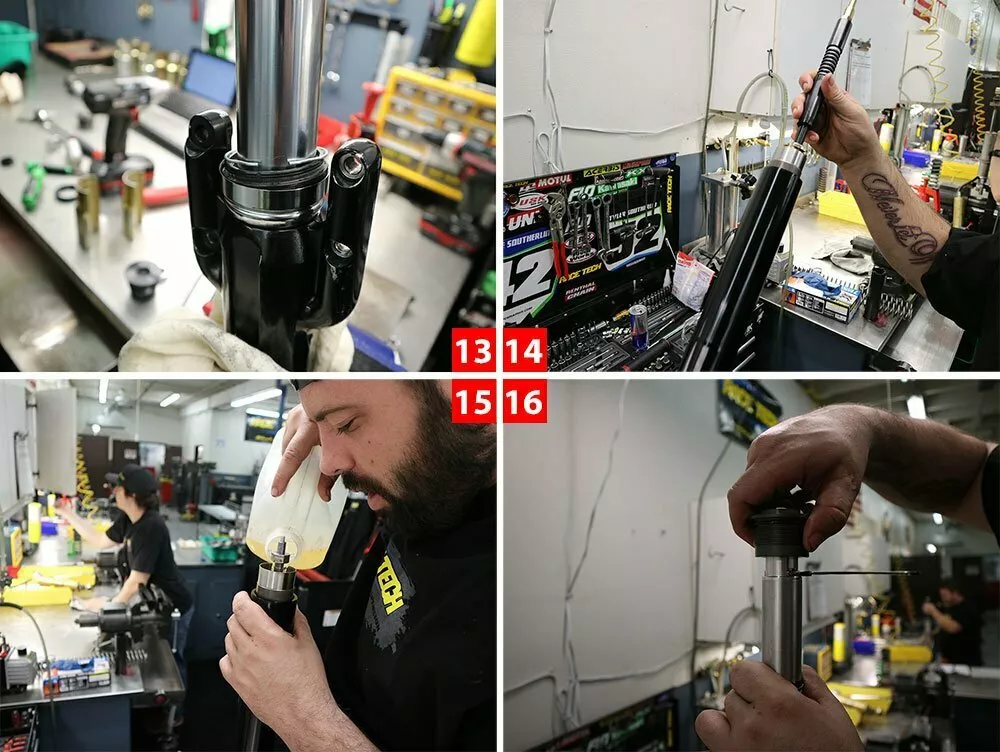
Steps 13-16
John Zamora
Step 13
Install the new dust seals and clips.
Step 14
Install the rebound damping rod assembly then the compression assembly into the cartridge.
Step 15
Add recommended fork oil according to instructions.
Step 16
Carefully install the cap after adding oil.
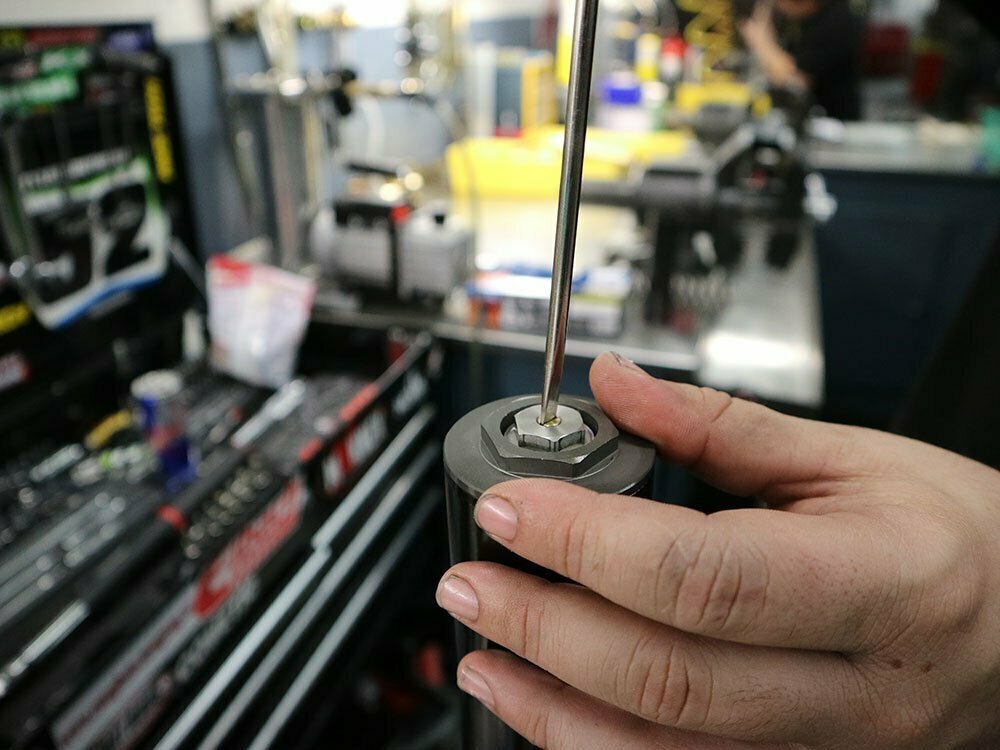
Step 17
John Zamora
Adjust the compression and rebound adjusters according to instructions.
Step 18
John Zamora
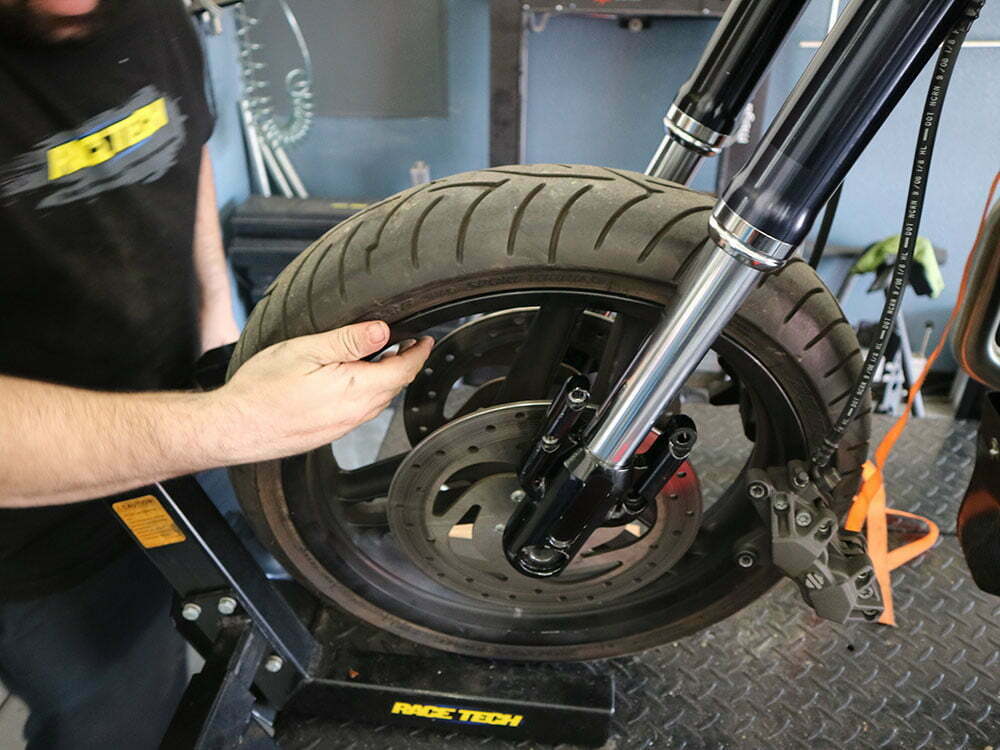
Reinstall the forks back on the bike.
Step 19
John Zamora
Reinstall the front wheel, brakes, and fender. Now you’re ready to rip on the street or the track with a suspension setup custom tailored just for your weight and riding style. HB

")


