
Lowrider In a Day
- Our 2008 Deluxe had a few goodies already installed, but there was much room for improvement.
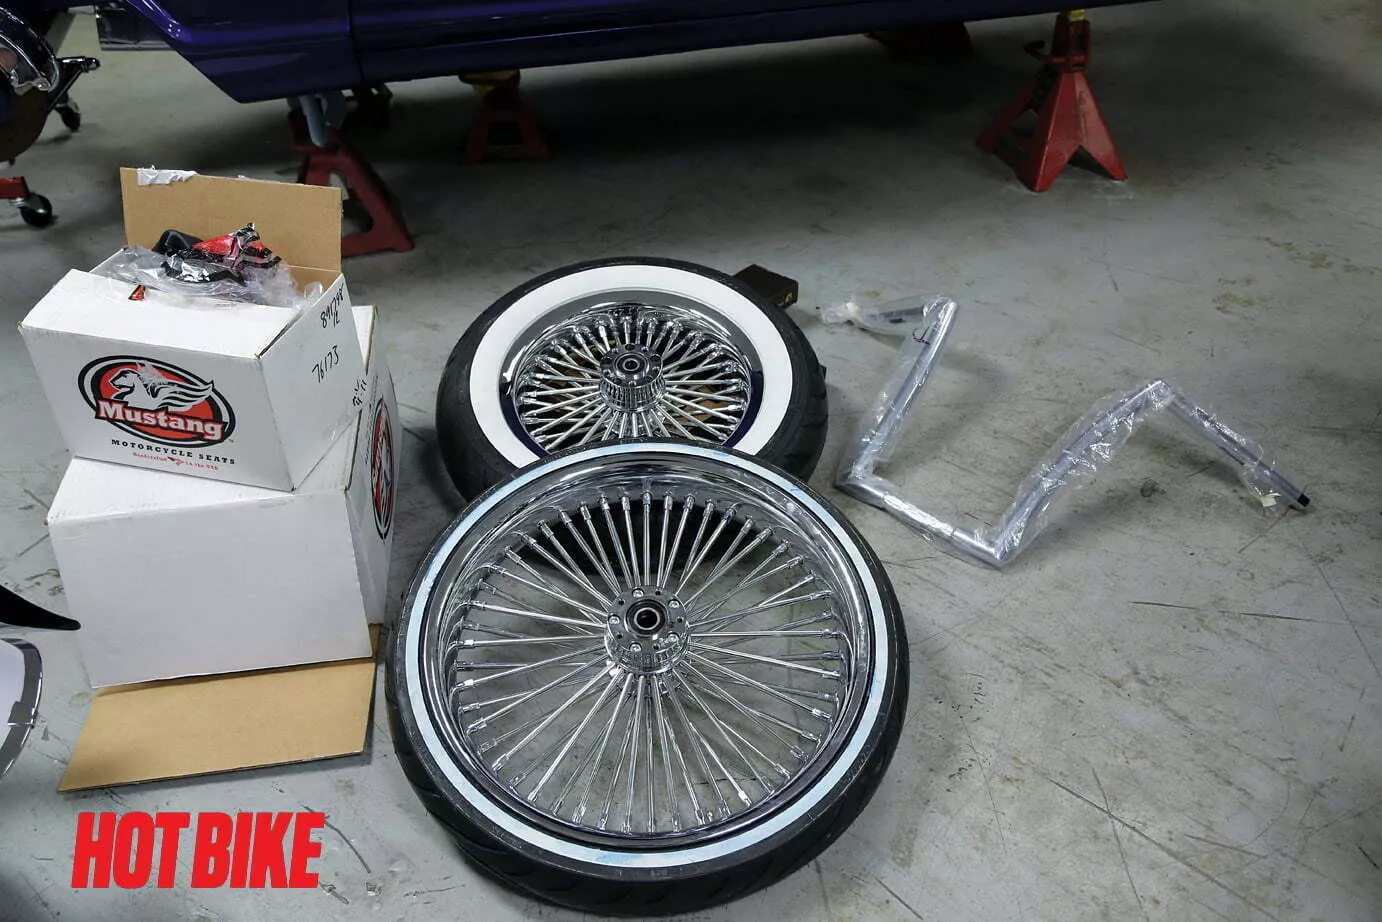
- To save time, we had the Avon Cobra White Wall tires already mounted on the Ride Wright Fat 50 wheels.
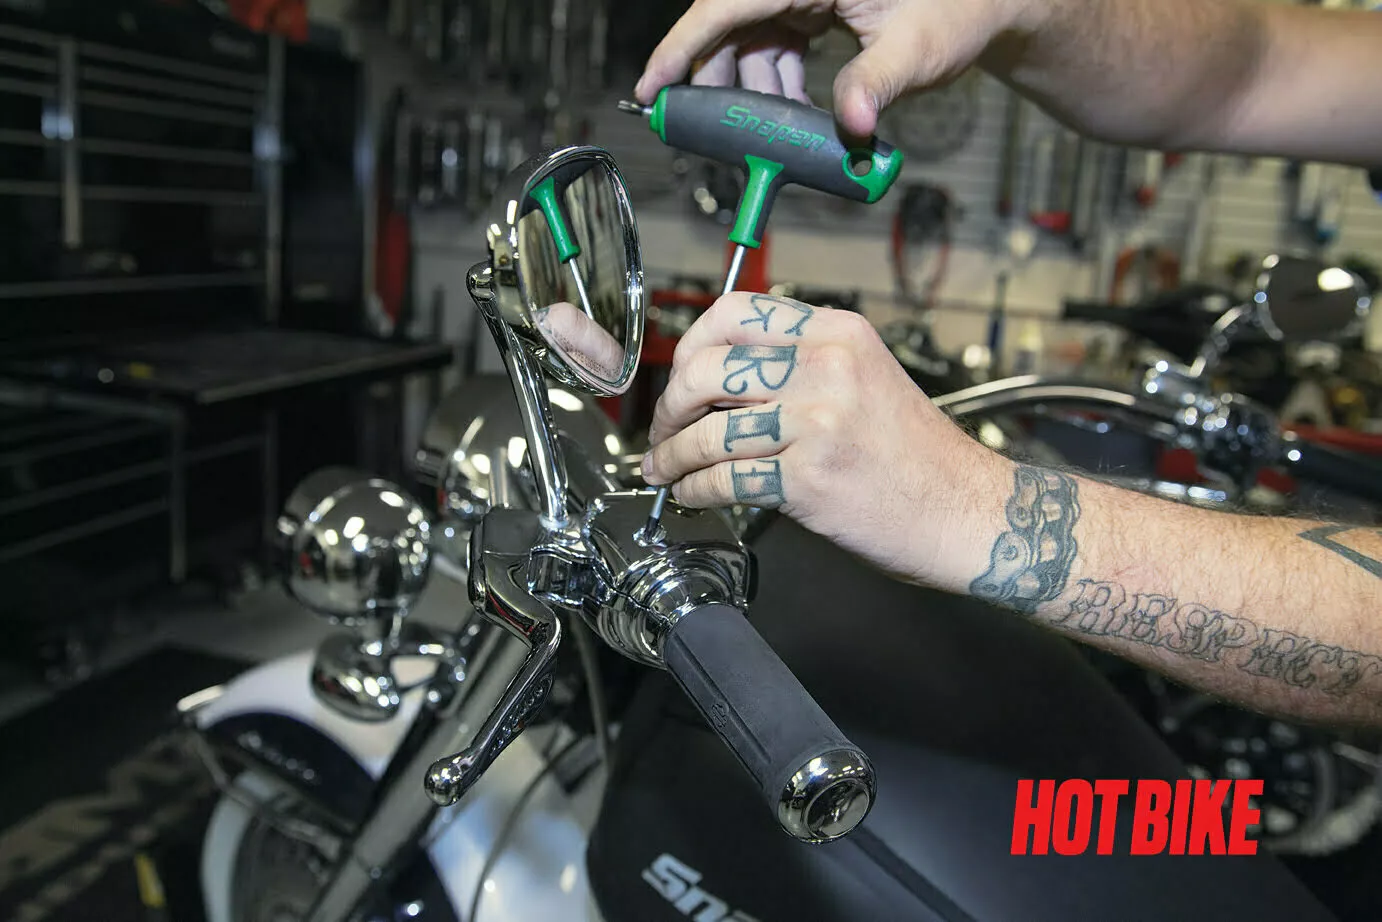
- For starters, we removed all the stock controls, letting them rest on the stock bars until we could properly remove the wiring.
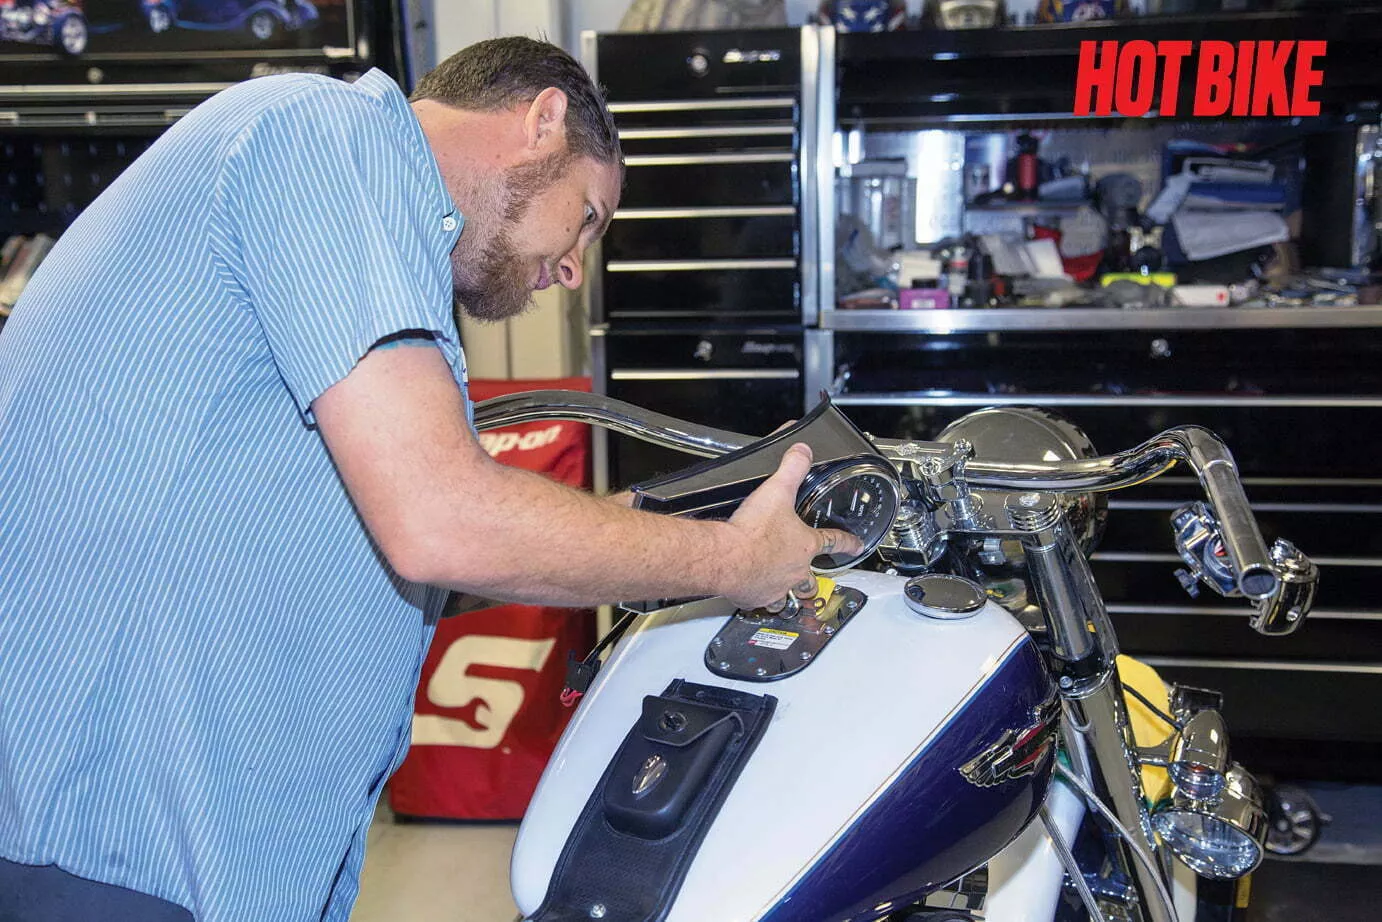
- Next, the dash was removed, and all the wiring for the gauges was noted for later reassembly.
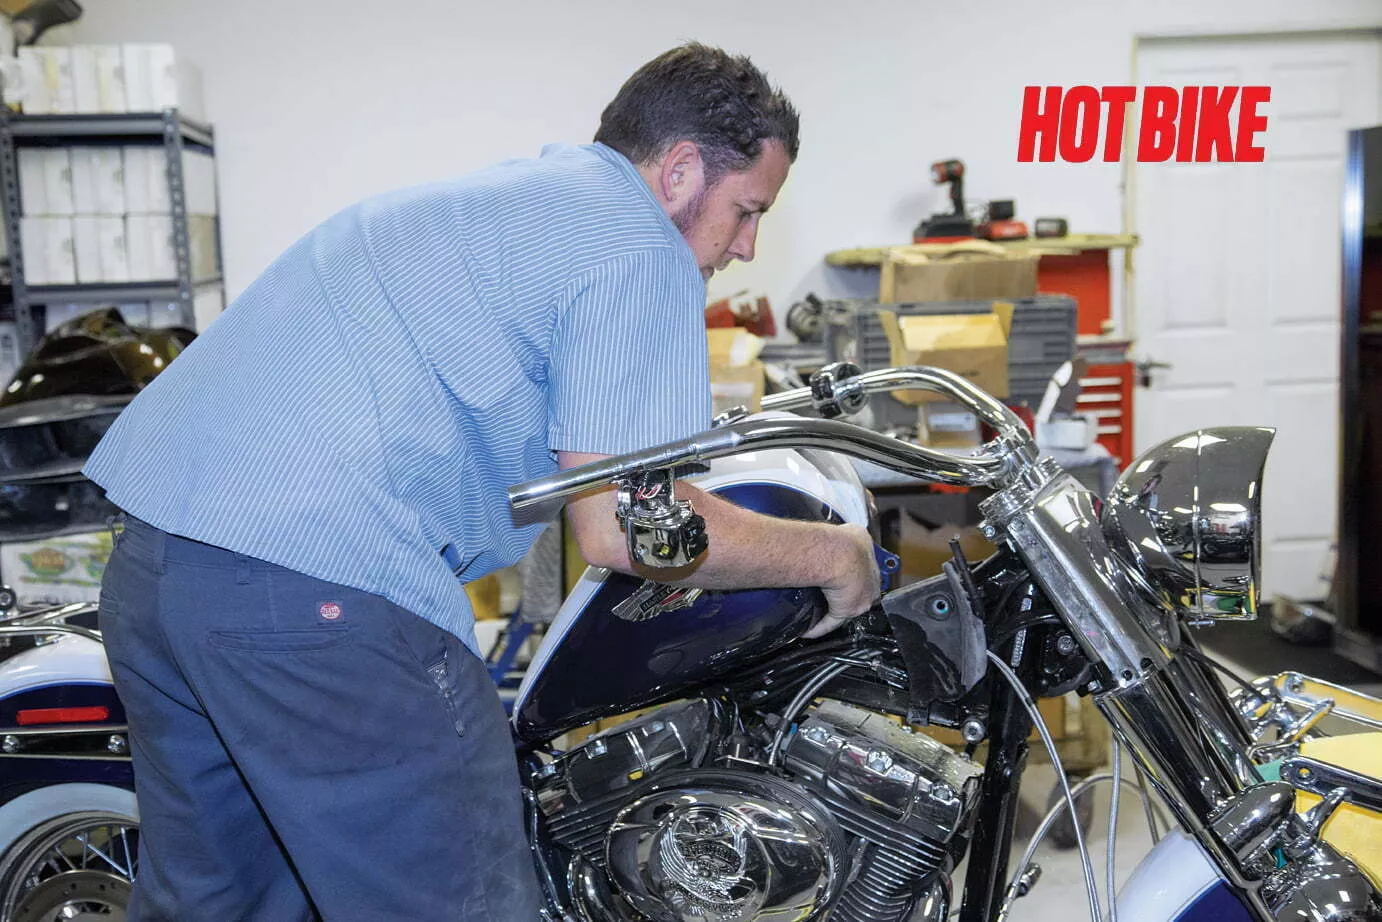
- We carefully removed the tank to more easily access all the harnesses and placed it off the side to avoid damage.
- The wiring connectors were removed from the stock bars with some notes made to which connector went where.
- Finally, the bars could be removed from the bike. These were actually aftermarket beach bars that are now perfect candidates for the swap meet/eBay pile.
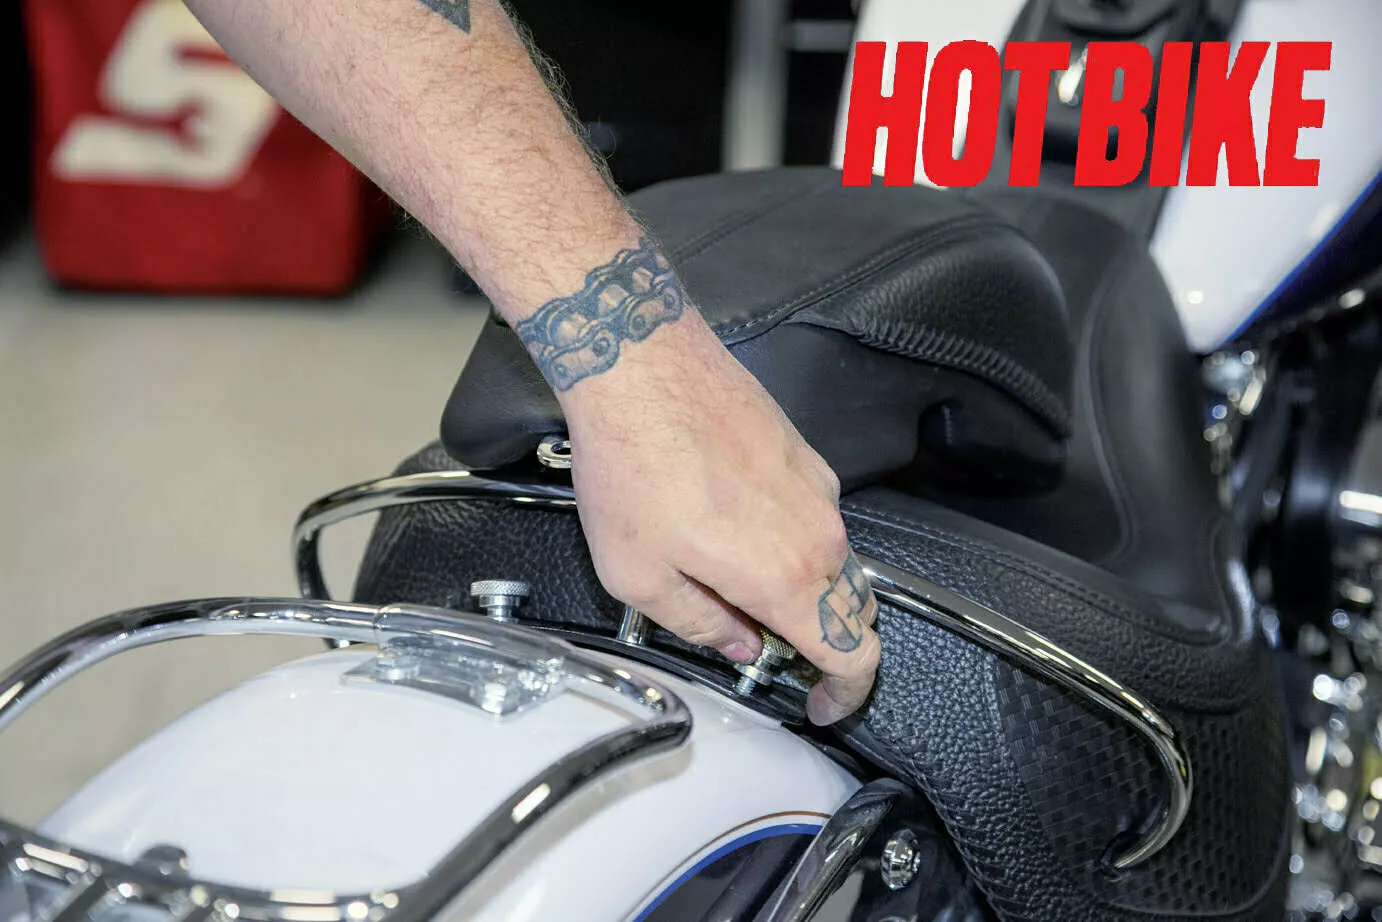
- Since we replacing the front and passenger seats as well, the stock units were removed to make way for the replacement ones from Mustang.
- It’s always a nice reminder to show how far a bike has to be disassembled to replace the bars. If you ever wonder why the labor cost on bar replacements can be high, this is why.
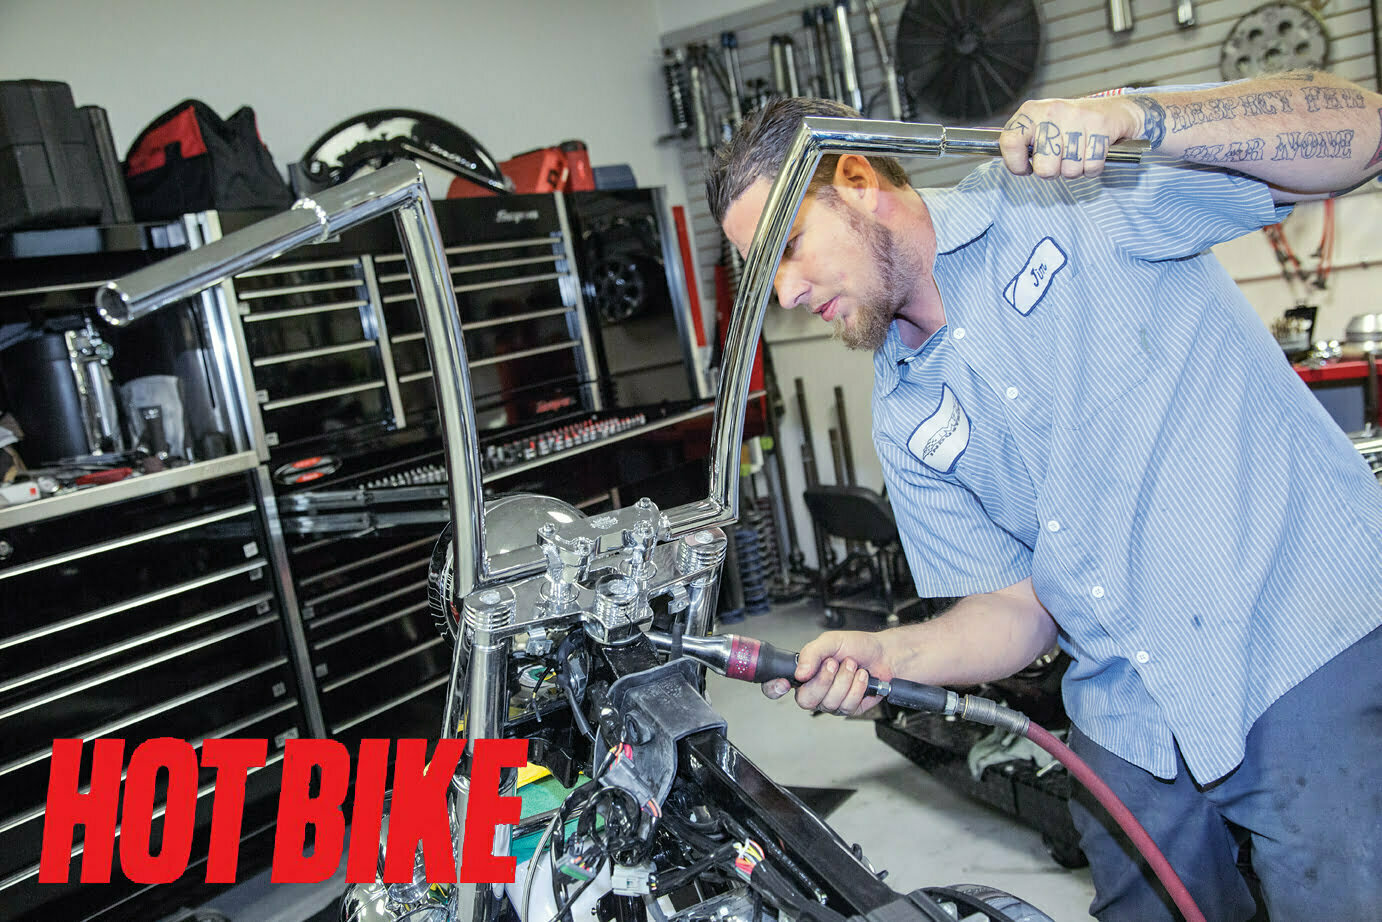
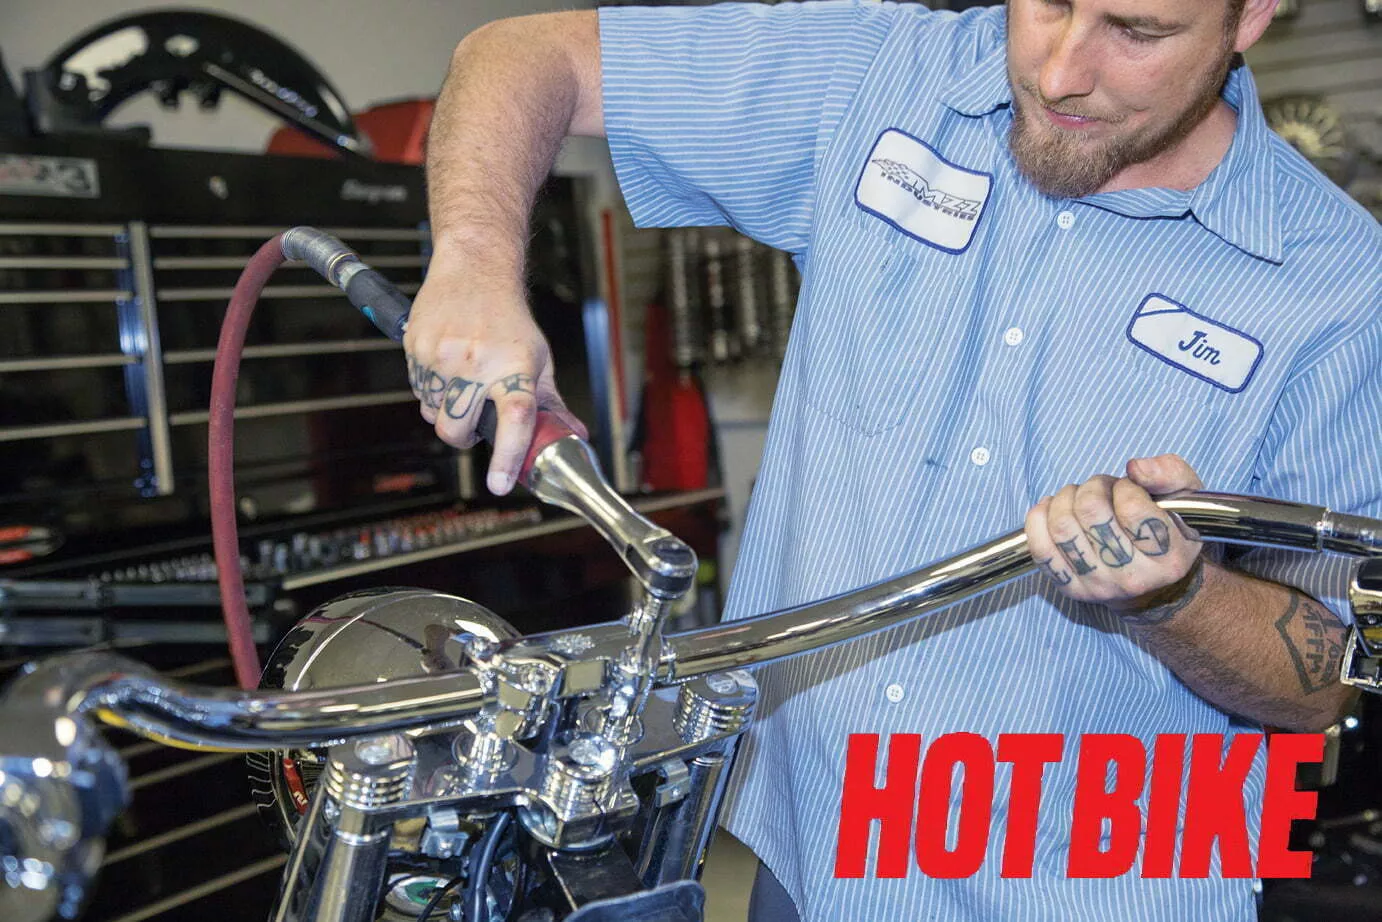
- Next, the new Torch bars were bolted into place. Don’t tighten them just yet, as final adjustments will still need to be done.
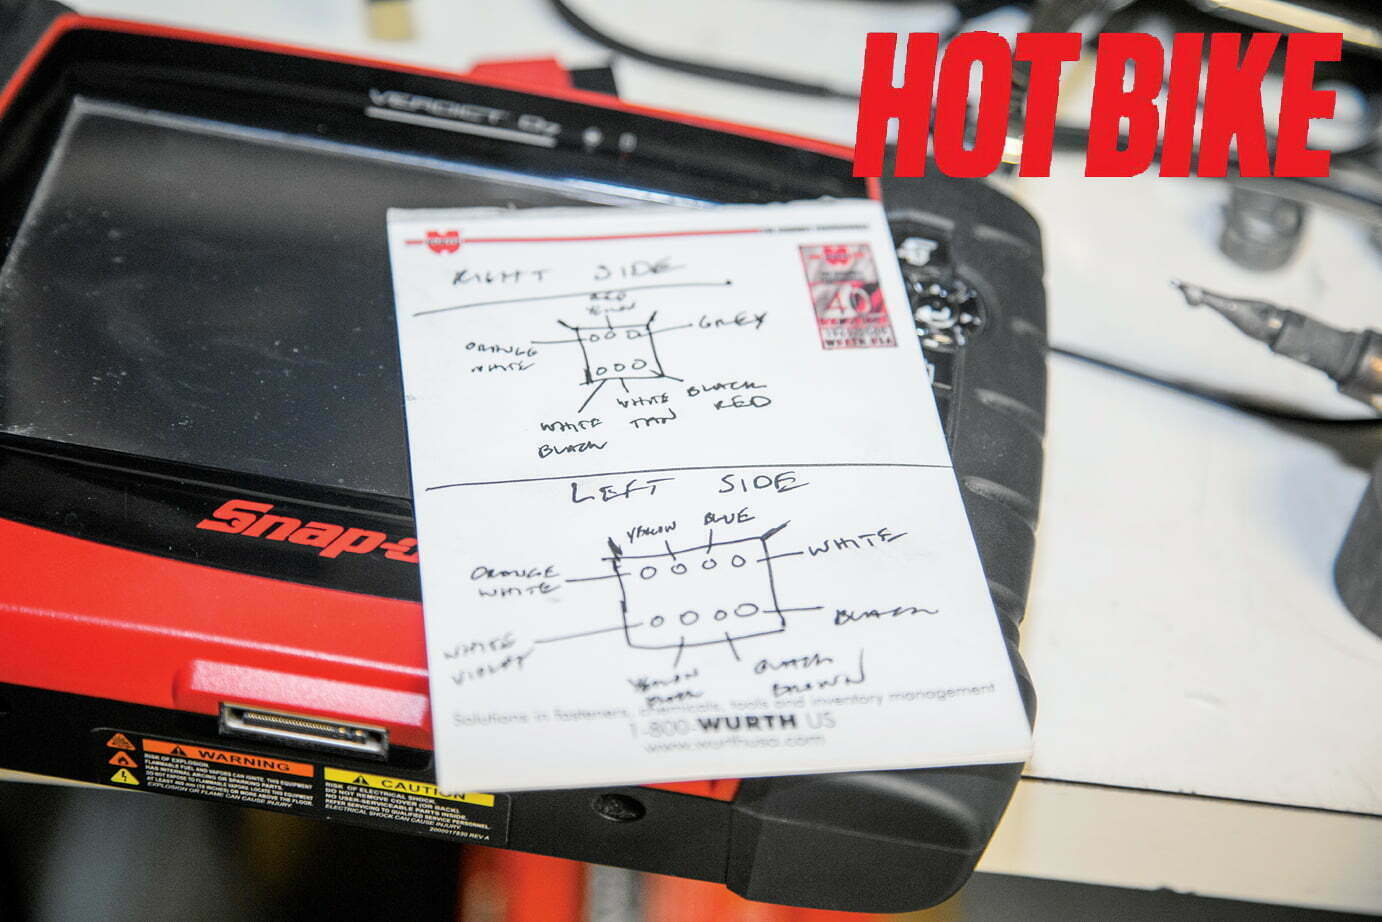
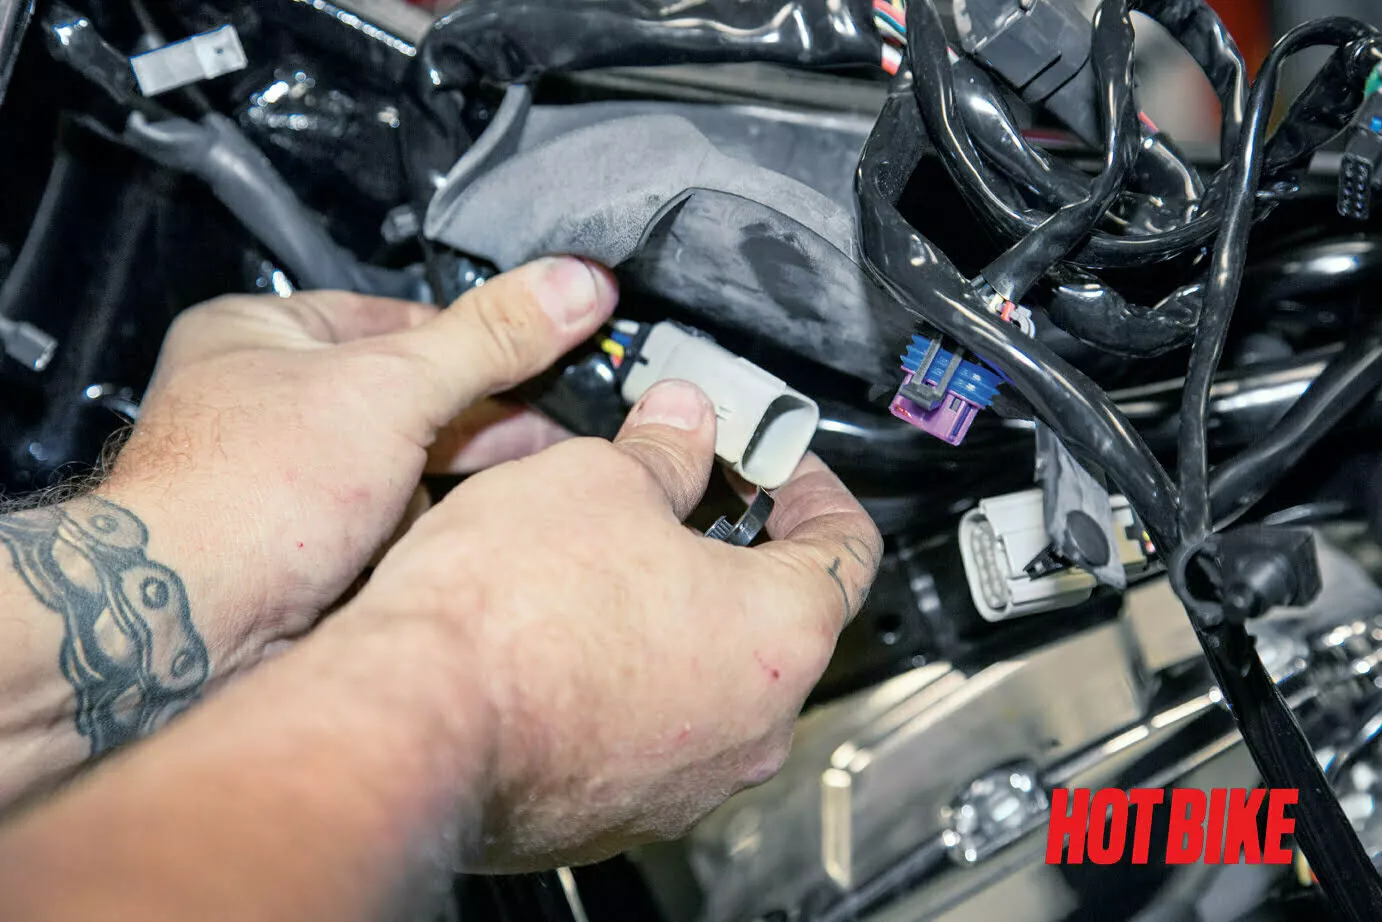
- Before the wiring in the connectors are disassembled so the Burly wiring extensions can be installed, Jim from IMZZ made a quick diagram to ensure that everything goes back in the correct order.
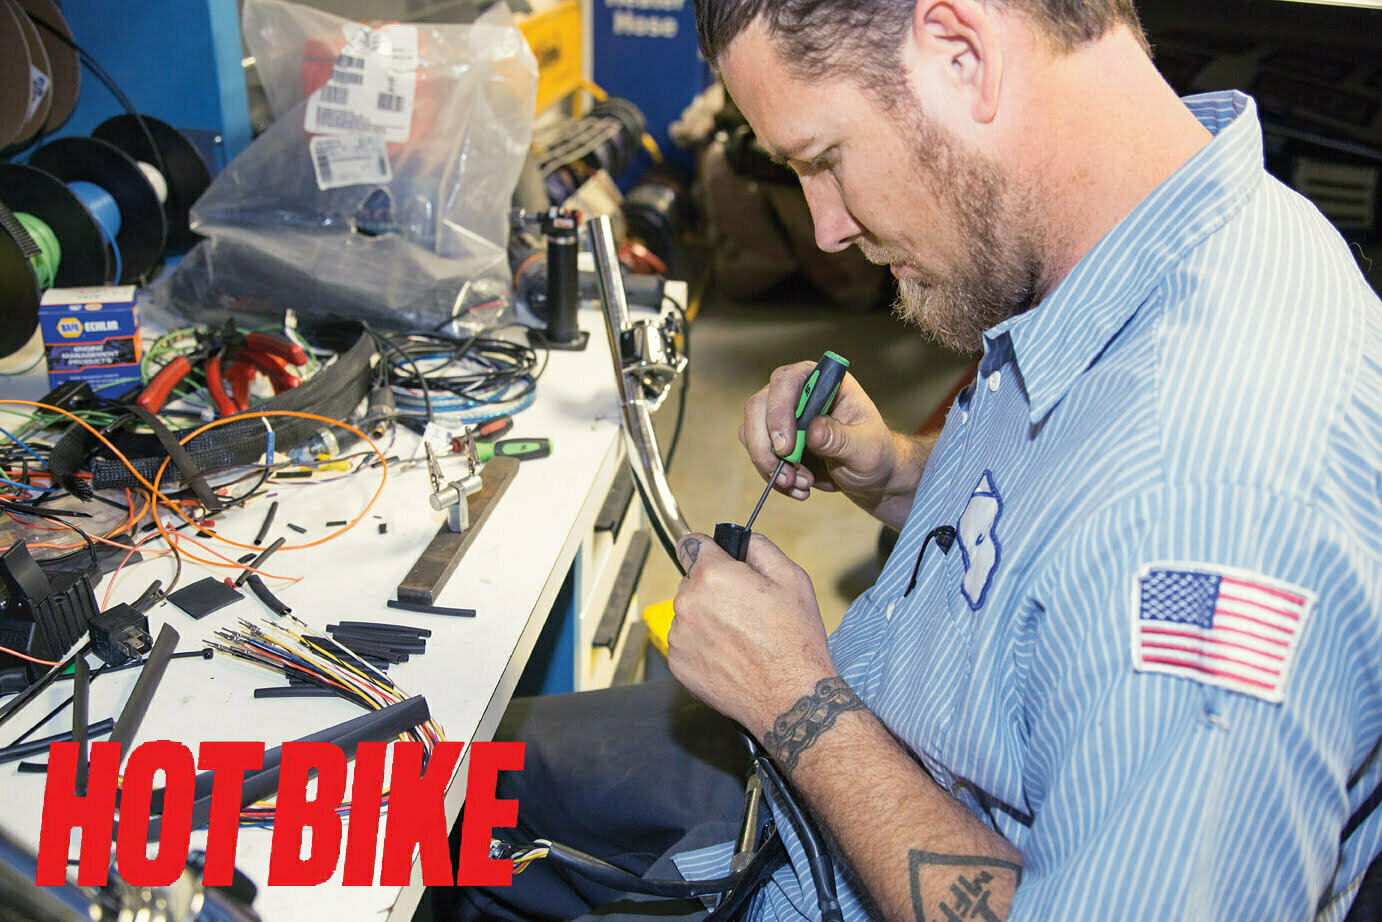
- With the skills of a surgeon, Jim carefully removed each wire individually from the harness.

- Next, the new wiring extensions are soldered onto each wiring individually. Make sure and stagger where the wires are connected to avoid having a large bundle of wires that will make feeding it through the bars difficult.
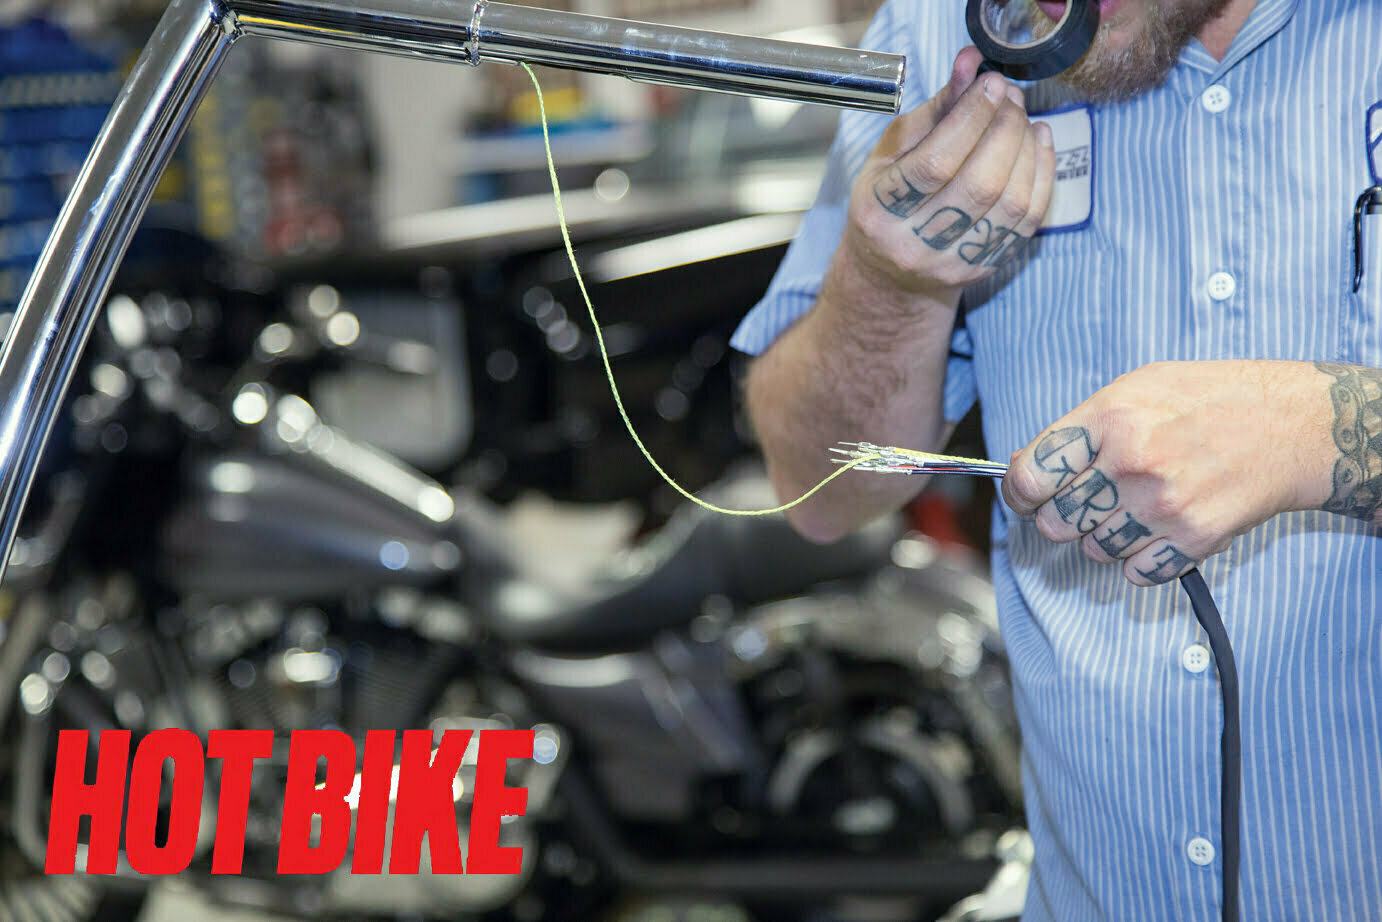
- In order to feed the harness back through the bars, string is first run through the bars in the opposite direction. Then the wires are temporarily taped to the string and fed back through the bars.
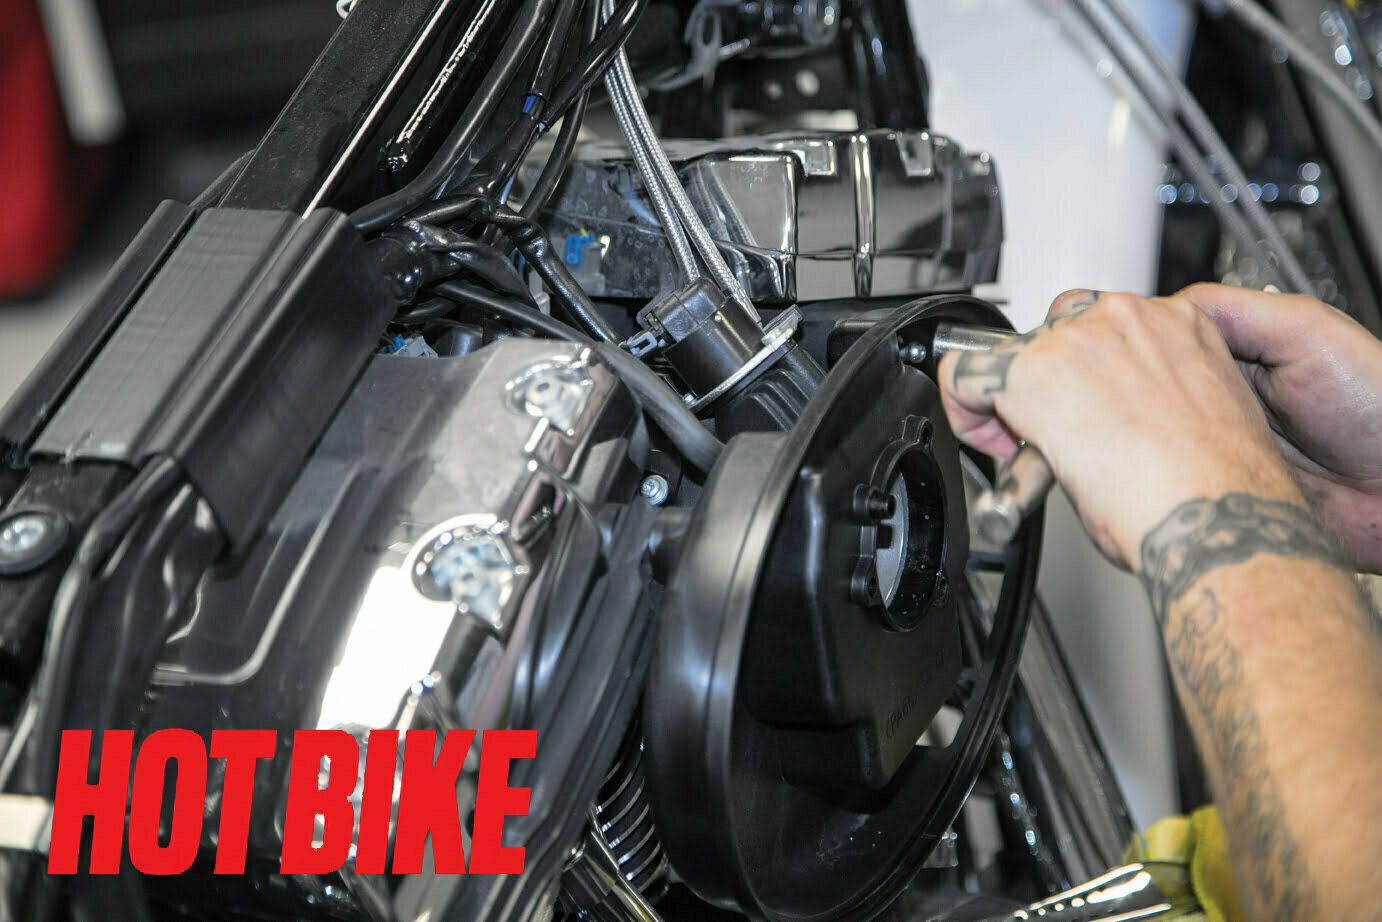
- Next, the air cleaner assembly is removed to access the throttle cable on throttle body.
- Included in the Burly Cable Kit is extended throttle cables. These were routed through the front of the bike to the throttle body and the shorter, older one added to the resale pile.
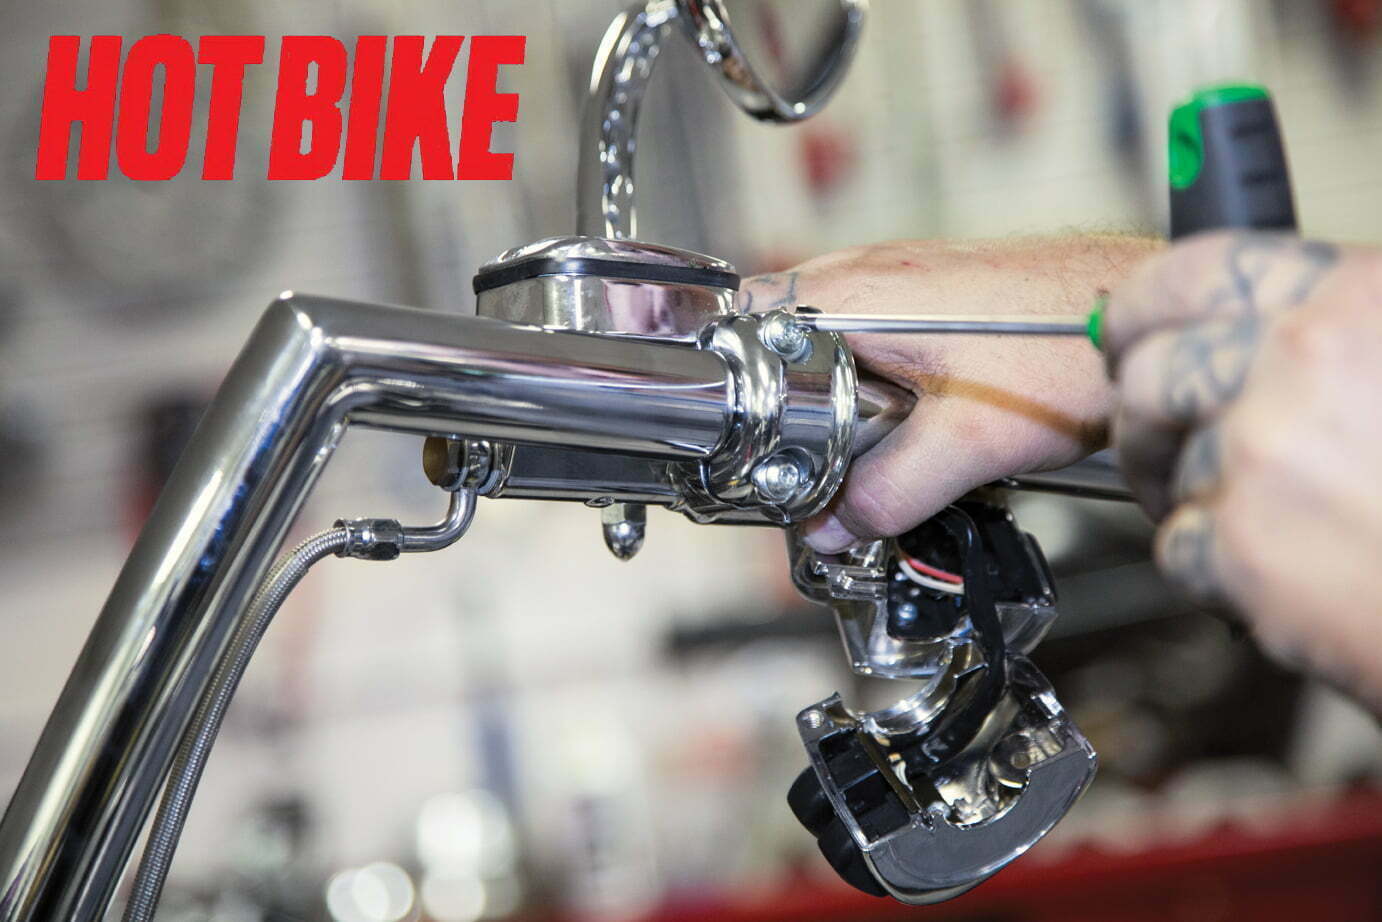
- With the wires and the throttle cable replaced with the new ones from the kit, the controls can be replaced on the new bars. Carefully route the cables so they don’t bind up or catch while turning the handlebars.
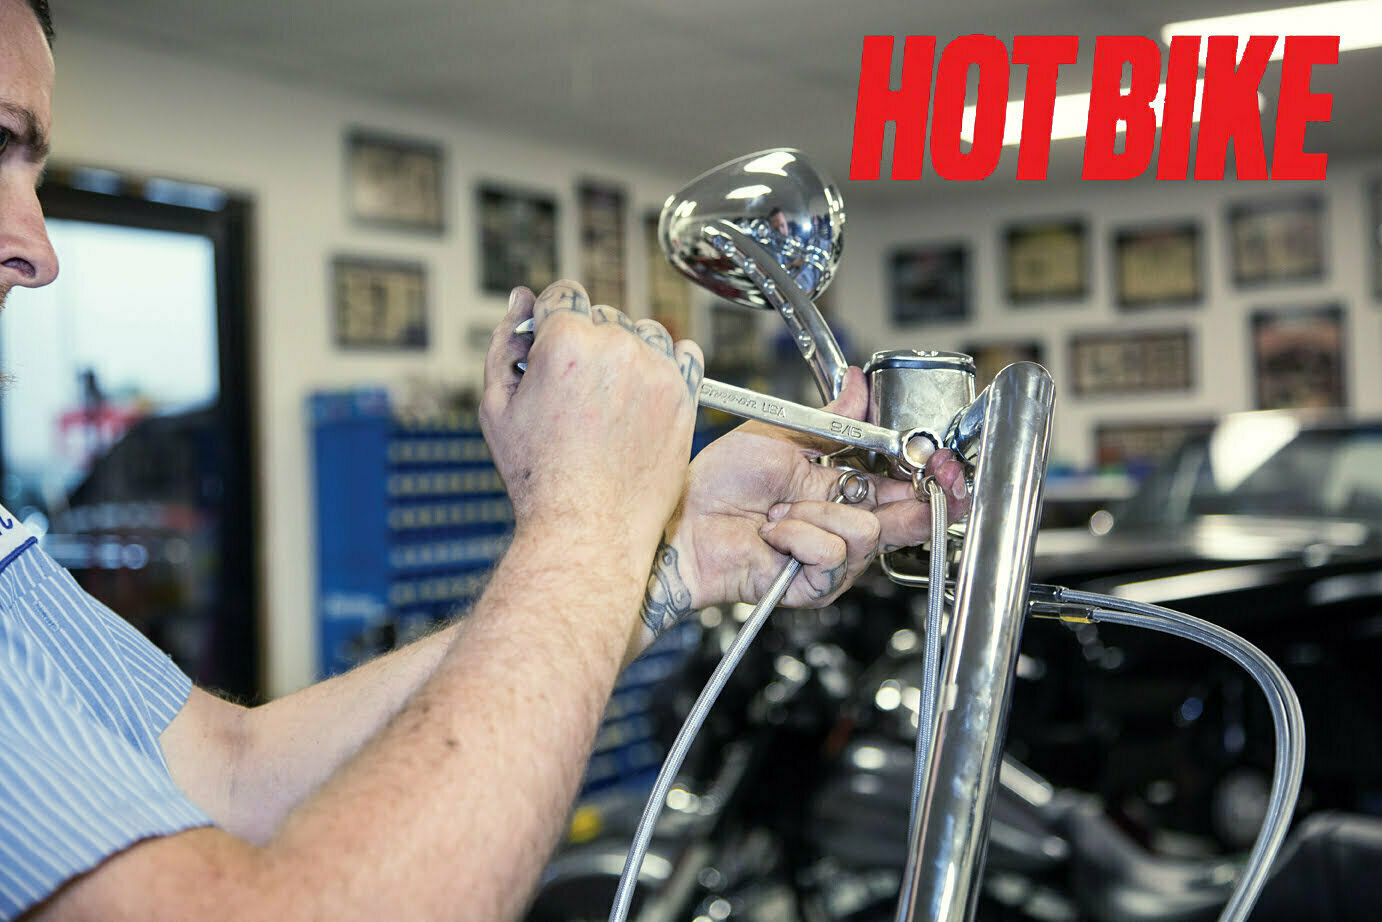
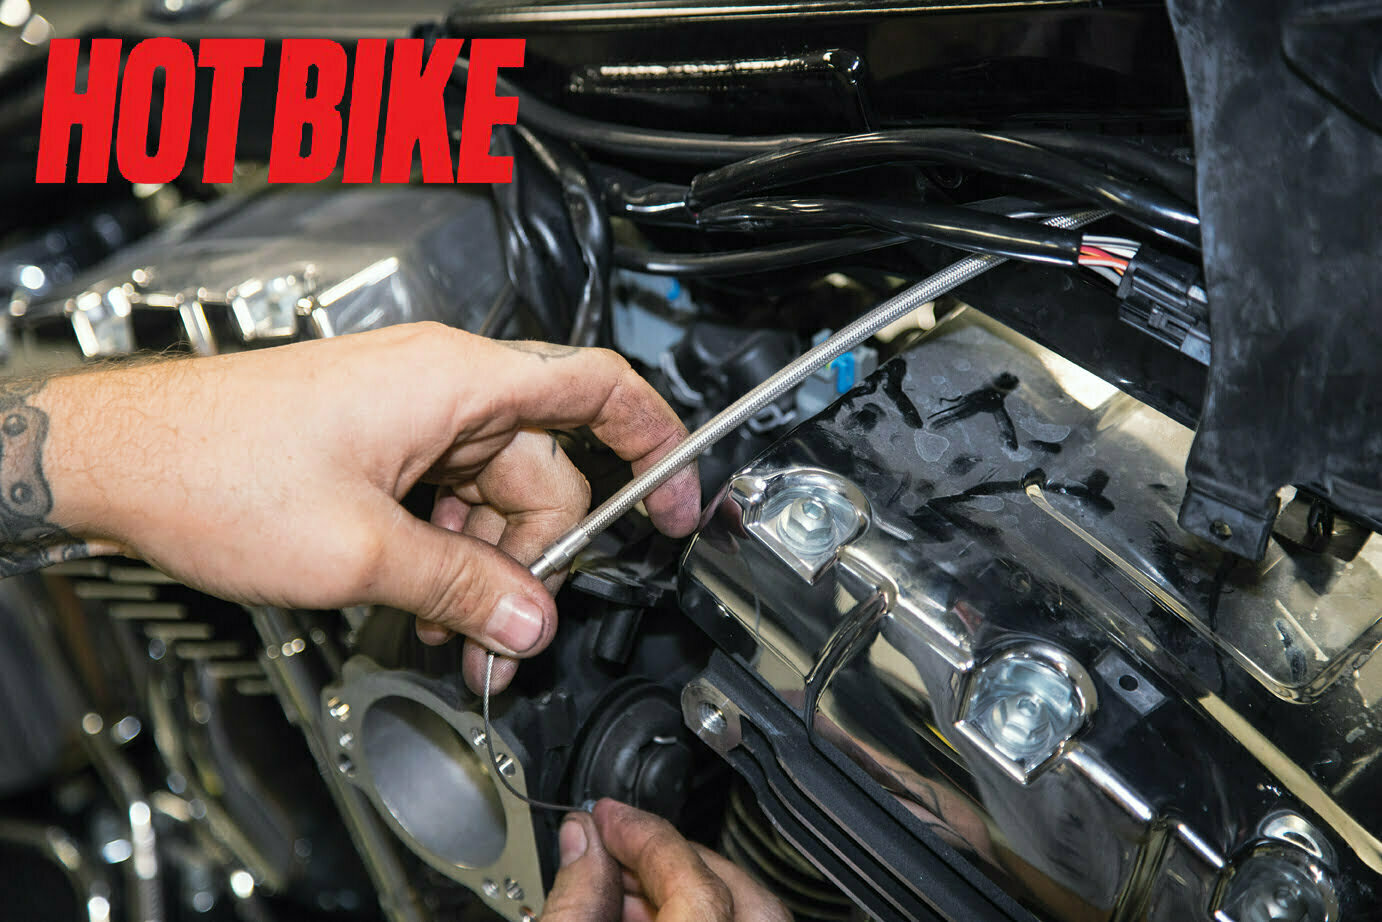
- The old front brake line is removed from the brake master cylinder and replaced with the longer one from the Burly kit.
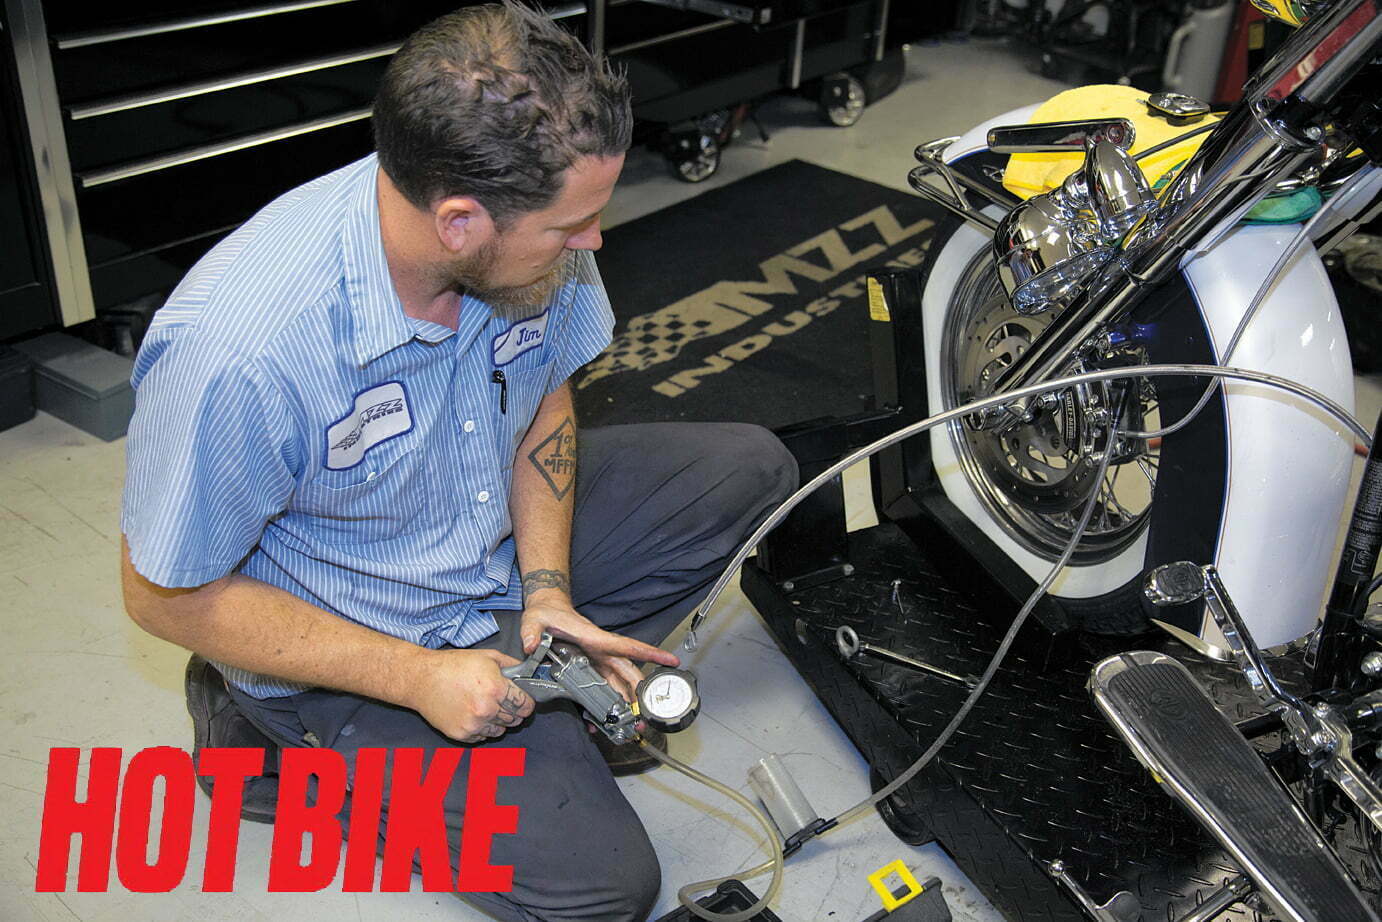
- The brakes are carefully bled and new lines routed to ensure they don’t catch or bind.
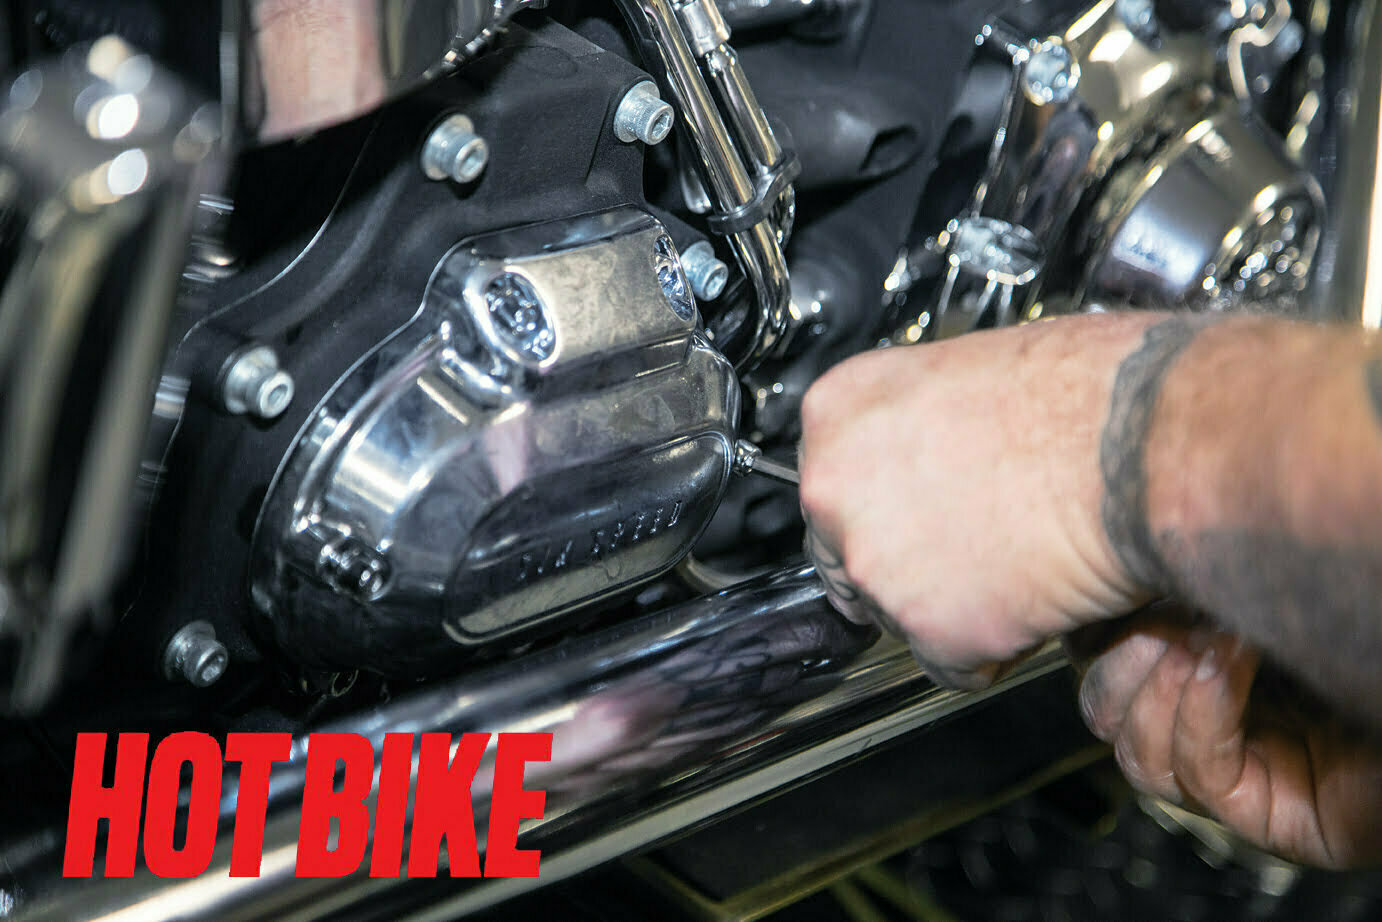
- Oil was drained from the transmission and then the clutch release cover removed to access the clutch cable assembly. The old cable was removed from the bike at this time as well.
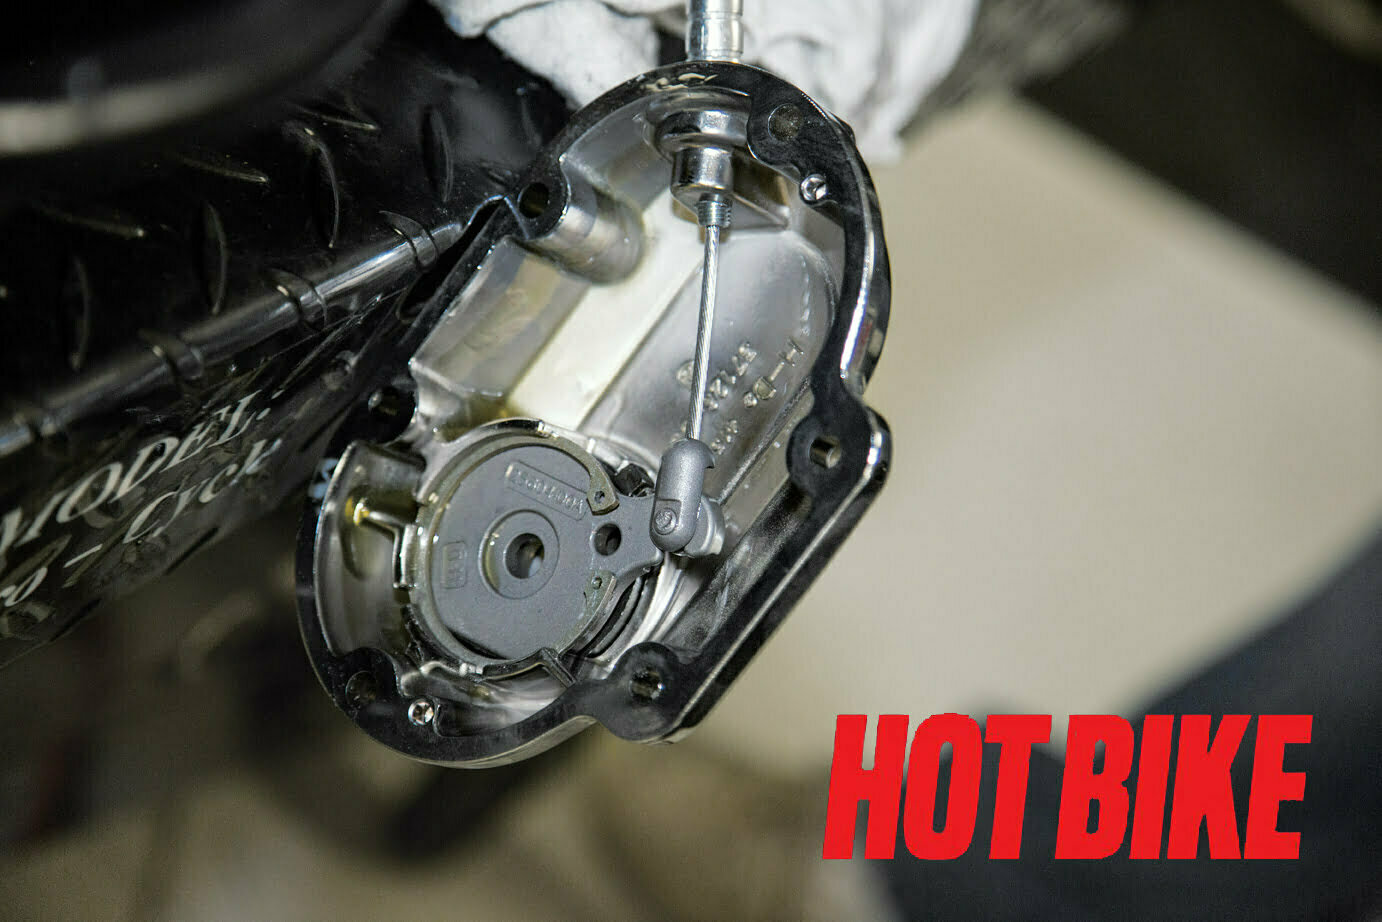
- After carefully rerouting the clutch cable through frame and cover, it is then installed in the ball and ramp assembly.
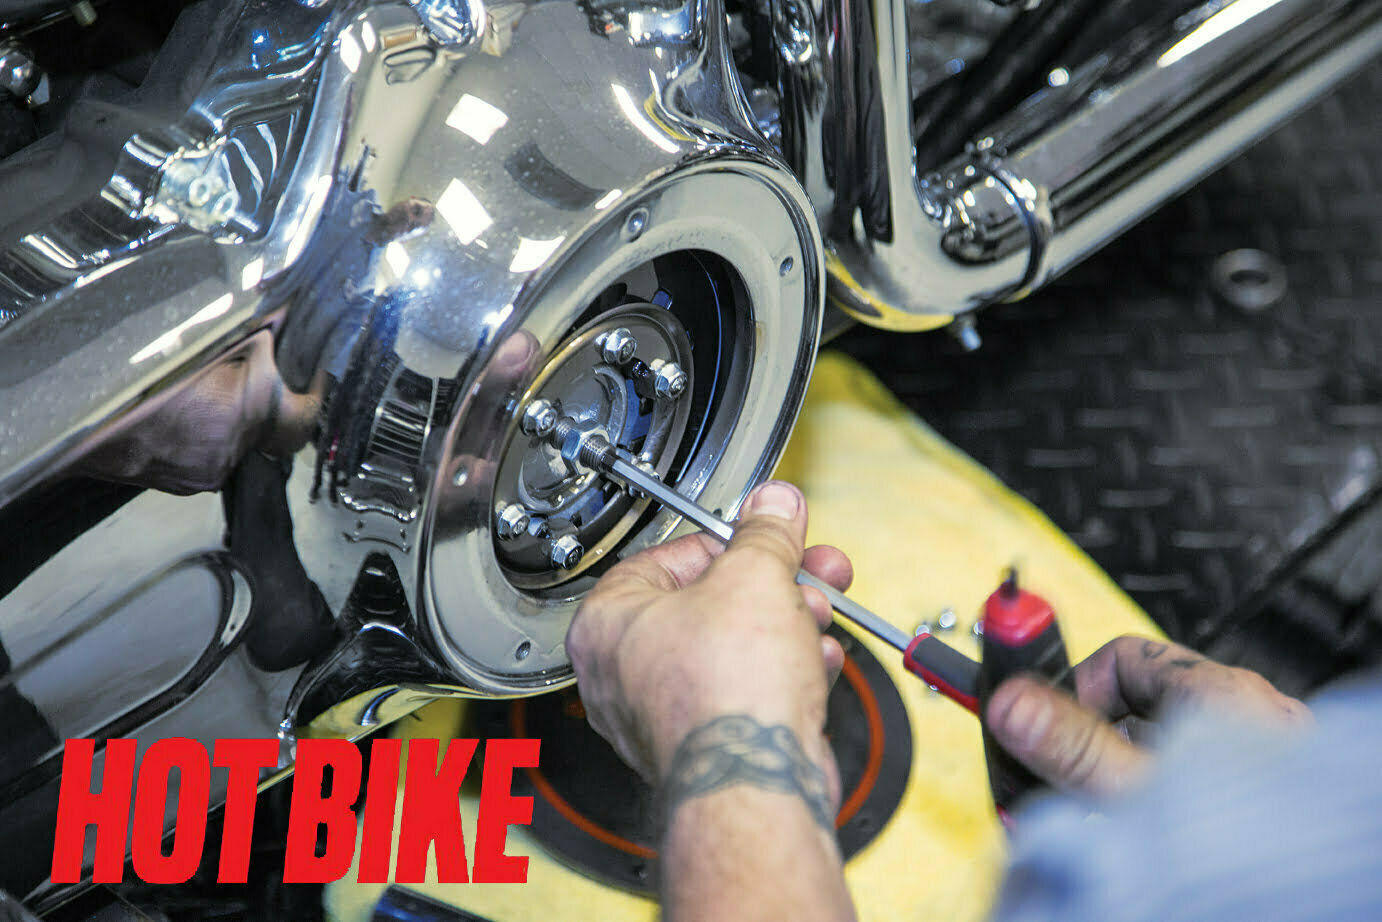
- Next, the clutch cable is adjusted to ensure proper engagement and pull at the lever and the clutch. The derby cover was removed and the clutch plates adjusted.
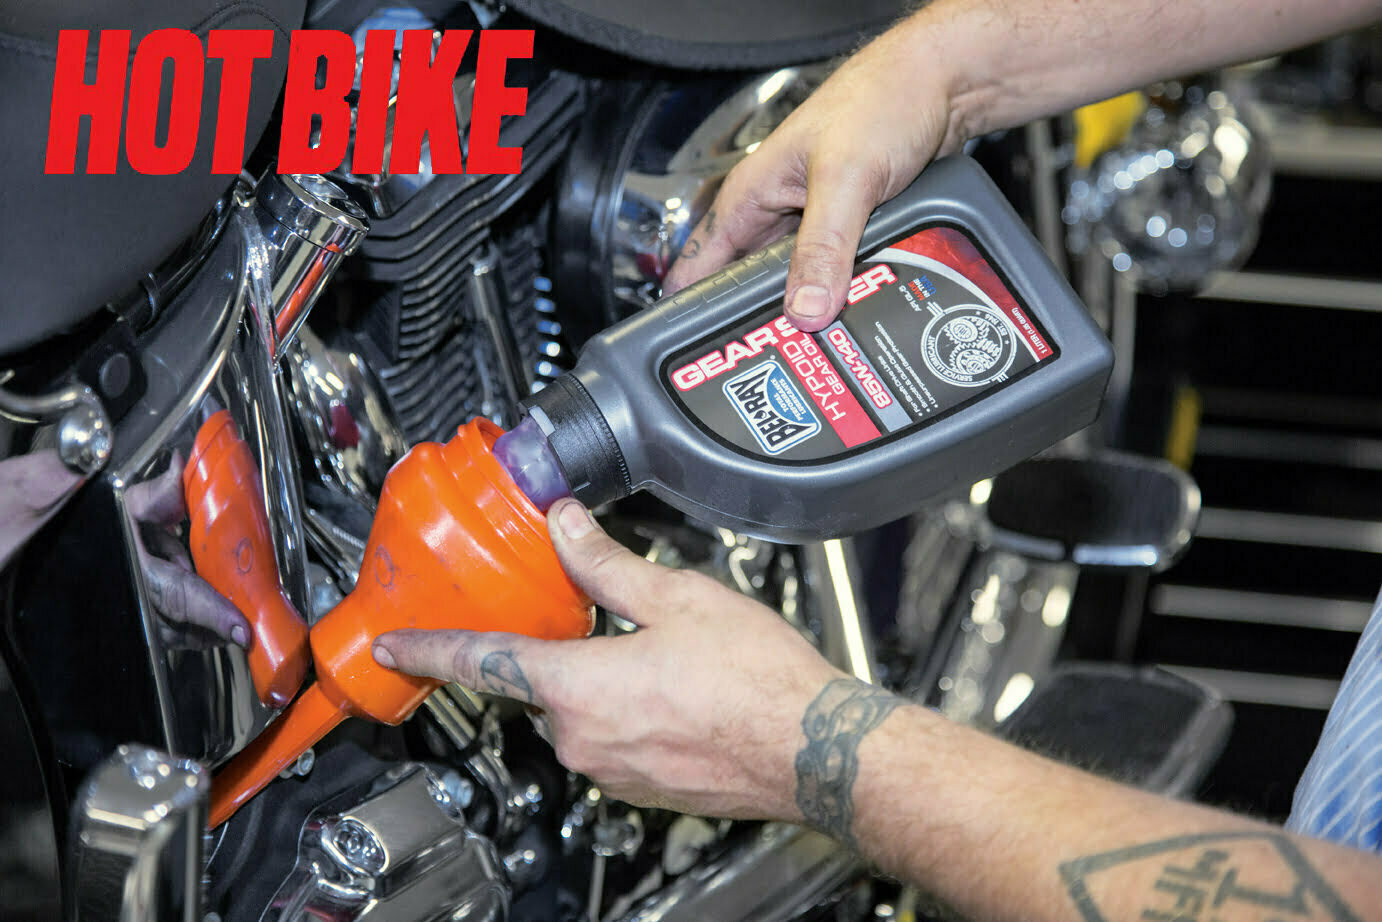
- The transmission was refilled to factory levels to replace the fluid that was lost during the removal of the covers.
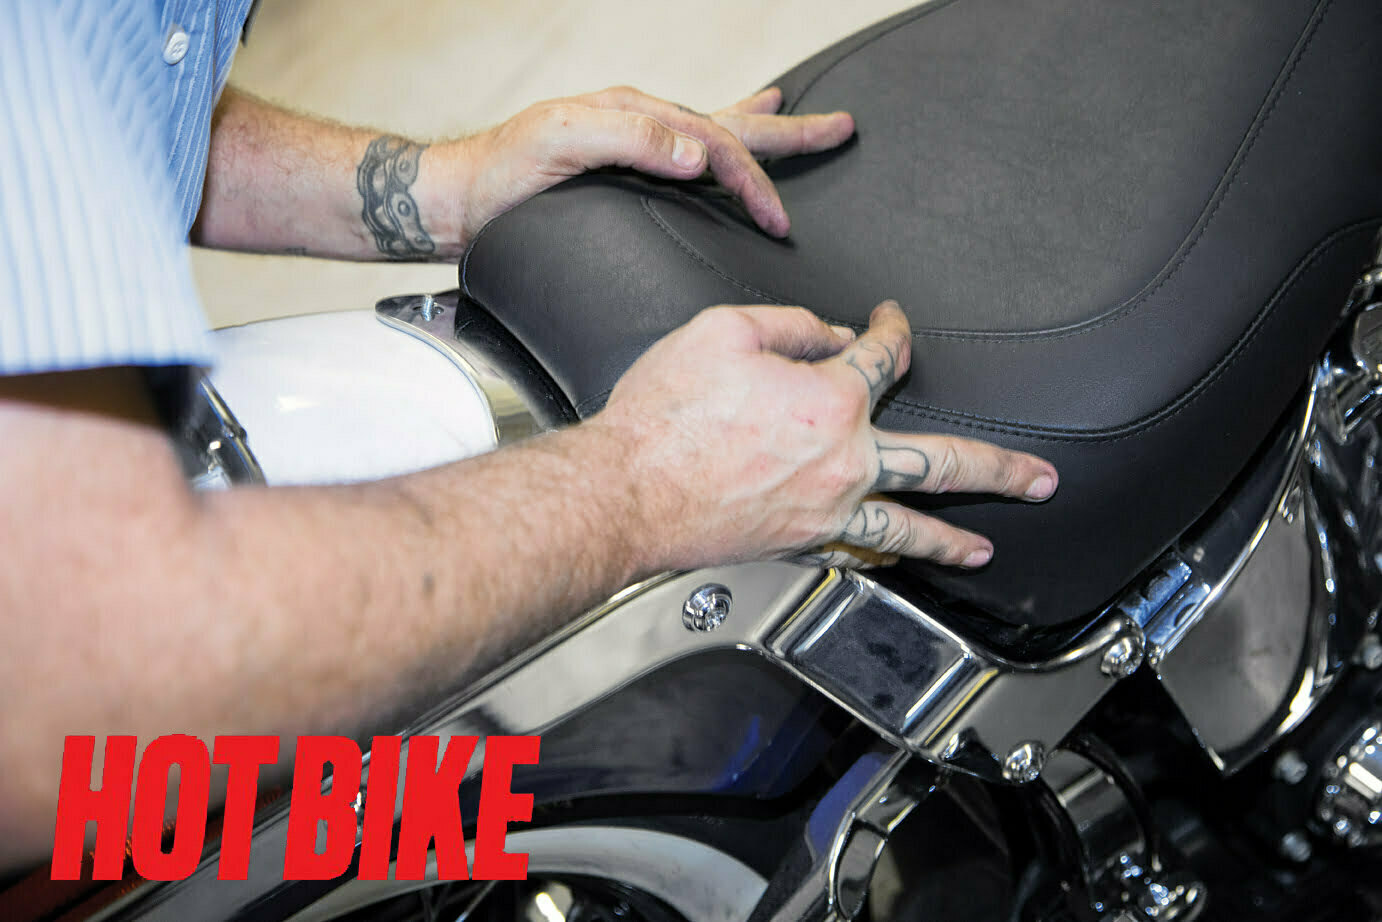
- With all the controls, lines, and cables buttoned up, we easily installed the new Mustang seats for a cleaner, sleeker look.
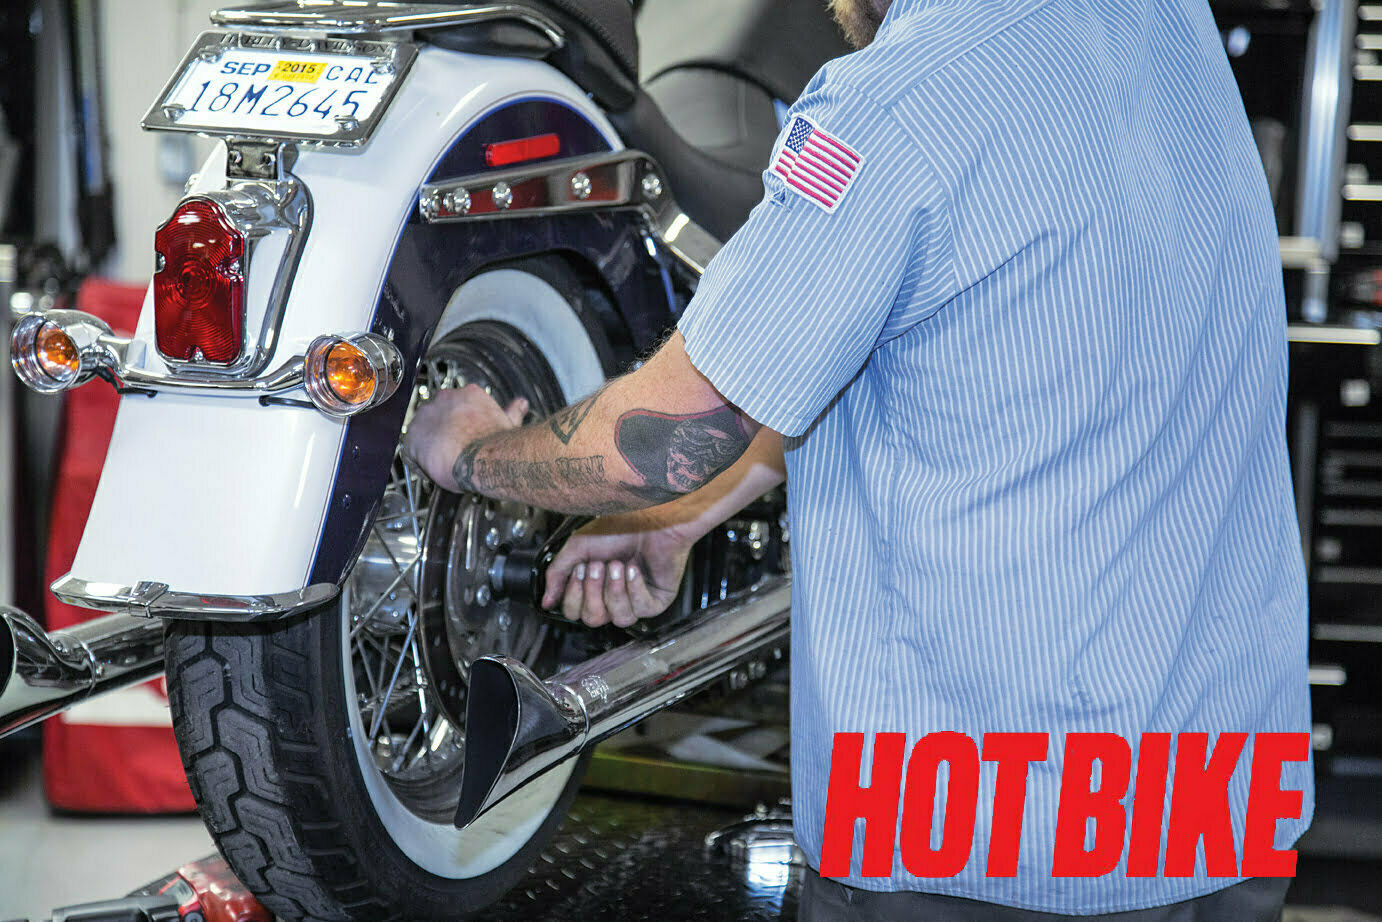
- Next it was time to replace the stock wheels with the new ones from Ride Wright. First the axle and brakes caliper were removed and the stock rear wheel taken off.
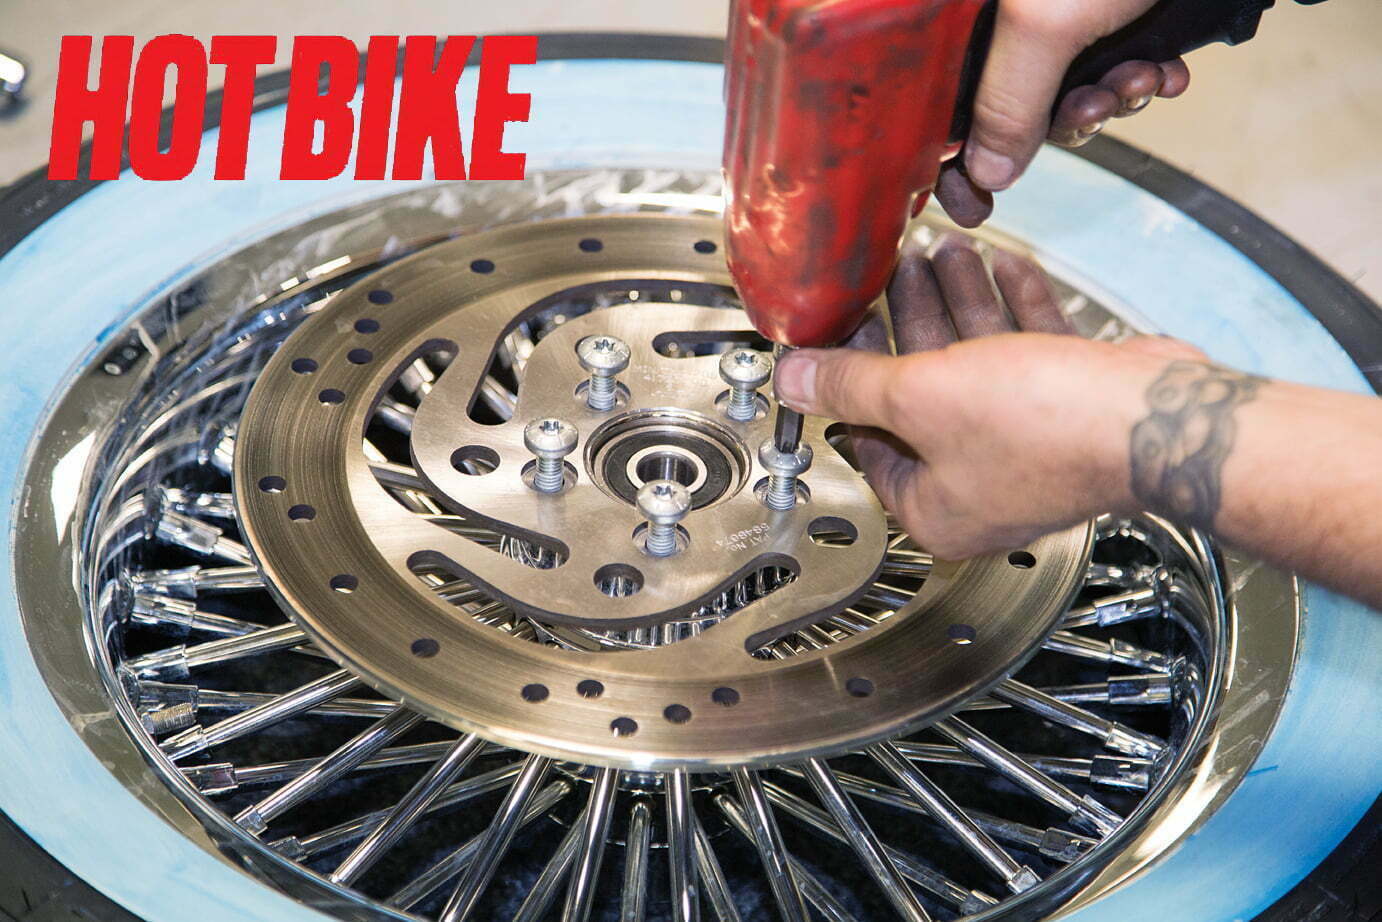
- We reused the stock Harley rotors and mounted them onto the new wheels.
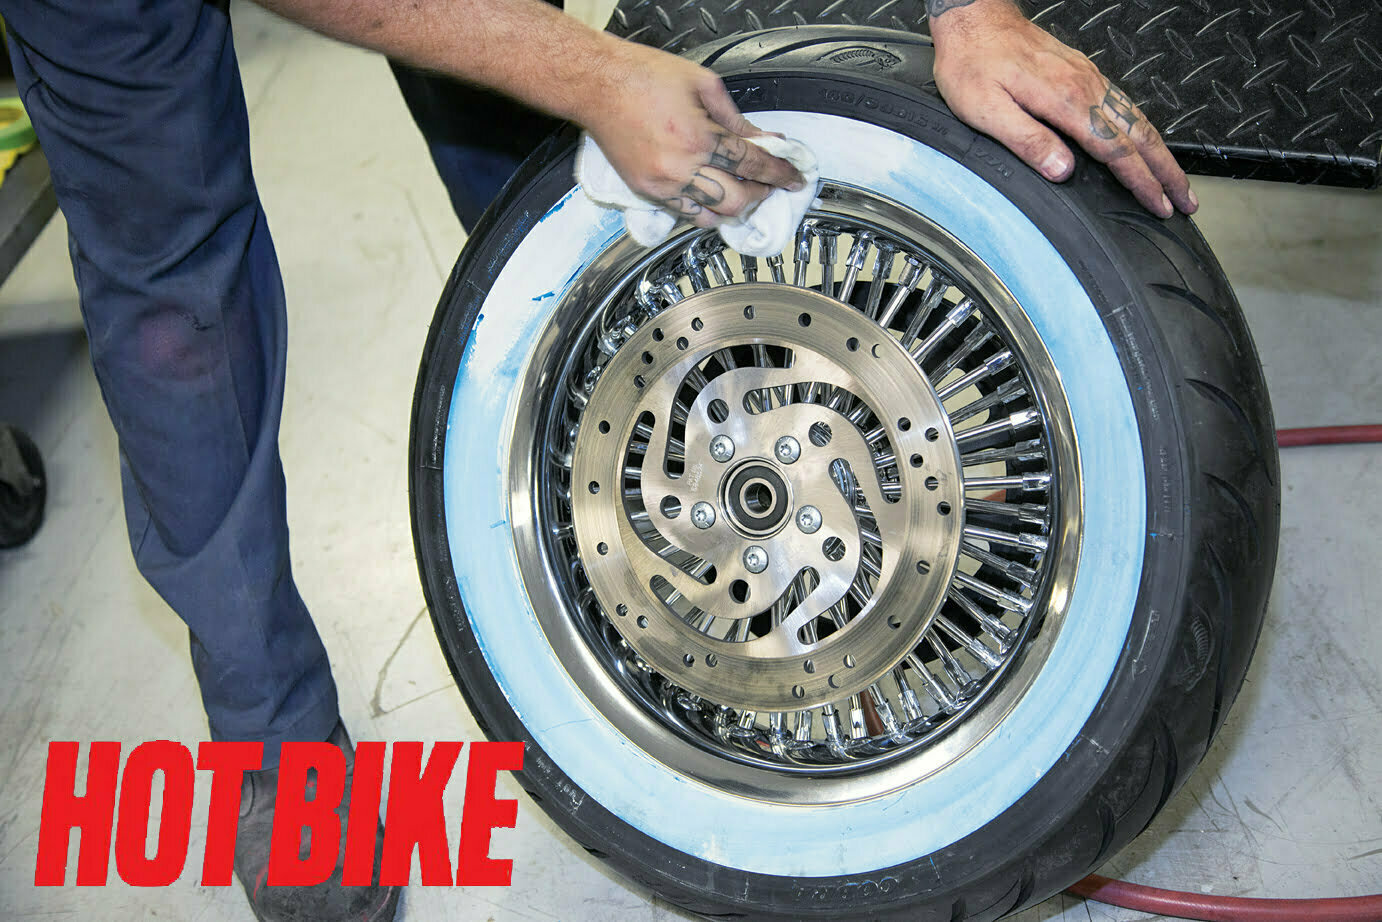
- Whitewalls often come with a blue coating to protect the surface during shipping. It’s much easier to remove it with the wheels off then while on the bike.
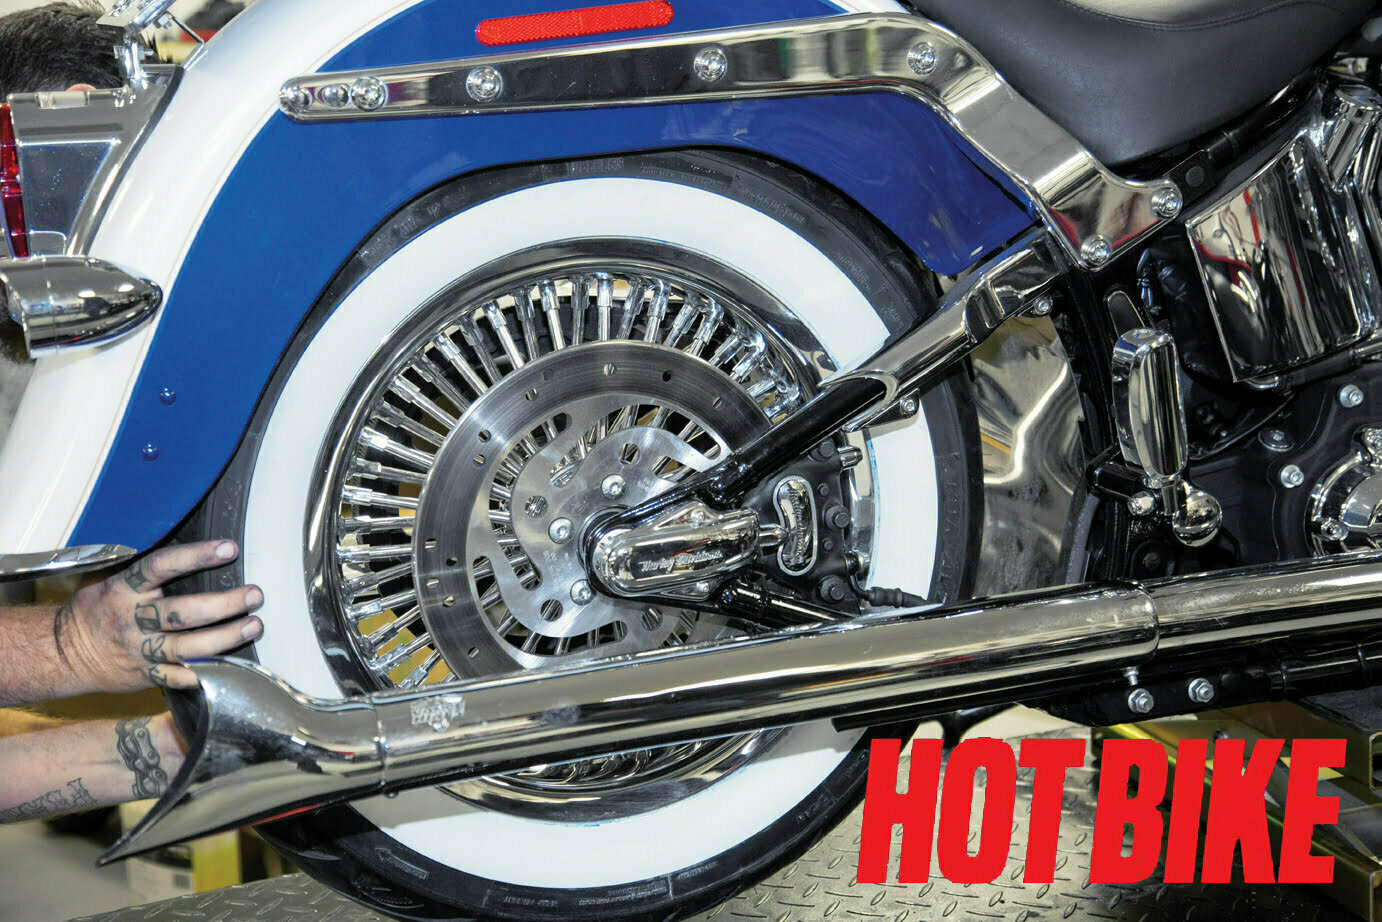
- The rear wheel was replaced and the axle and calipers were tightened to factory specs.
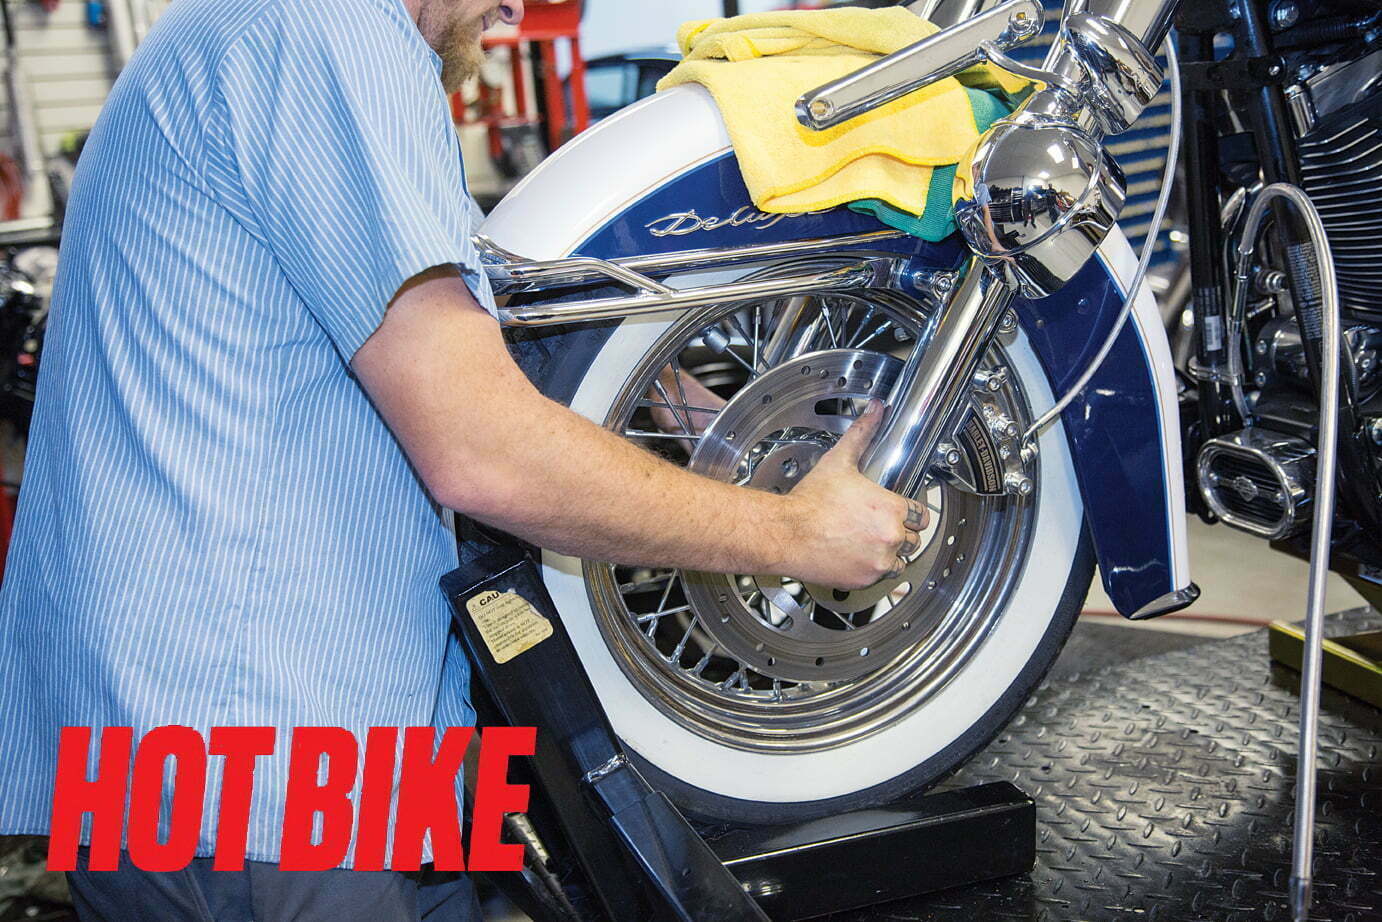
- The same process was repeated for the front wheel by removing the wheel and swapping the stock rotor onto the new wheels.
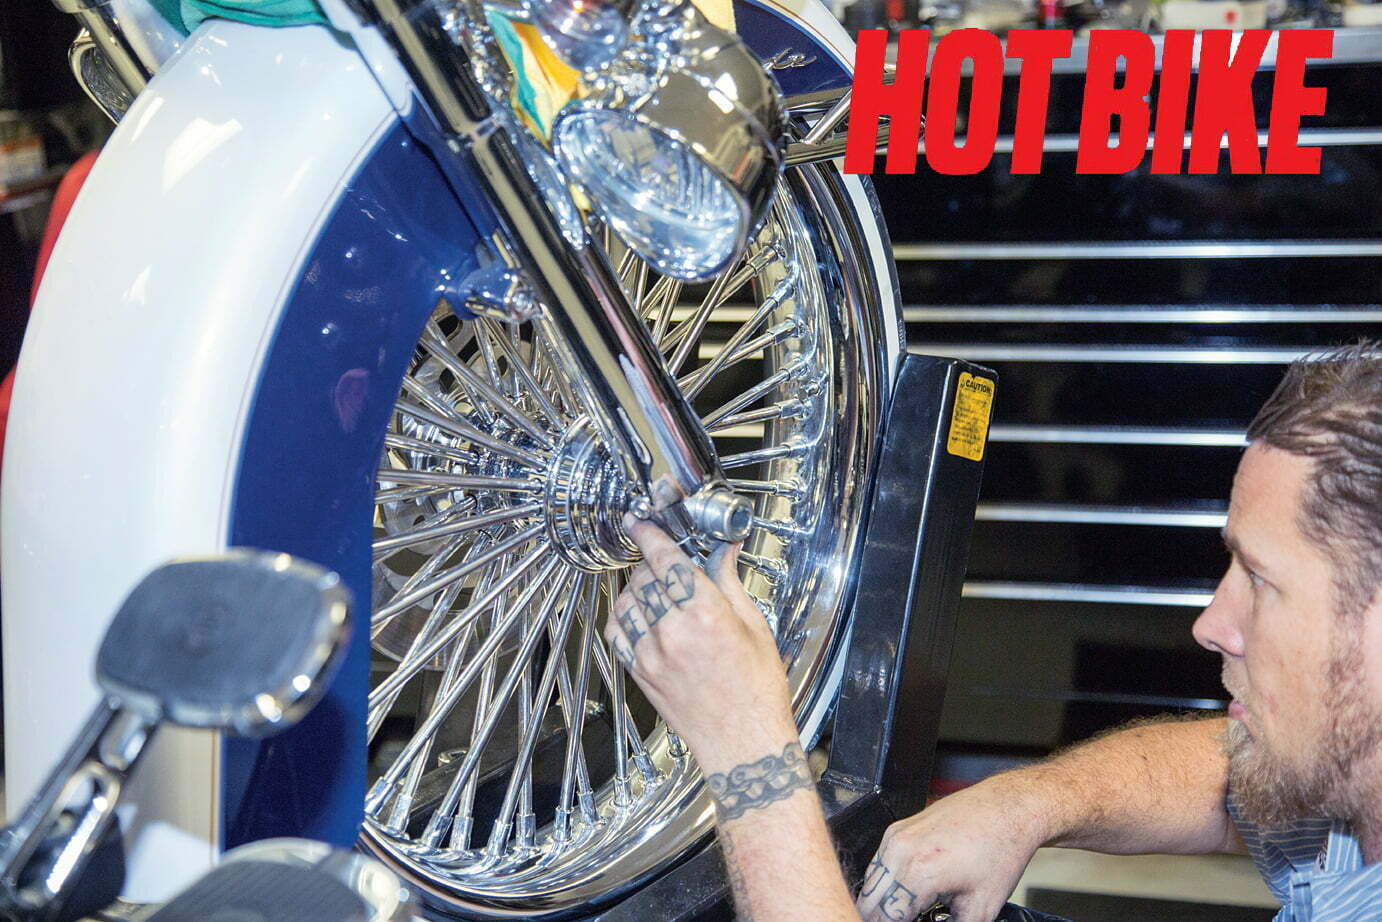
- Finally, the front wheel axle and pinch bolts are torqued down. Now it’s time to rock and roll.
- In just less than a day we transformed this relatively mild Softail Deluxe from a stock sleeper into a sleek street machine. Stay tuned for stage two when we put the low into the lowrider.
Skill Level: Medium
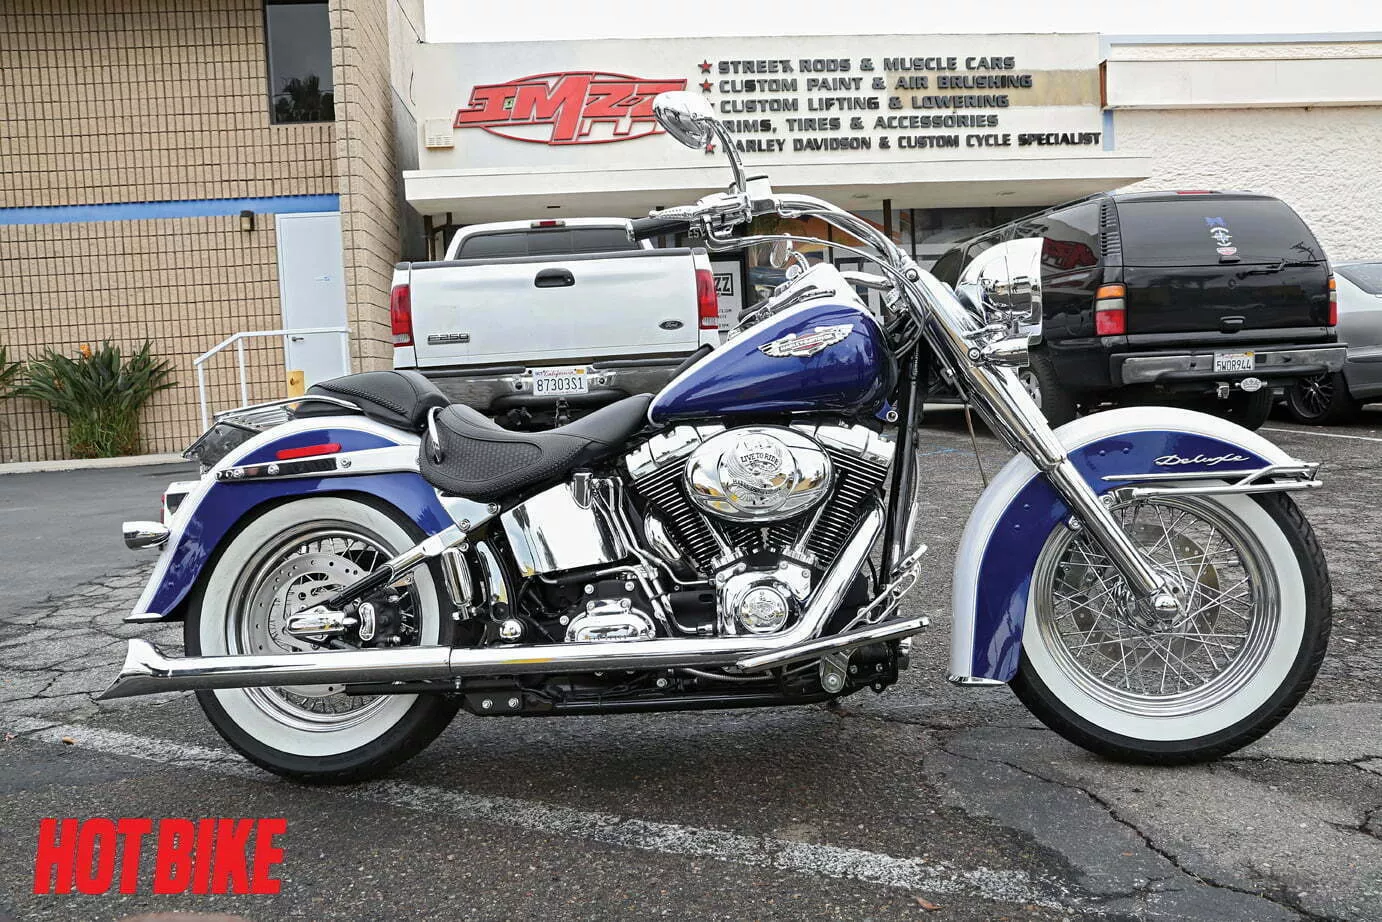
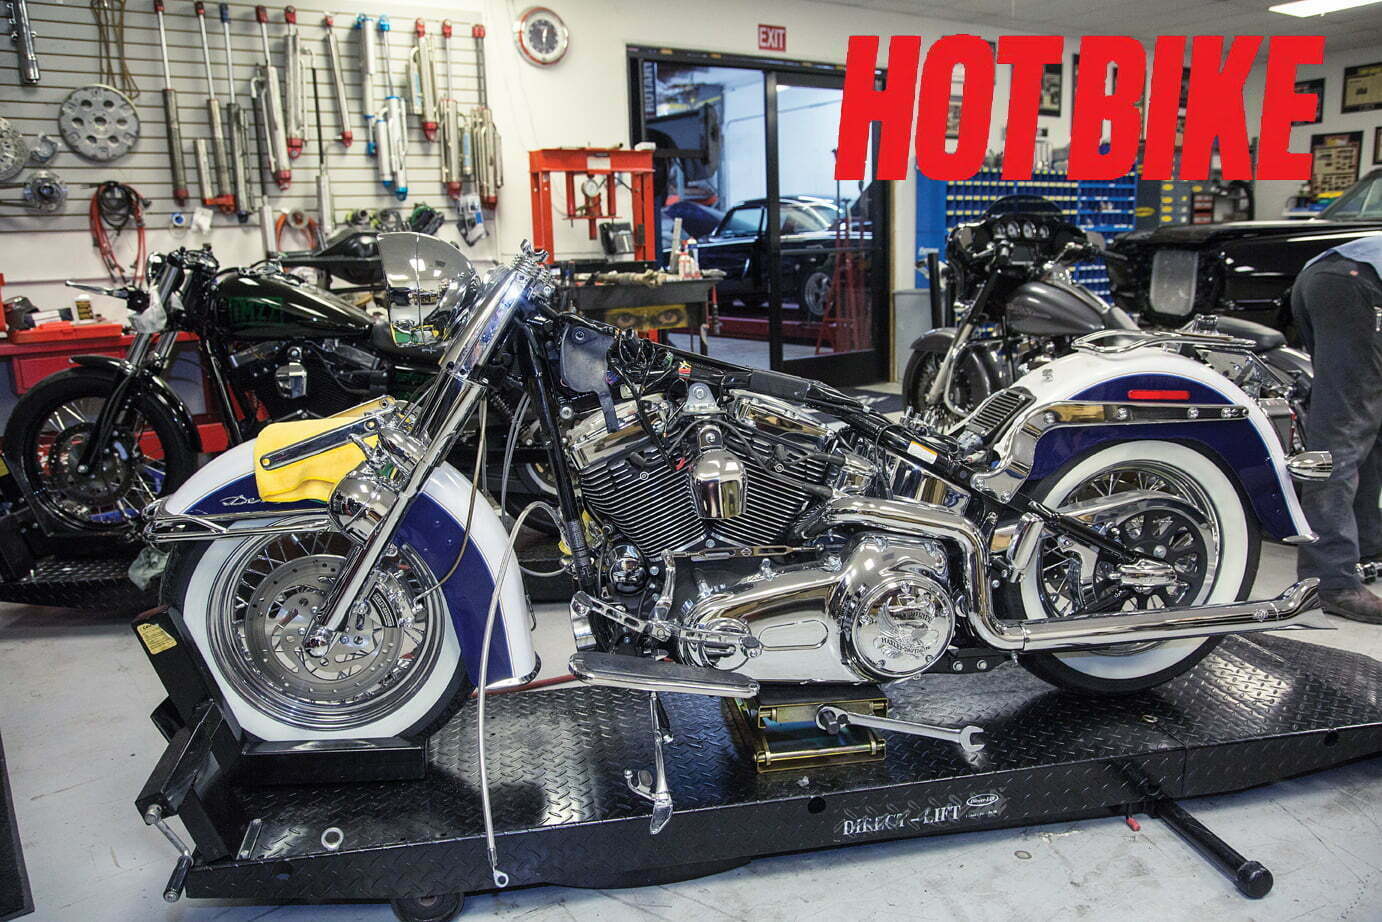
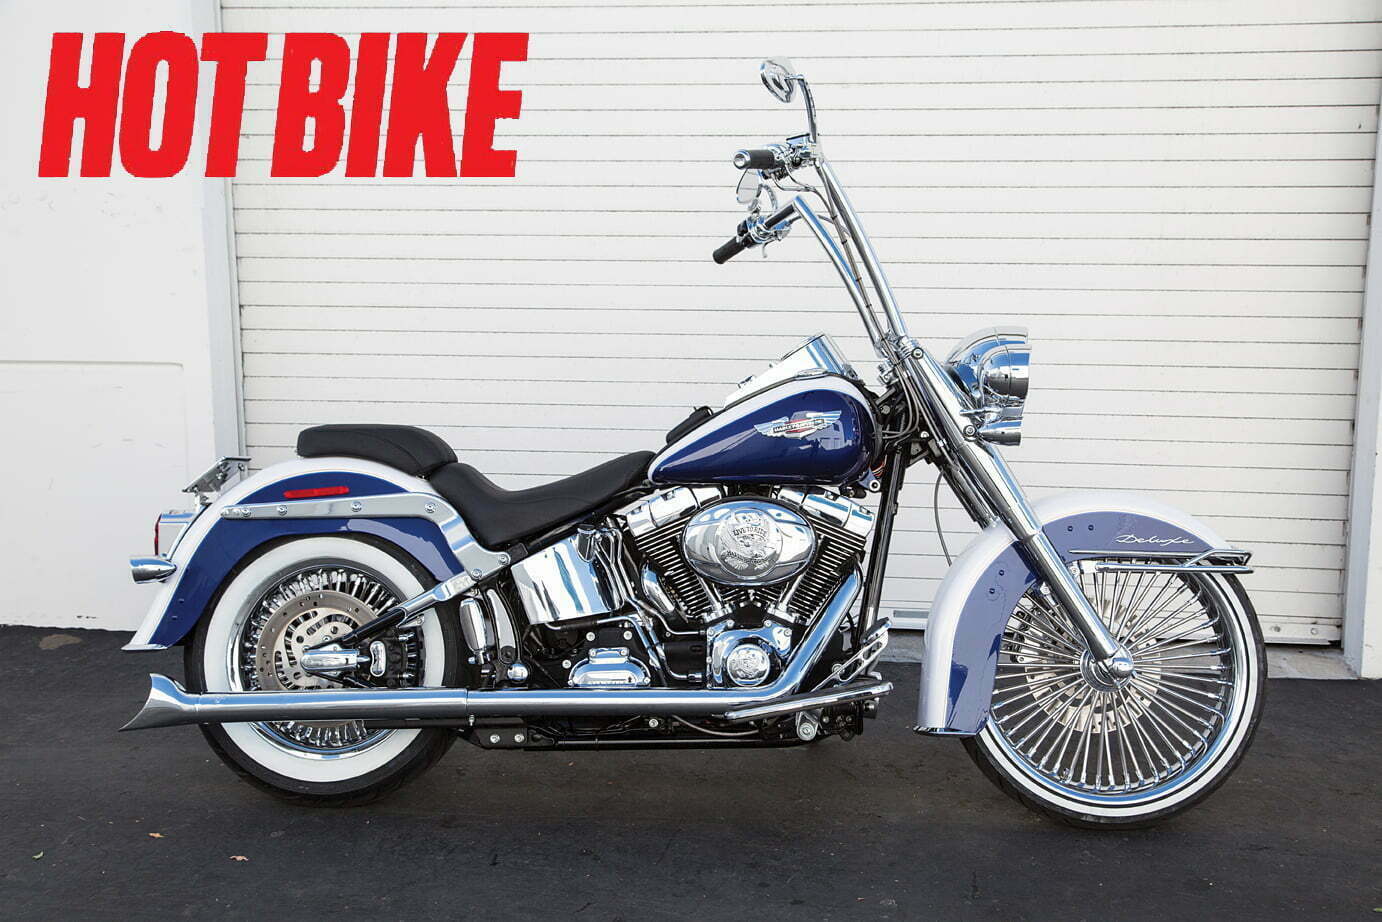
Low, slammed, and chromed is the look most commonly associated with the lowrider style of motorcycles. Custom bikes can range from a few key modifications to fully modified showbikes with no part left untouched. You have to walk before you can run, and all good lowrider motorcycles have a few key components that give it that signature look.
We started with a mostly stock 2008 Softail Deluxe as our base bike. The goal was to get the basic lowrider look by using Torch Industries HB-8 handlebars, Burly Cable Kit, Mustang seats, and Ride Wright Wheels wrapped in Avon Cobra rubber all installed in one day. To handle the wrenching duties we enlisted the help of IMZZ Elite out of Fullerton, California. It was a long day, but we managed to knock it all out start to finish in less than 10 hours. Rather than giving a step-by-step instruction, we’ll cover the highlights of the build.
Sources:
Burly Brand
Cable Kit
Torch Industries
HB-8 handlebars
Mustang Seats
Tripper and Standard Seat
Ride Wright Wheels
Fat 50s
Avon Tyres
Cobra Whitewalls
IMZZ Elite


