
Dakota Digital Speedometer Install
We recently installed a set of 10-inch Burly Brand Jail Bars on our 2013 Iron 883 Sportster and were forced to either relocate the stock speedo or ditch it entirely. There are a few options we could’ve tried to relocate the stock speedometer, but we weren’t really big fans of them. So we decided to ditch the 7-pound hunk of steel and aluminum for a slick, compact digital speedometer from Dakota Digital.
Dakota Digital has been making gauges for cars, trucks, off-road vehicles, and motorcycles for more than 25 years, and they’re all made in the USA.
The MCL-5400 features were almost up to par with the stock speedo, which has your odometer and trip odometer, left and right turn signals, high beam, neutral, low oil pressure, and check-engine light. The only thing we wish it had was a low-gas indicator. We also had our mileage added onto the speedometer before it was shipped to our offices.
It comes in flat black or chrome, and you can also choose between two mounting bracket options. We went with the bar mount bracket (BKT-5004-K), which is available in different diameter sizes to fit most applications.
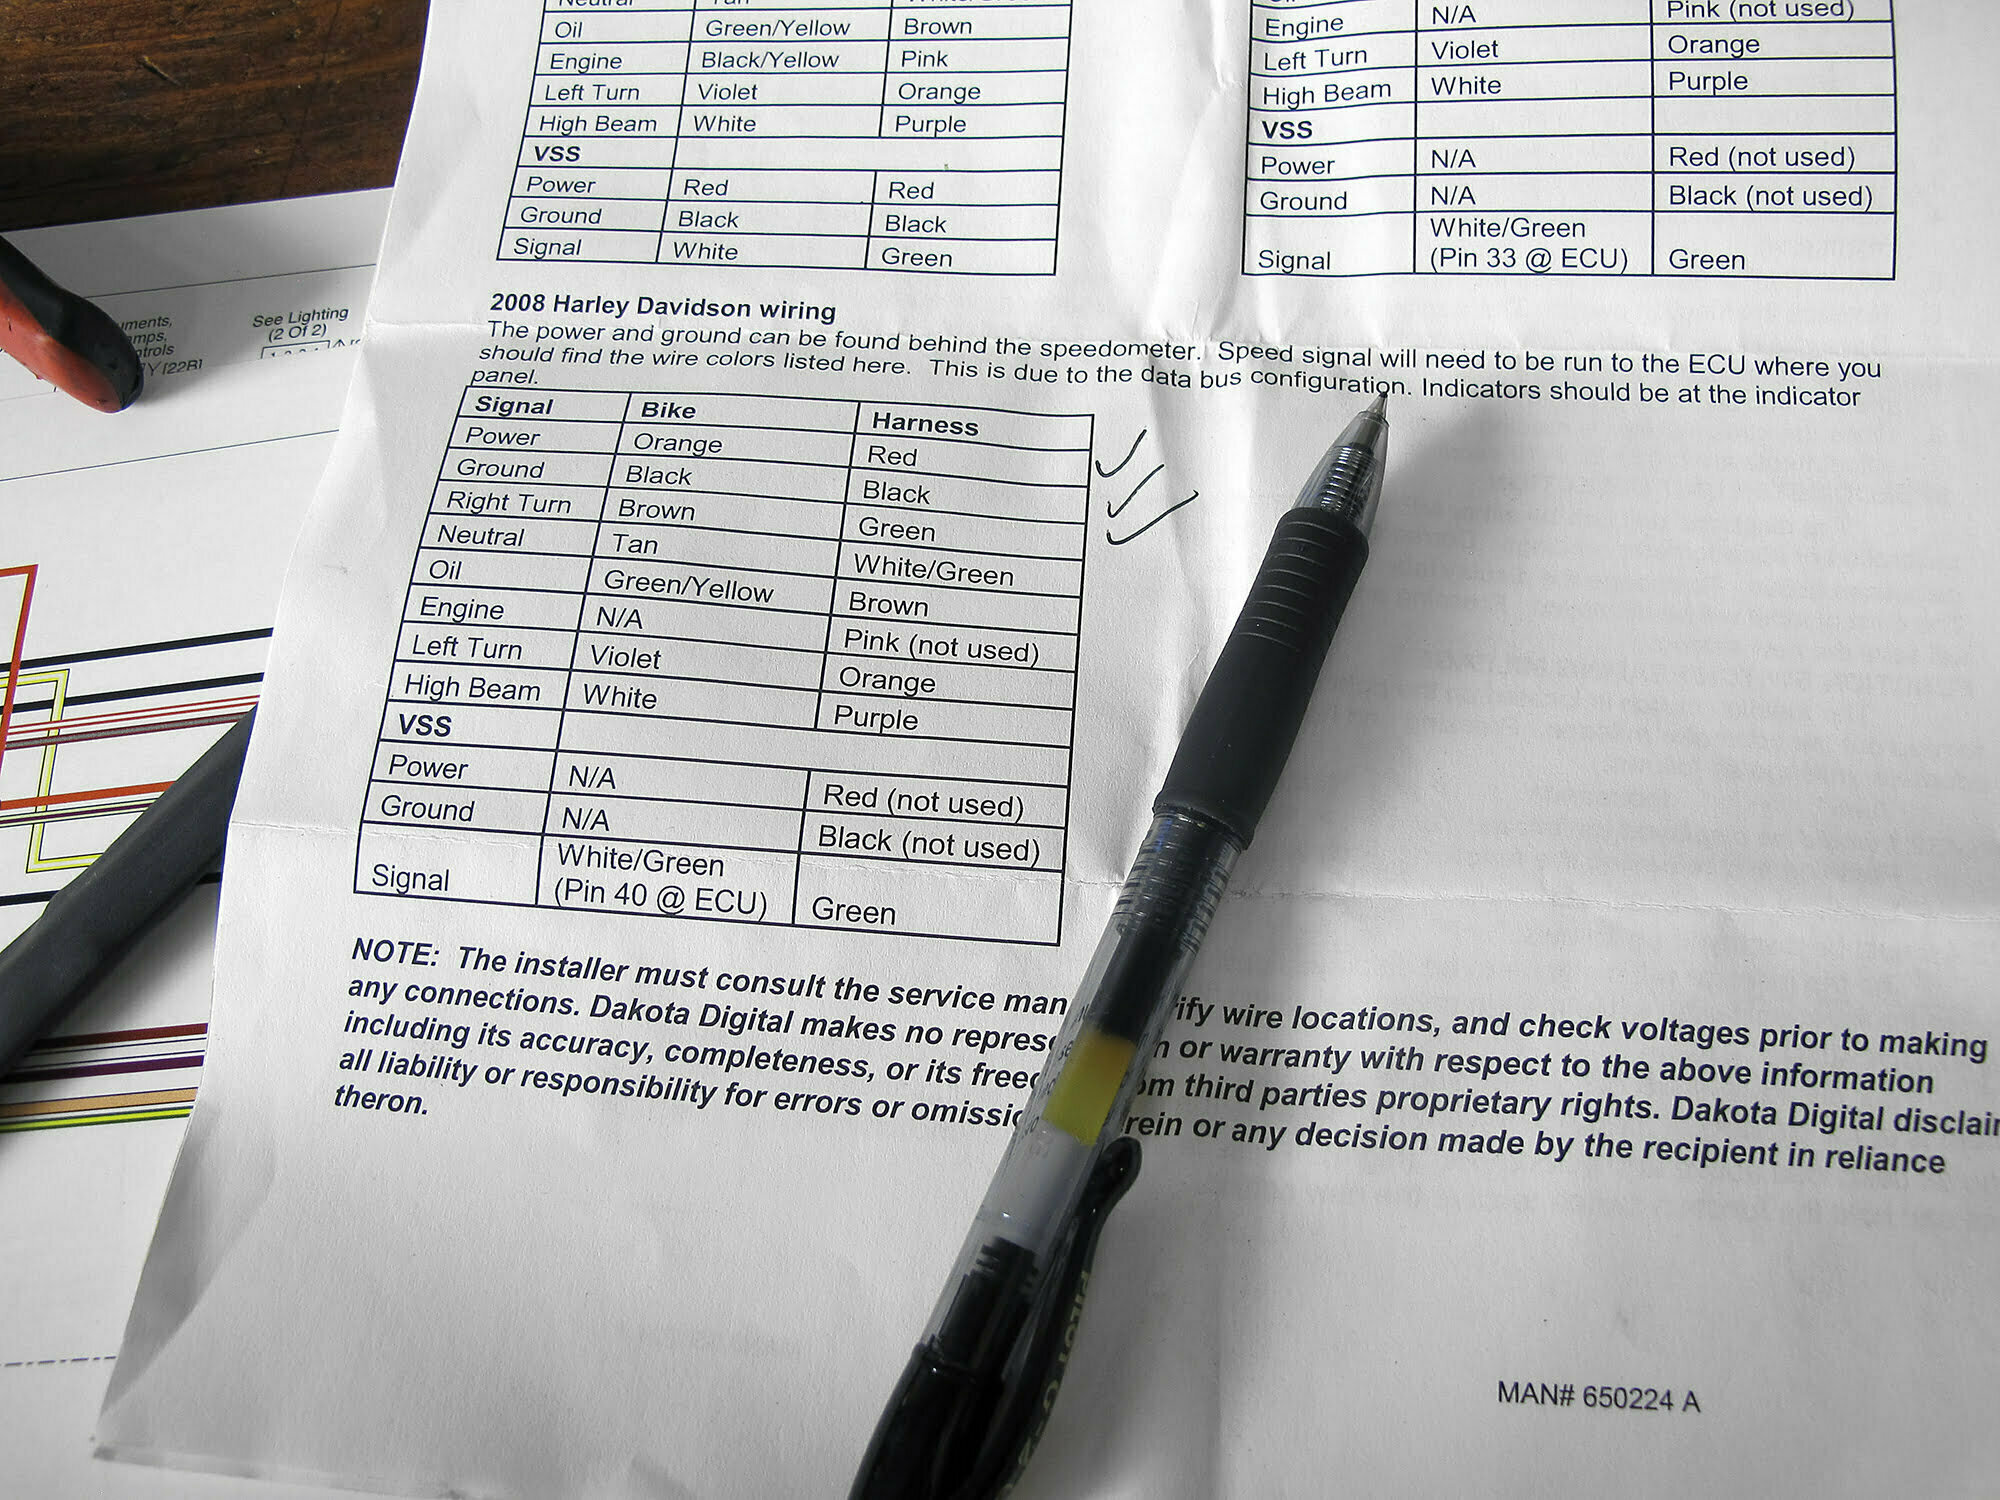
When it comes to installation, you will need to know a thing or two about wiring. The wiring connections that come with this speedo were no match for the Sporster’s OEM connectors. So before we cut, spliced, and soldered, we downloaded the OEM wiring diagram for this particular year, make, and model and carefully routed the wires back together. Follow along as our pal Will shares some helpful tips to make this wiring a little easier.
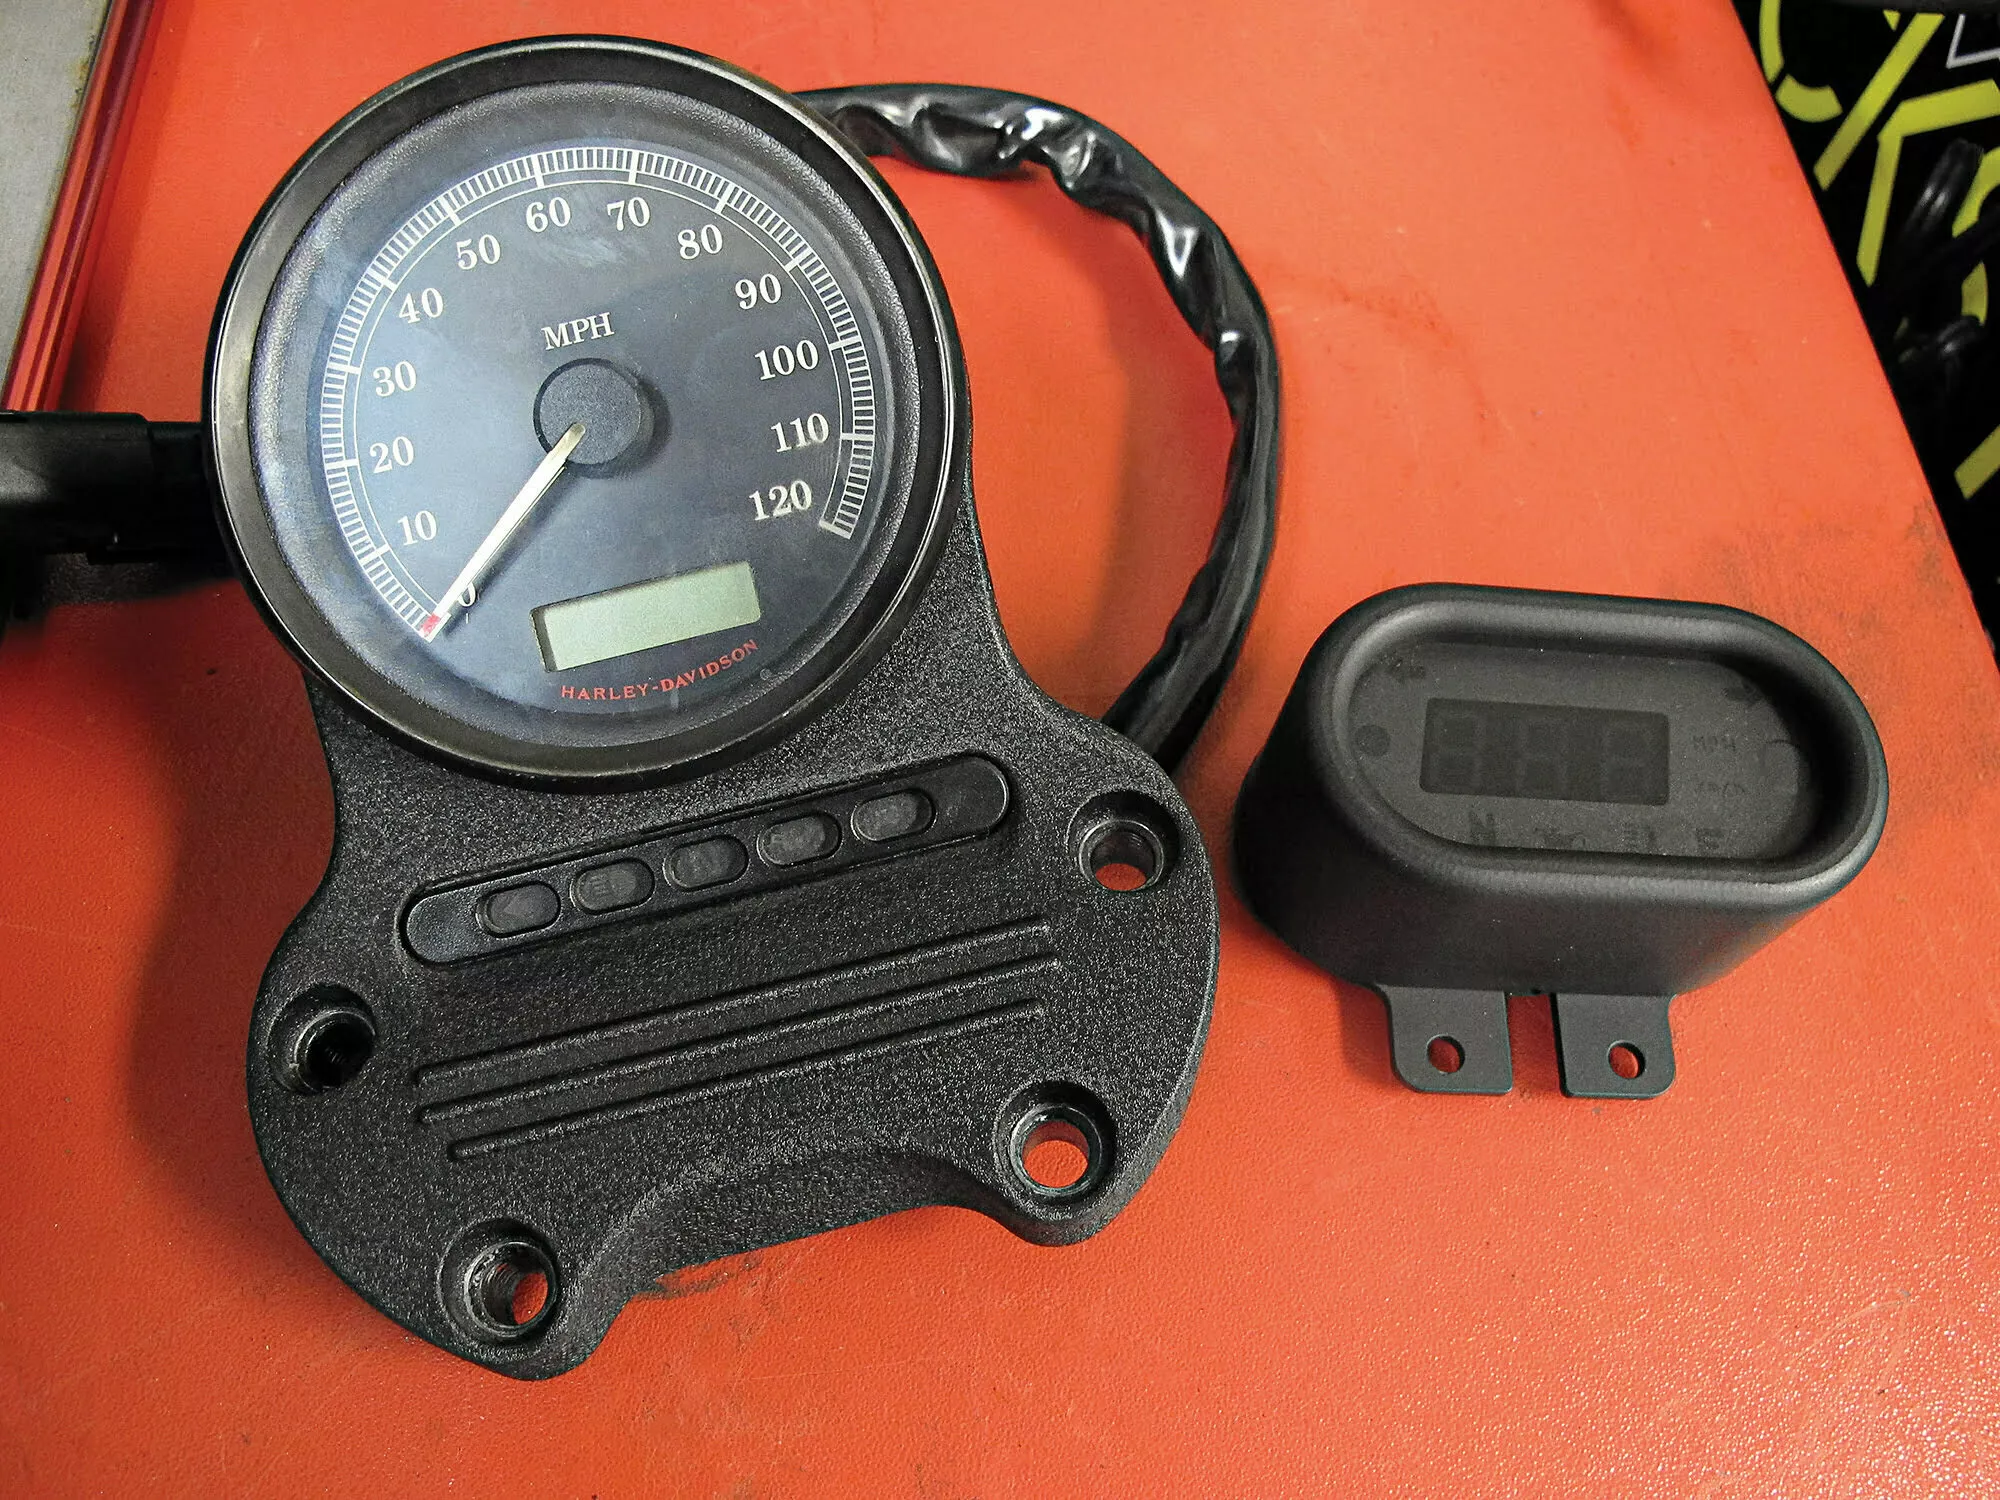
The stock speedometer (left) vs. Dakota Digital’s MCL-5400. Its an obvious space saver and the perfect remedy for our application.
Robert Martin
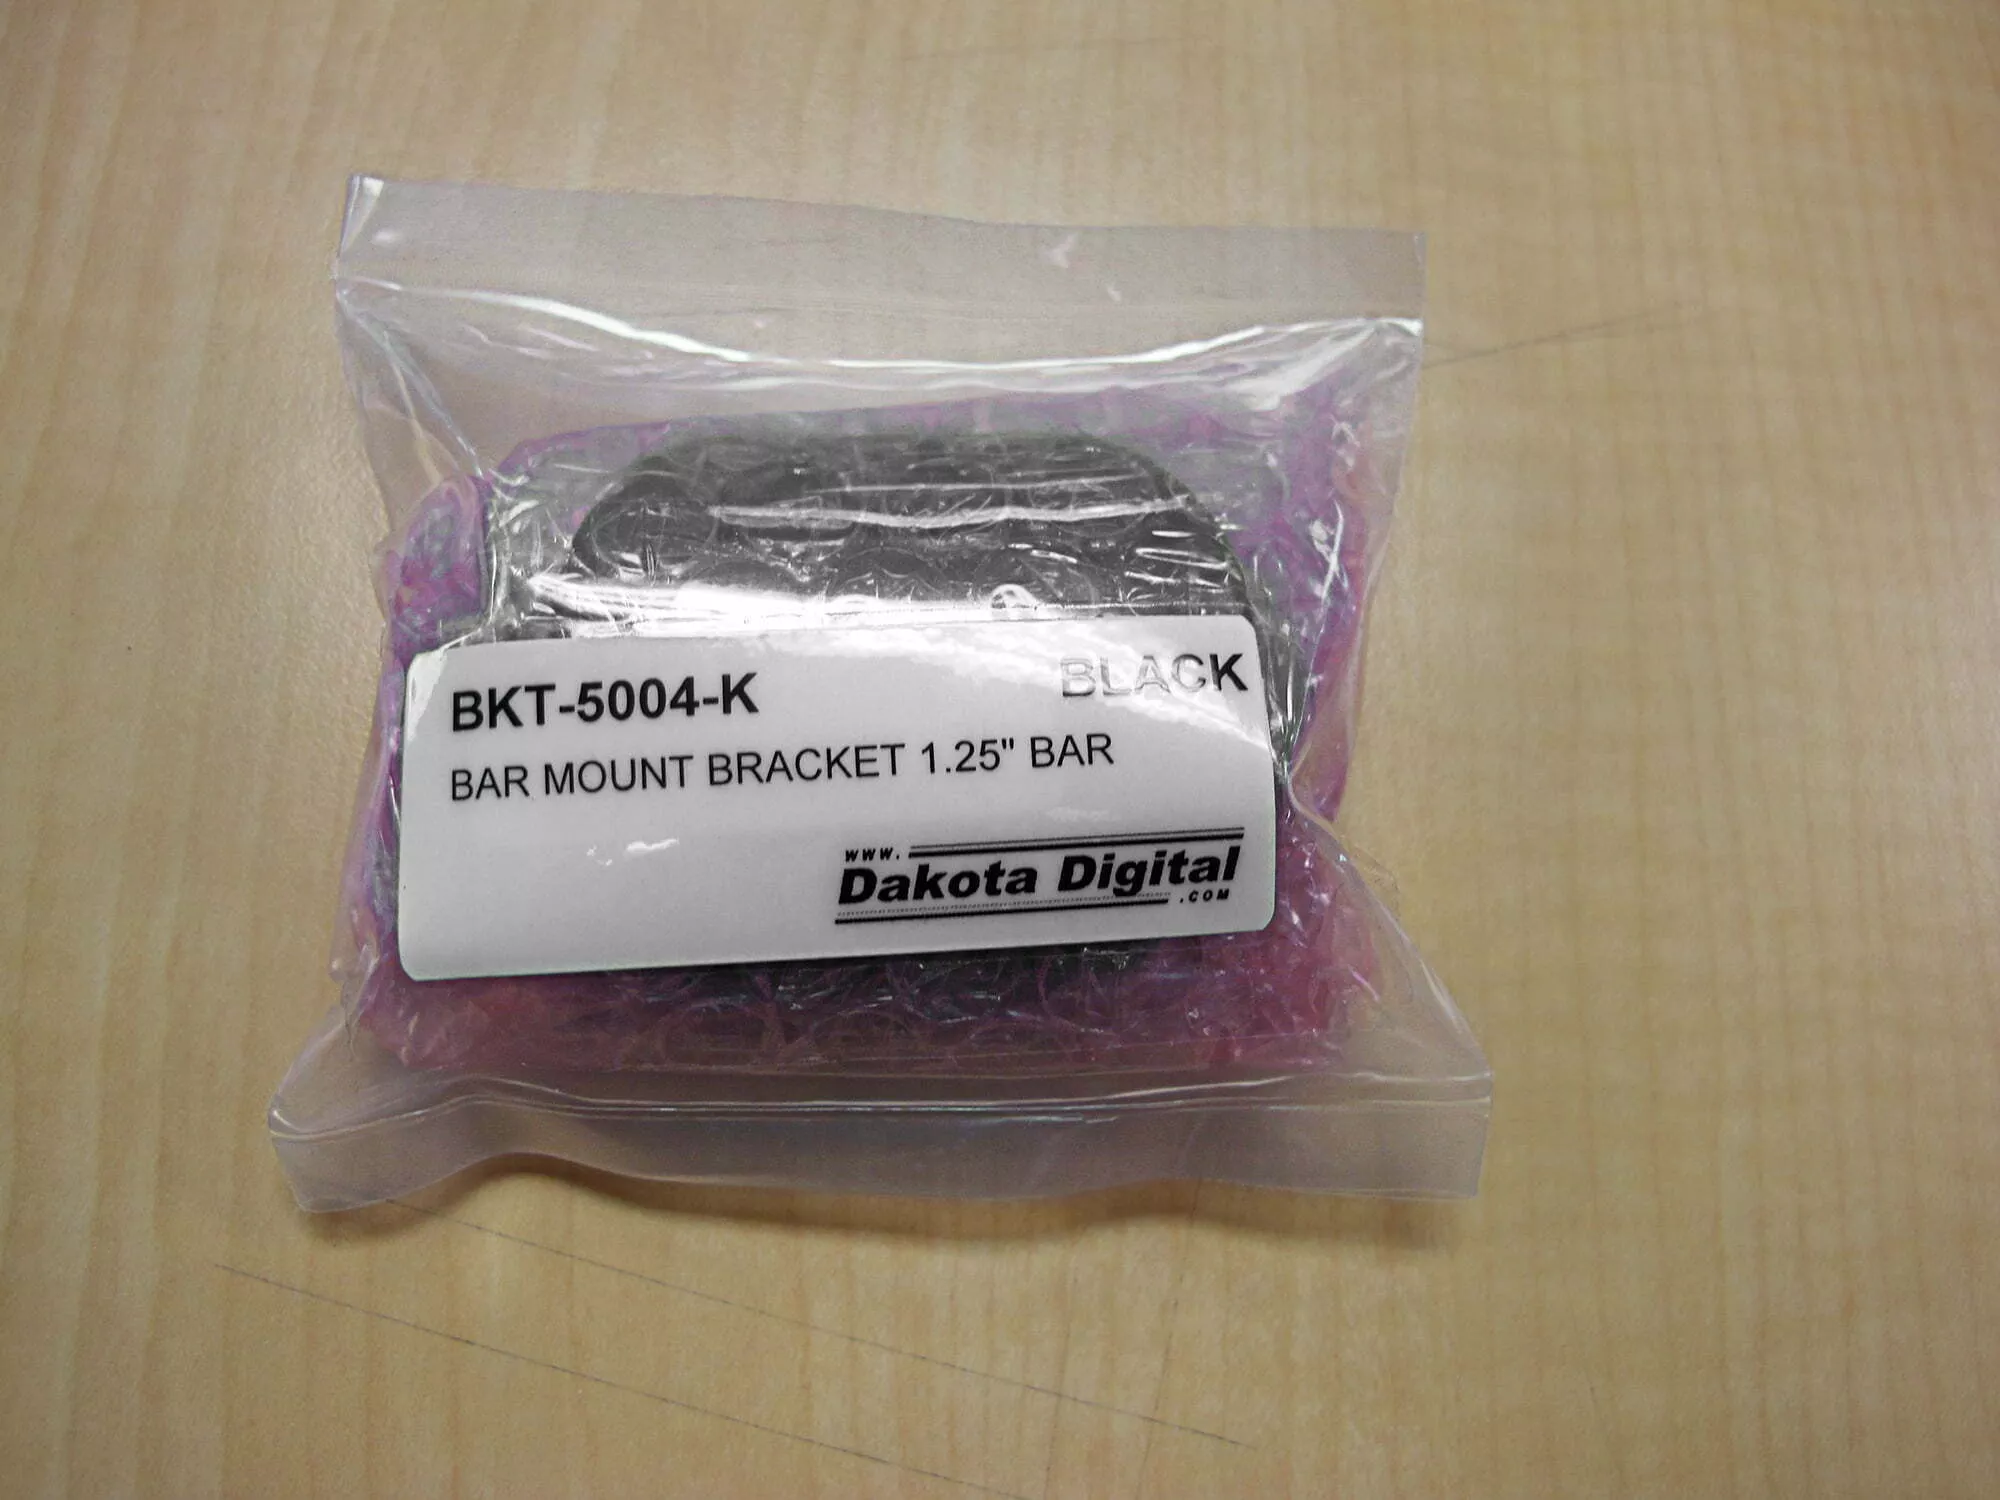
Dakota Digital’s MCL-5400 bar mount bracket
Robert Martin

Dakota Digital’s MCL-5400 front
Robert Martin
Dakota Digital’s MCL-5400 back
Robert Martin
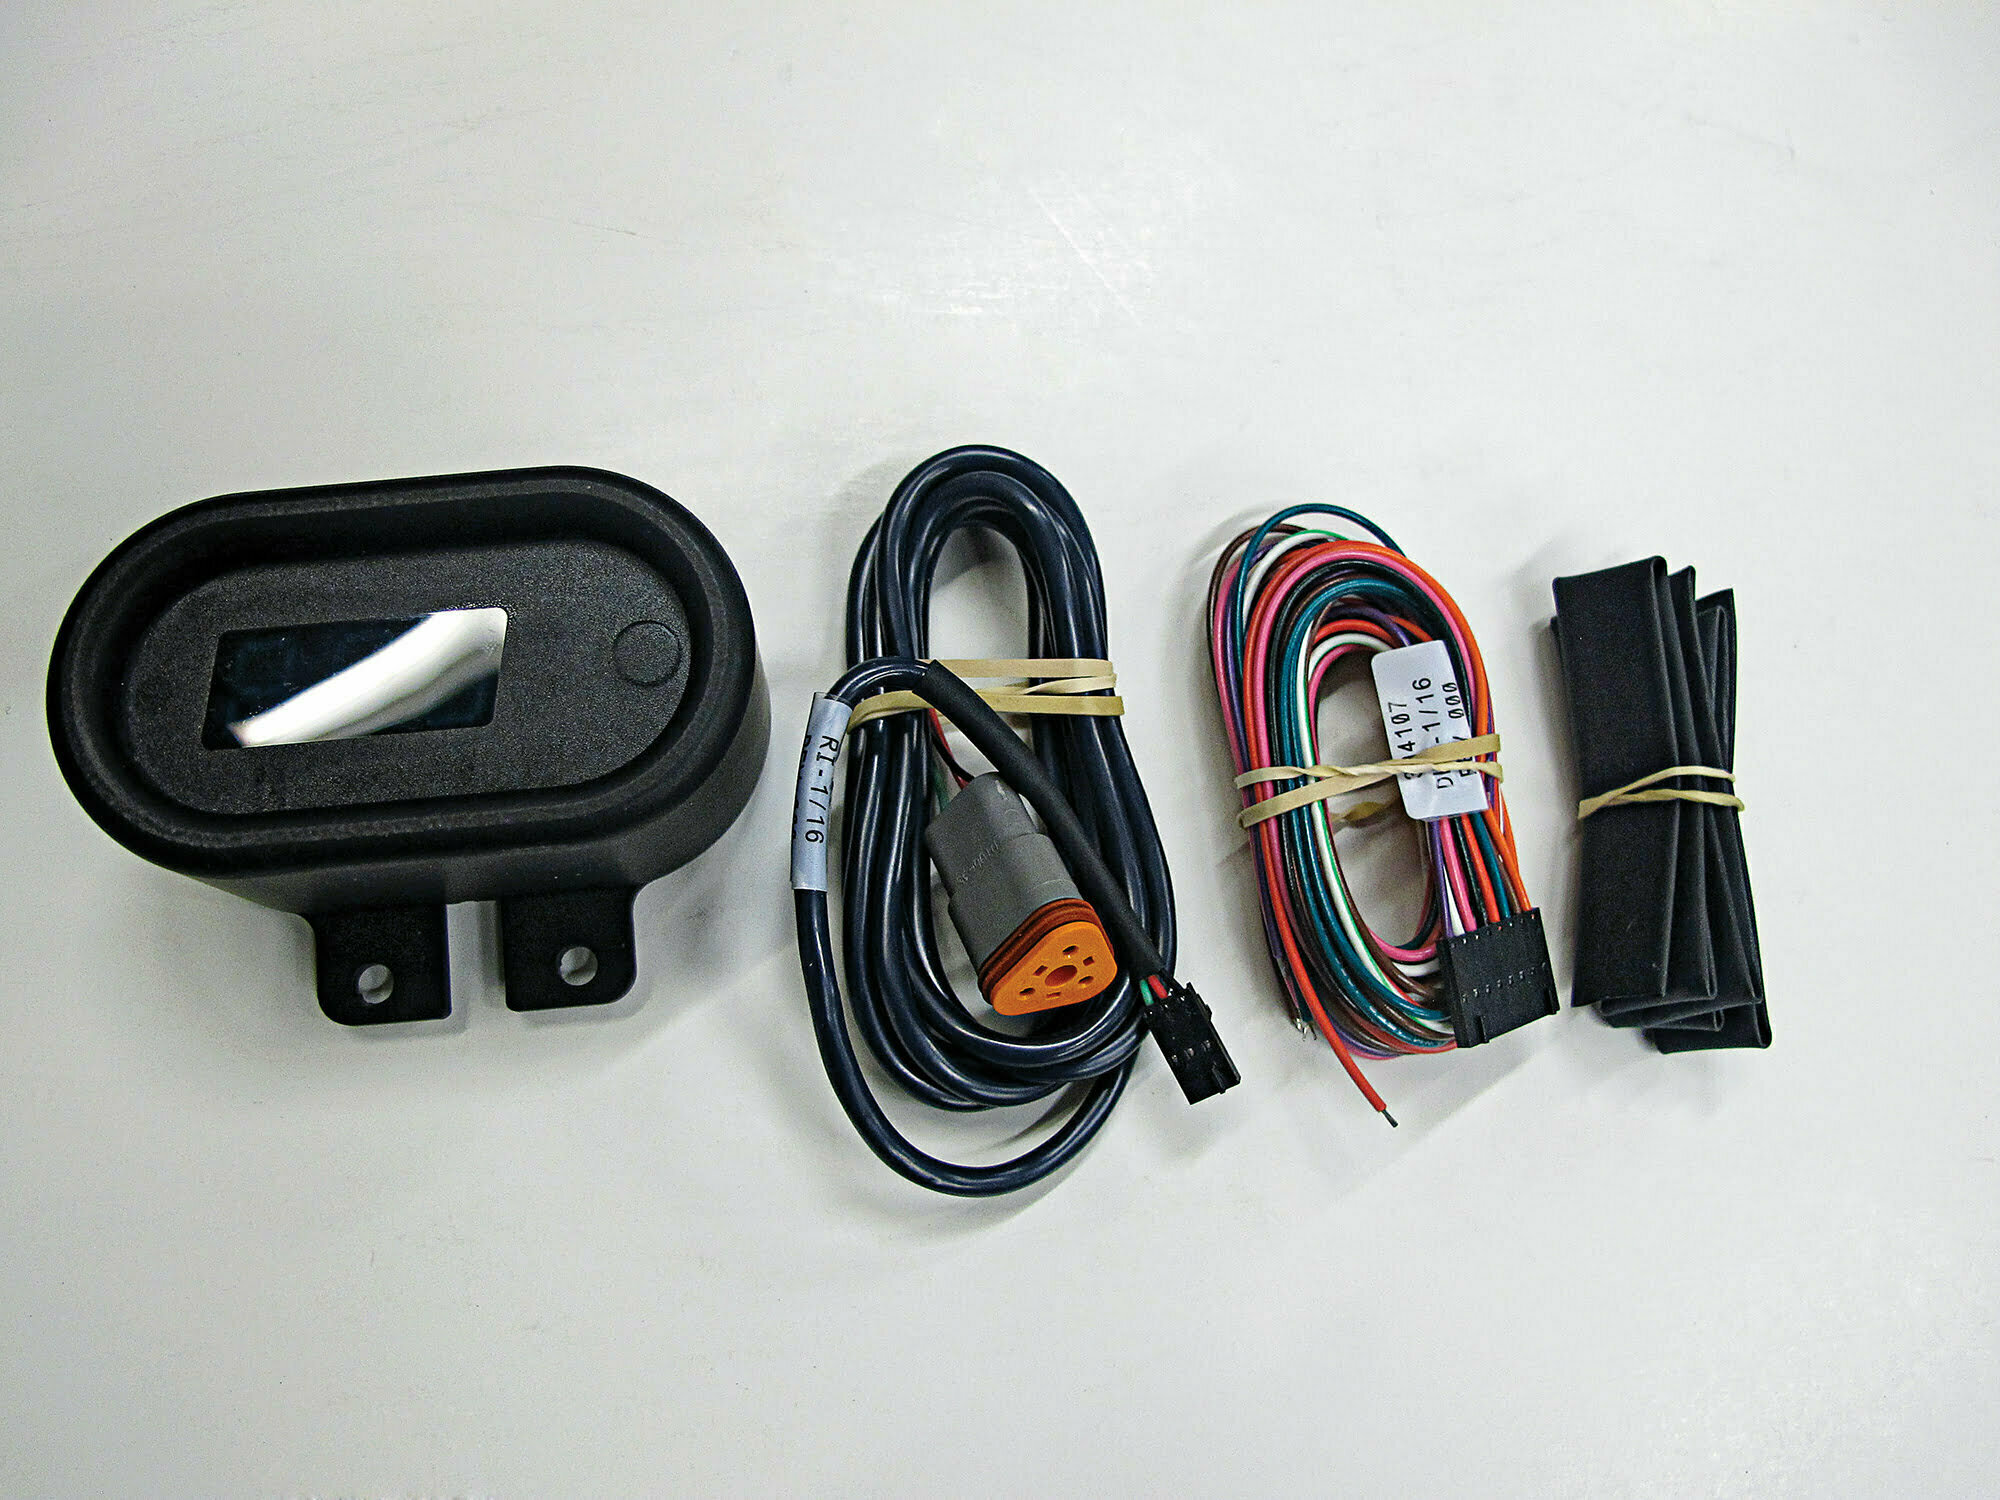
Dakota Digital’s MCL-5400 full kit
Robert Martin
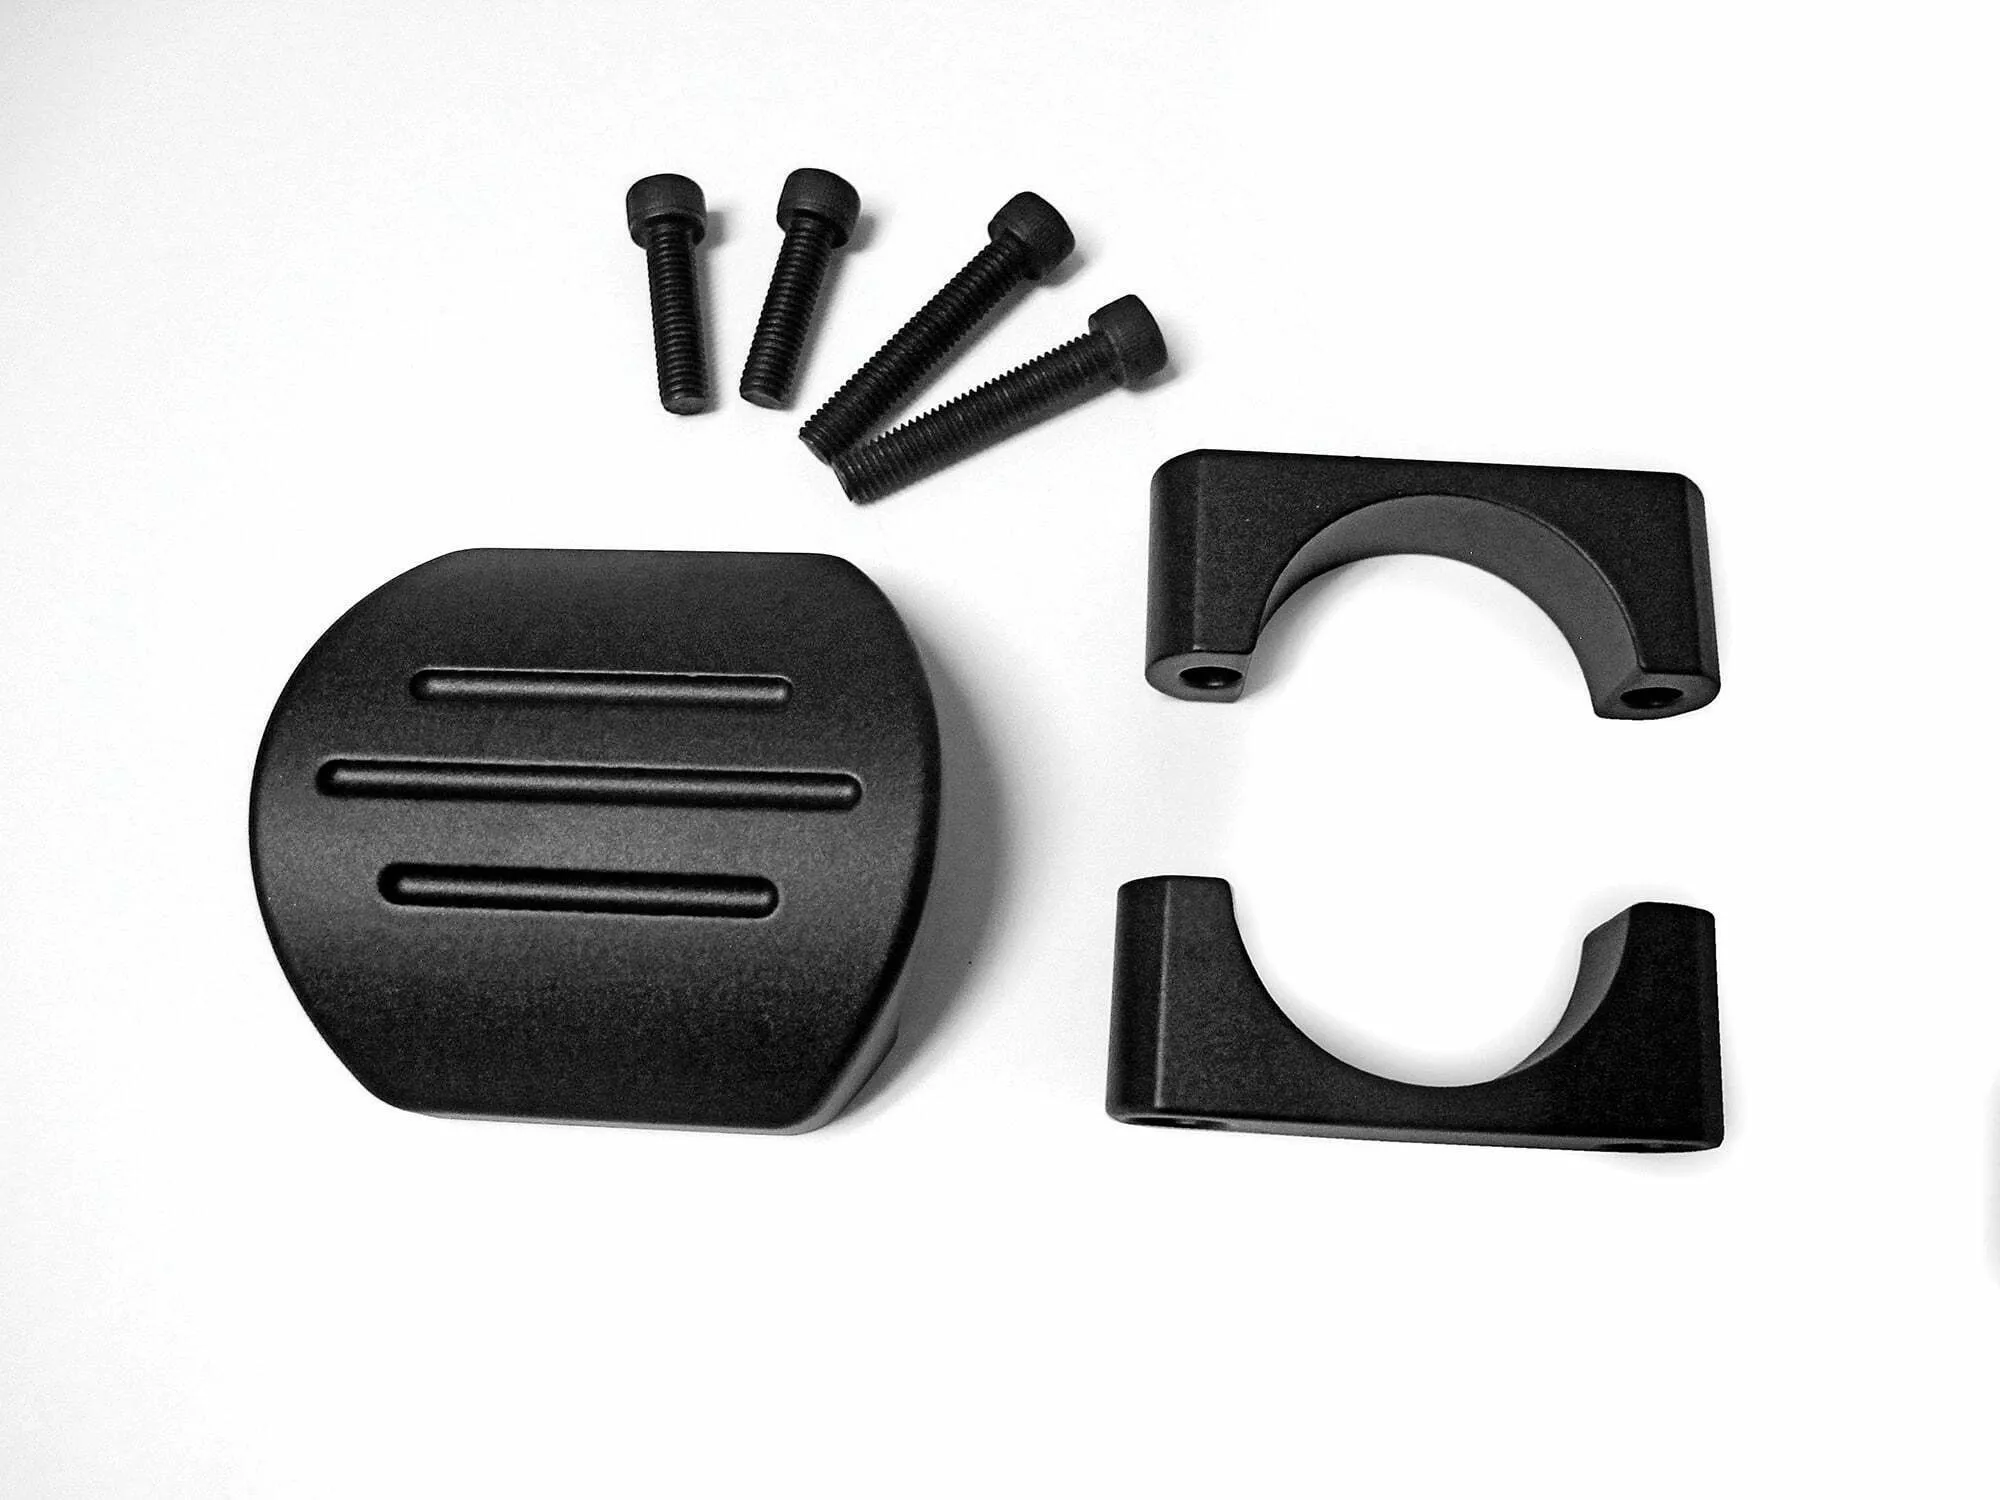
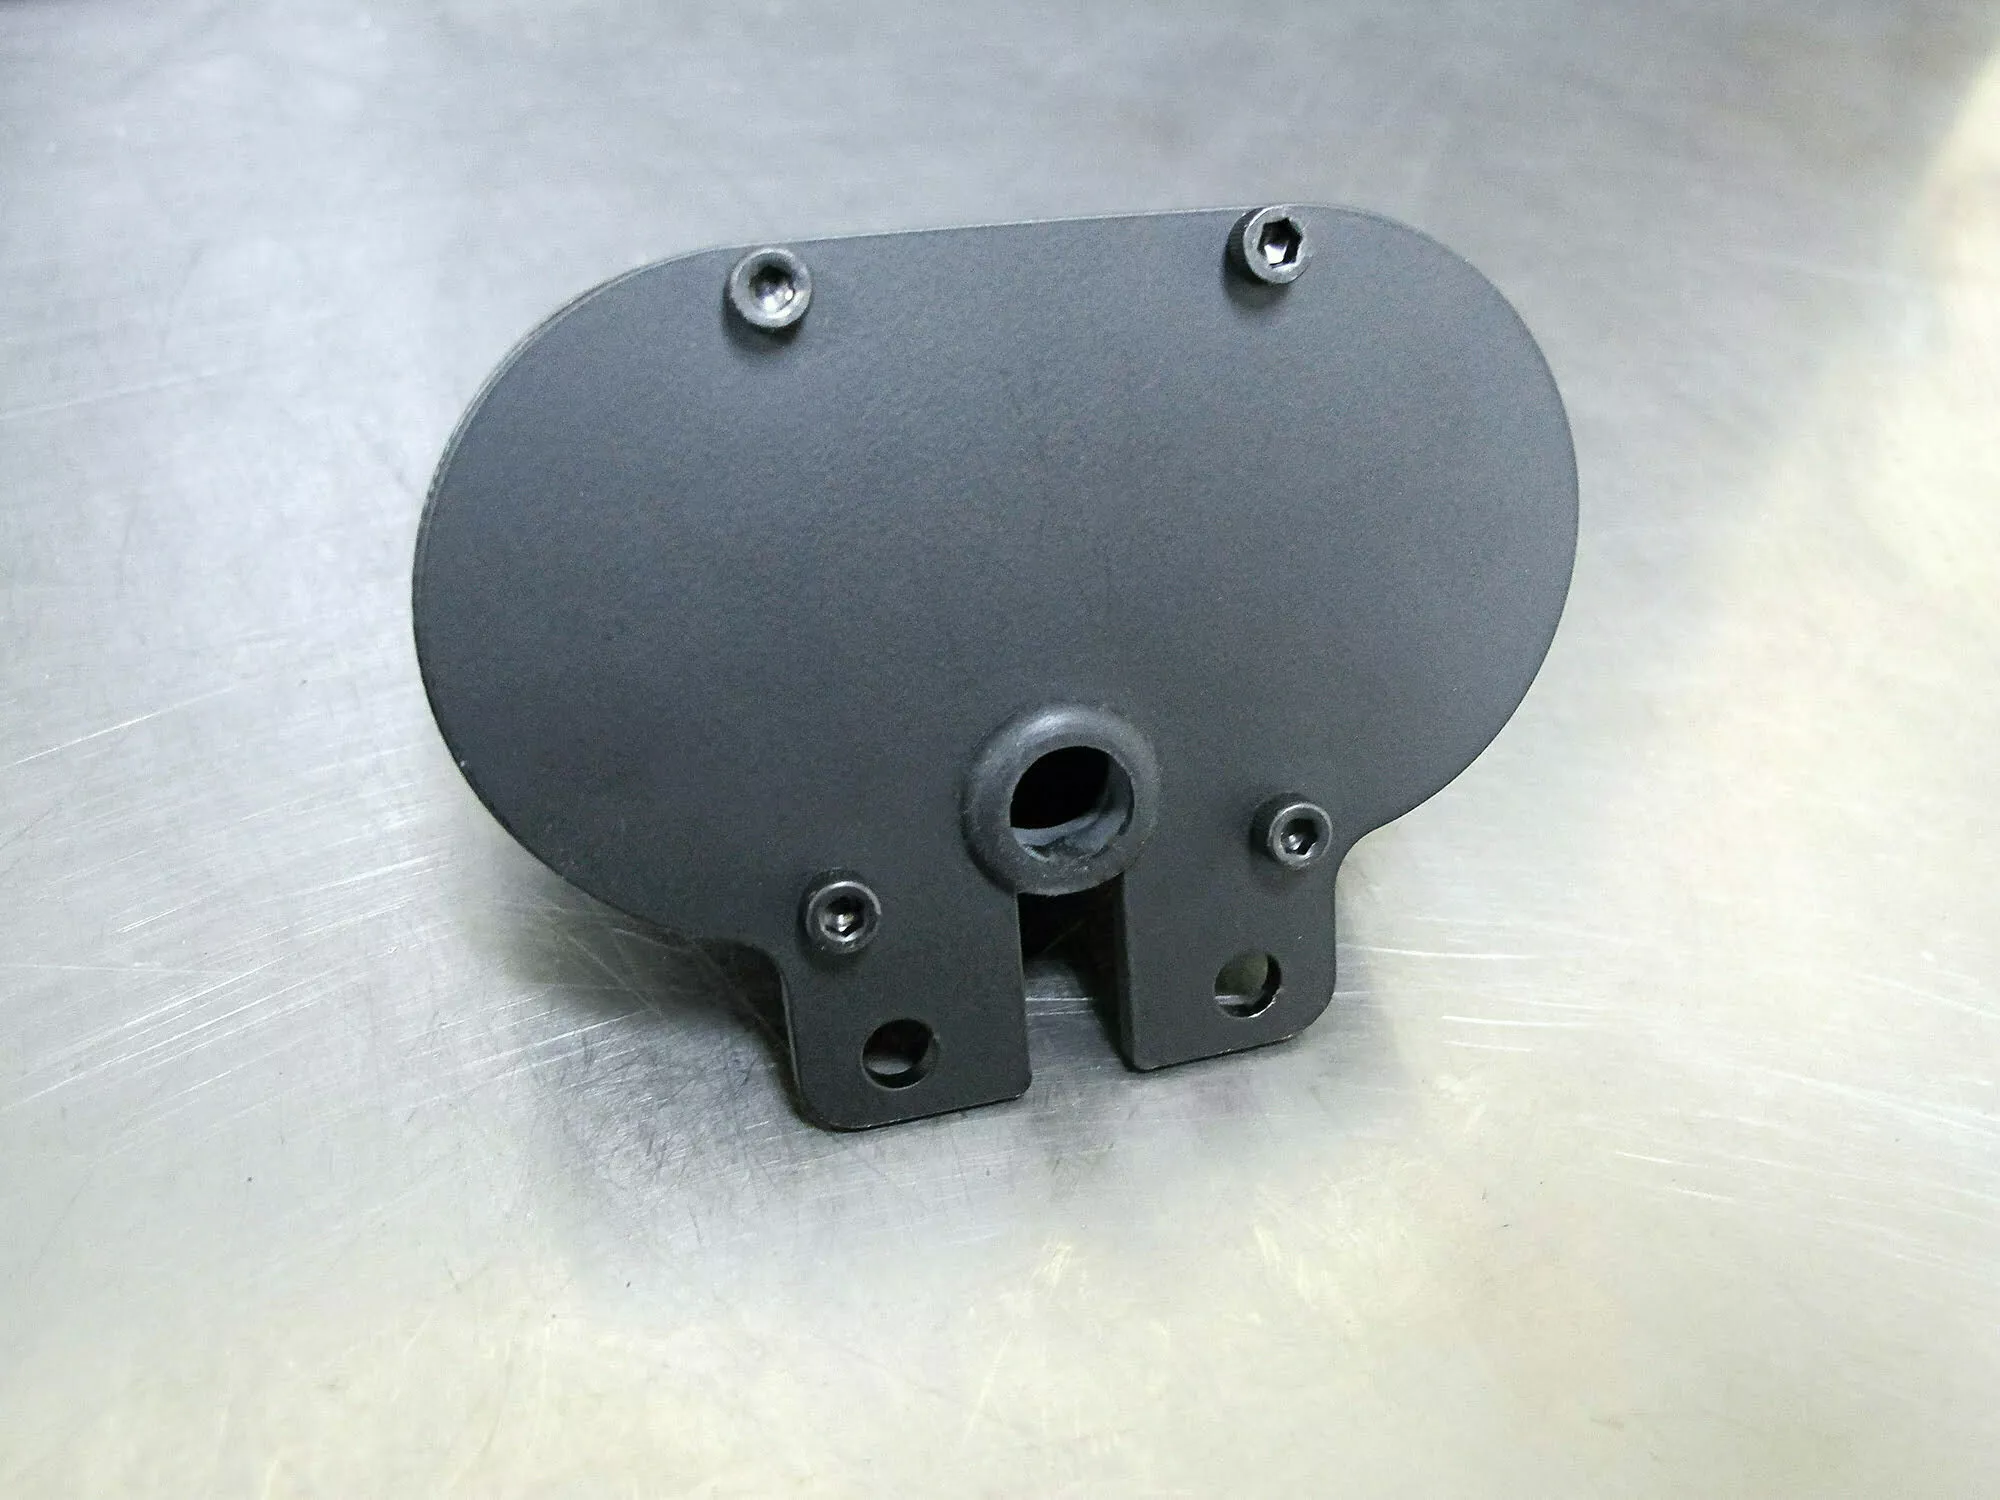
Dakota Digital’s MCL-5400 brackets
Robert Martin
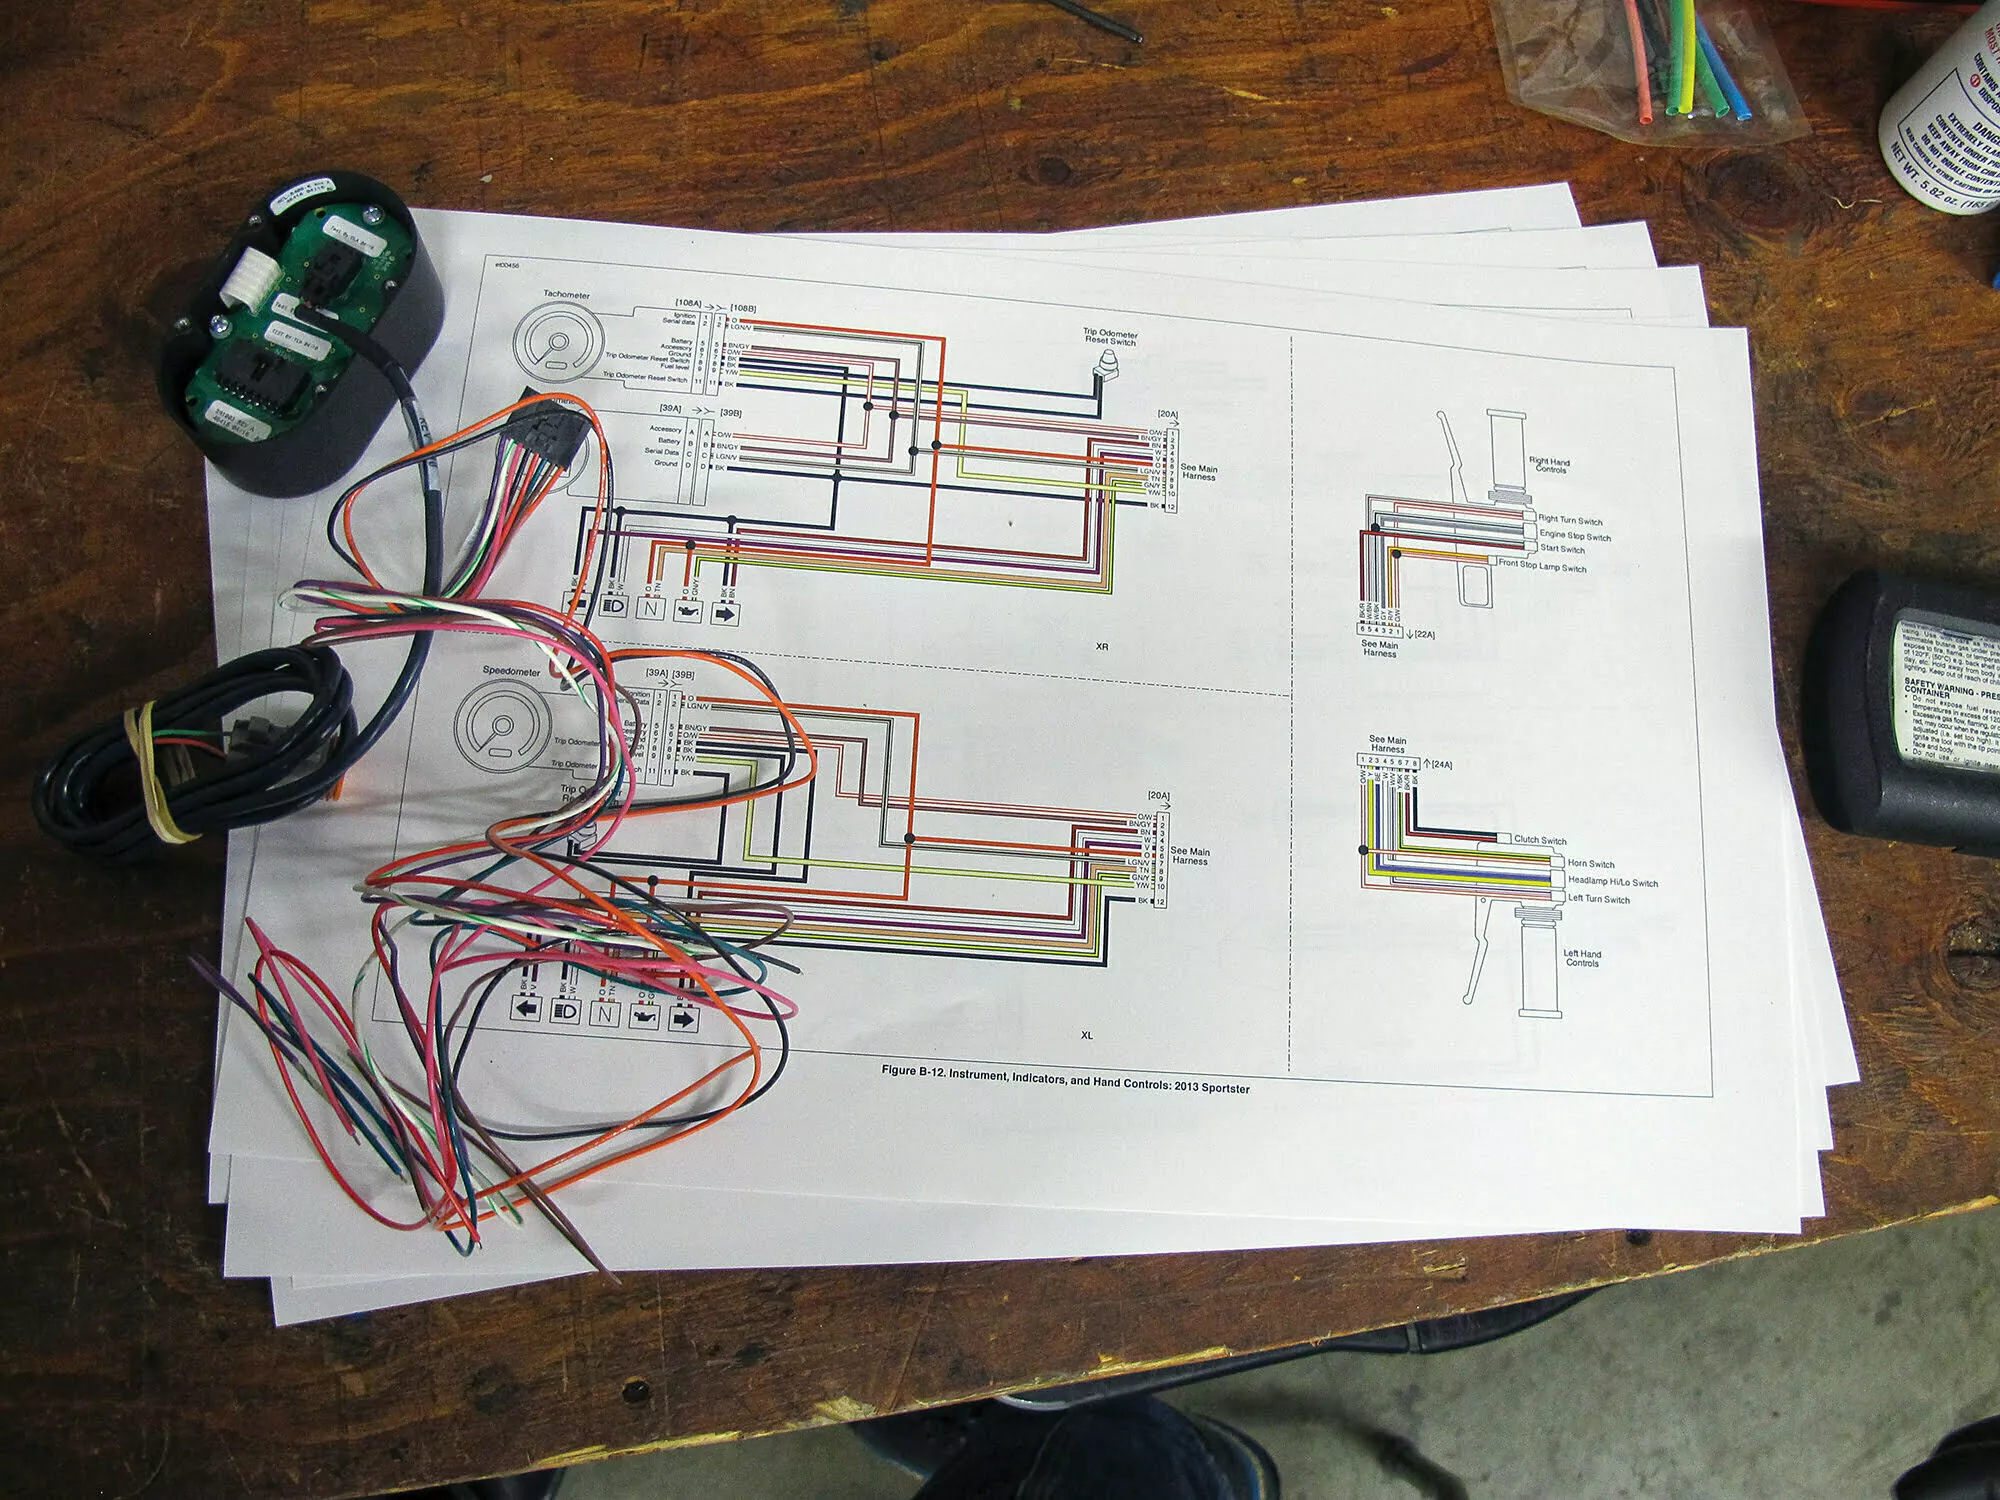
Whenever I do electrical work I always like to have an OEM wiring diagram. It will come in handy.
Robert Martin
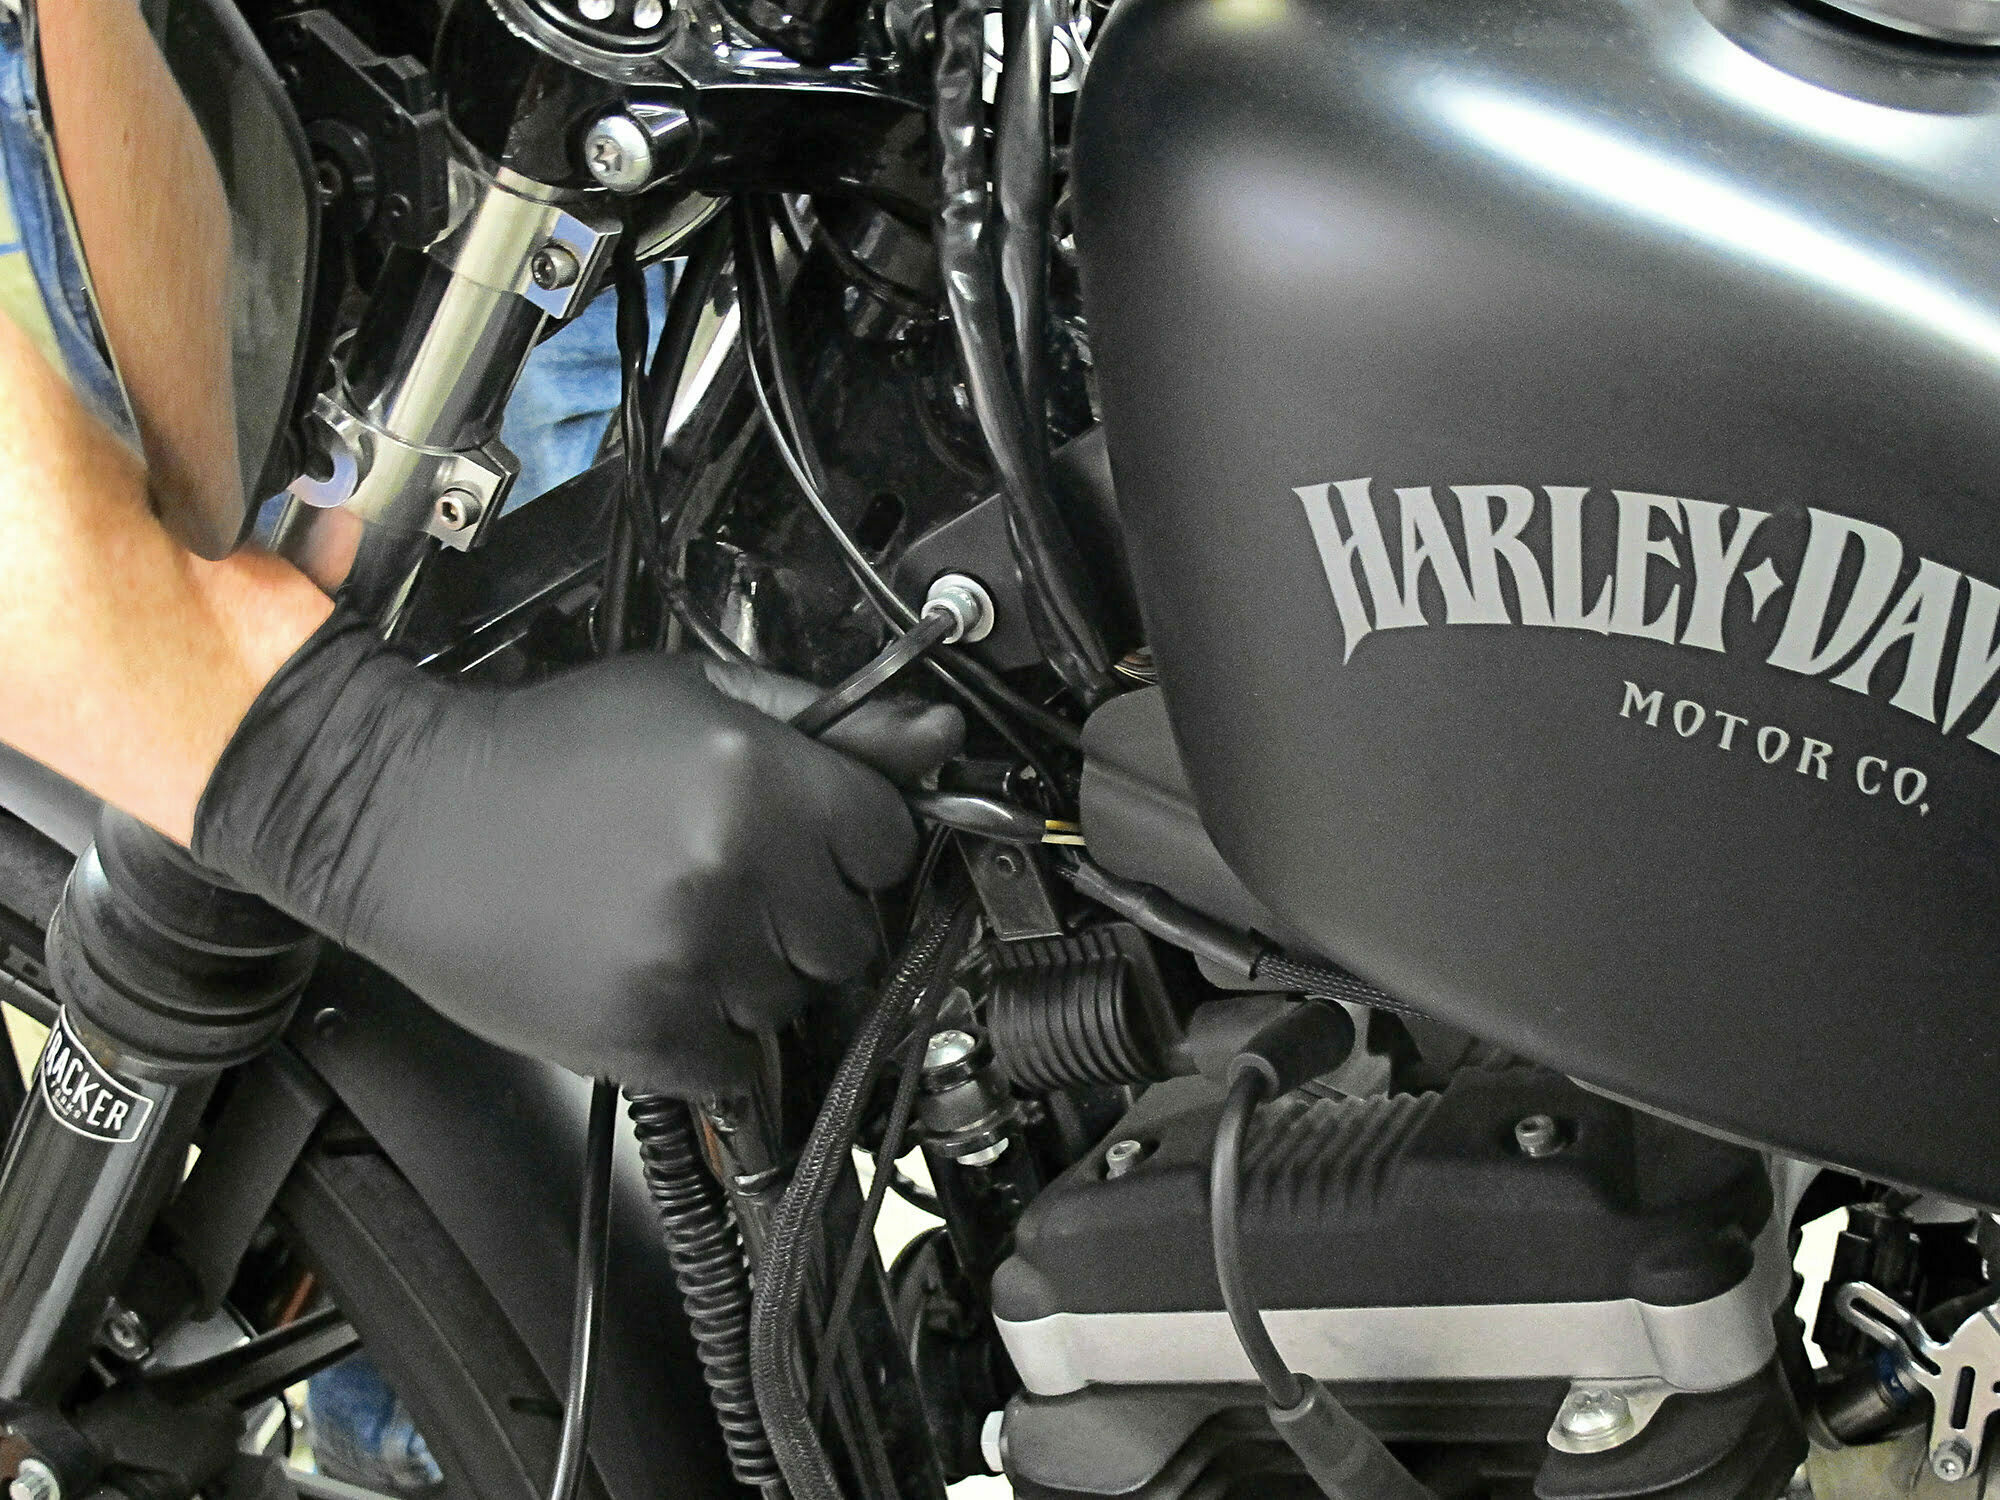
Lifting the tank made for easy access to the wiring harness. It also will make routing the new wiring a lot easier.
Robert Martin
The wire from the stock speedo…a sacrificial lamb.
Robert Martin
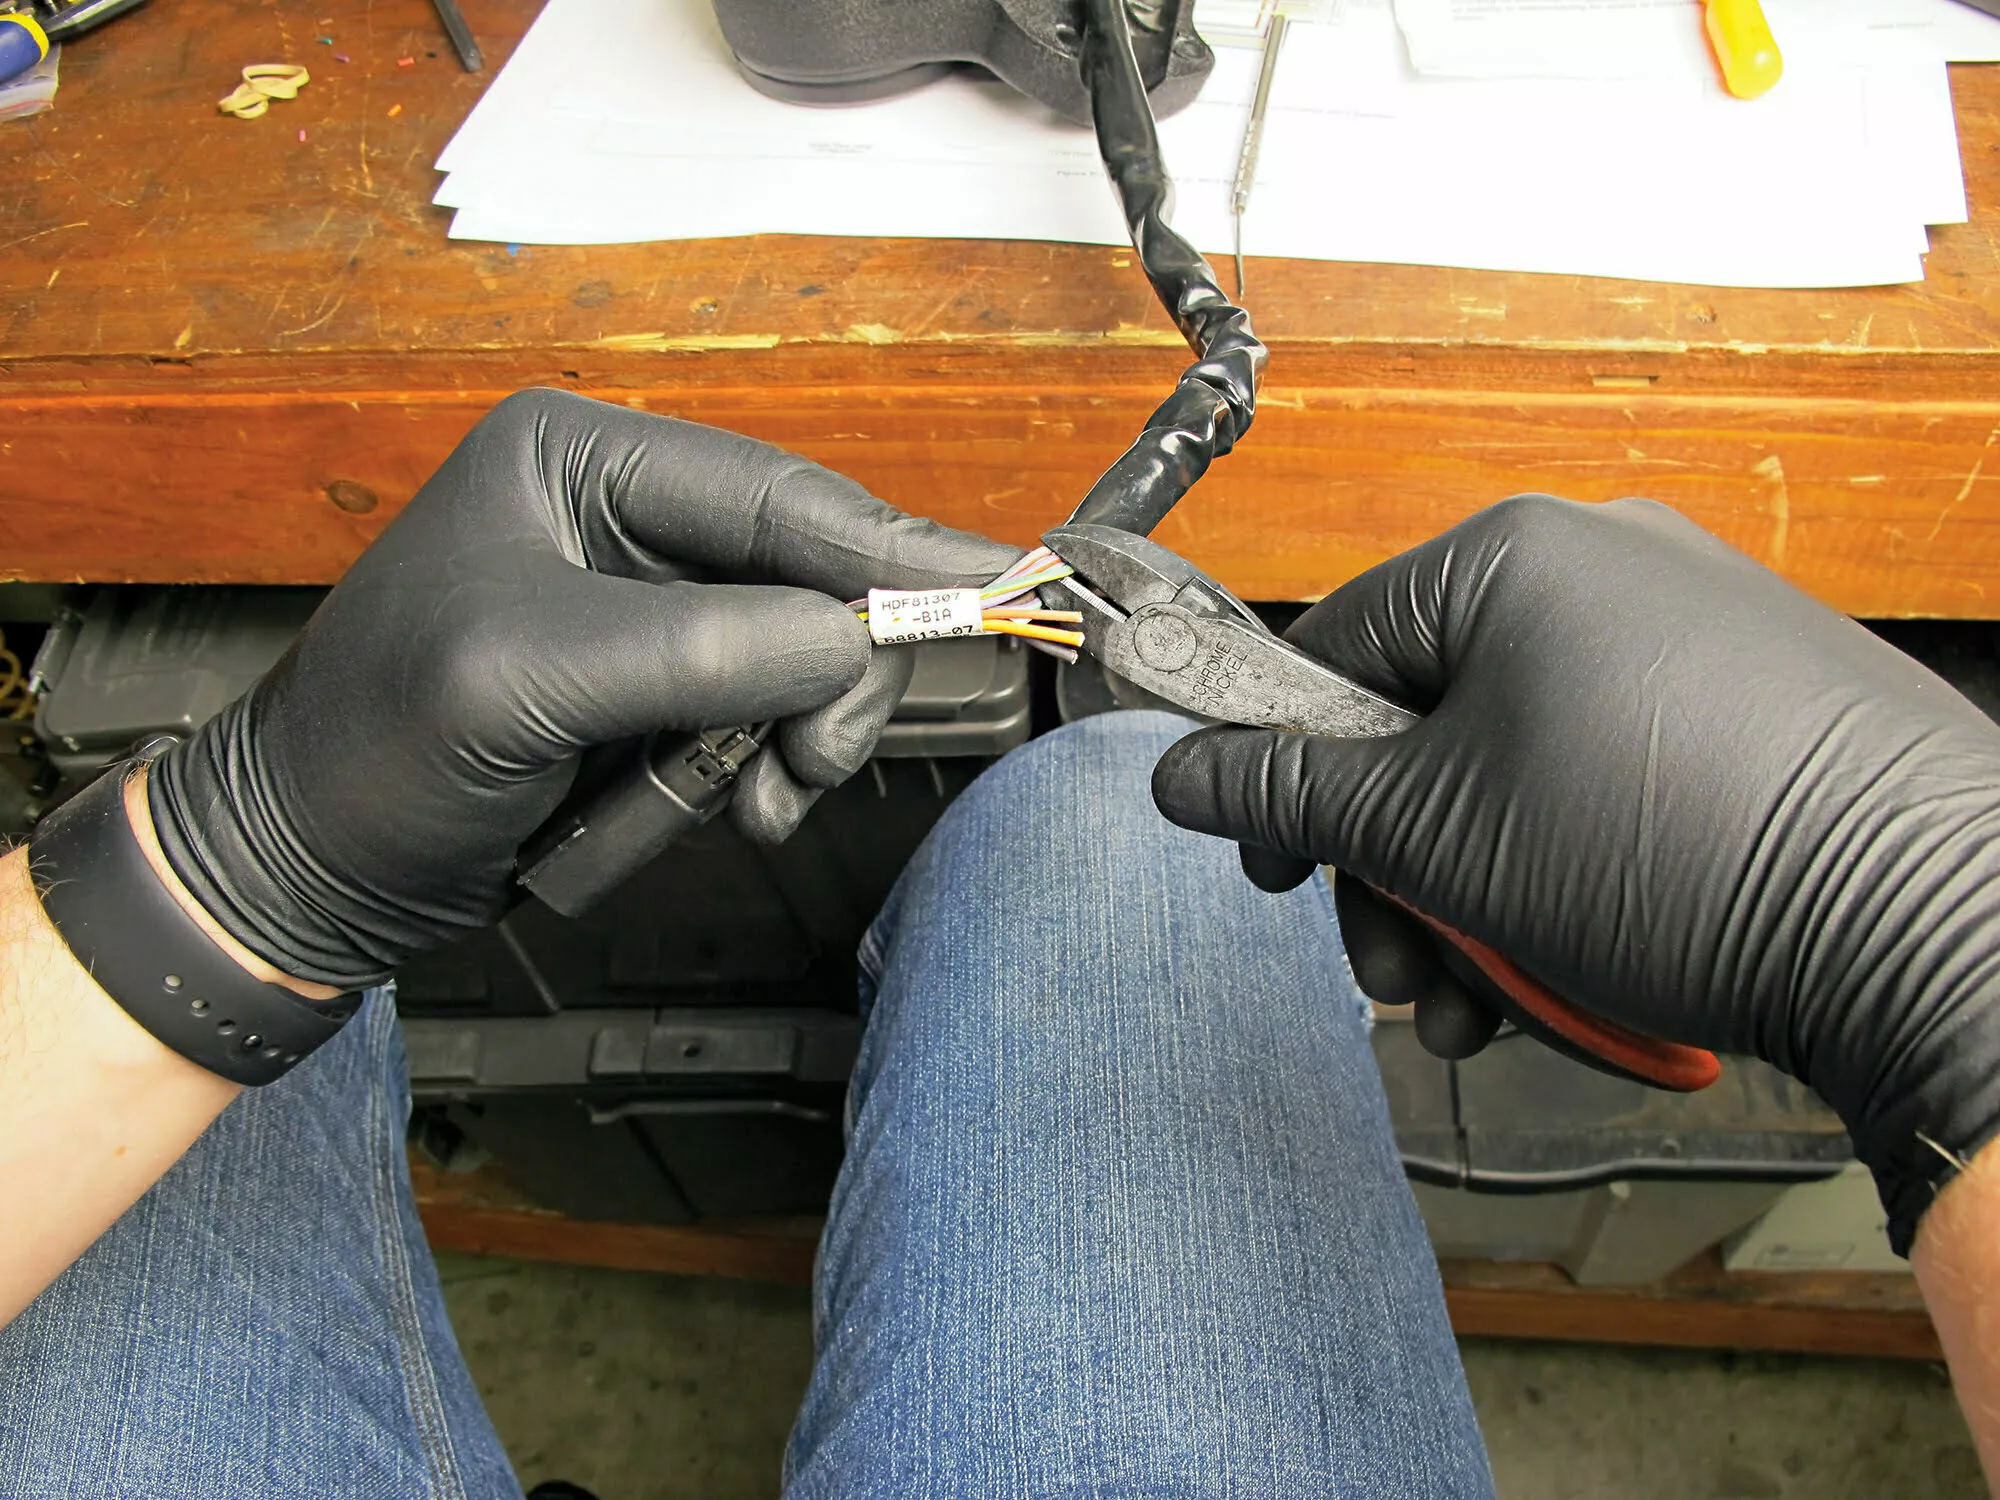
Unfortunately I had to cut the H-D connector off the stock instrument cluster.
Robert Martin
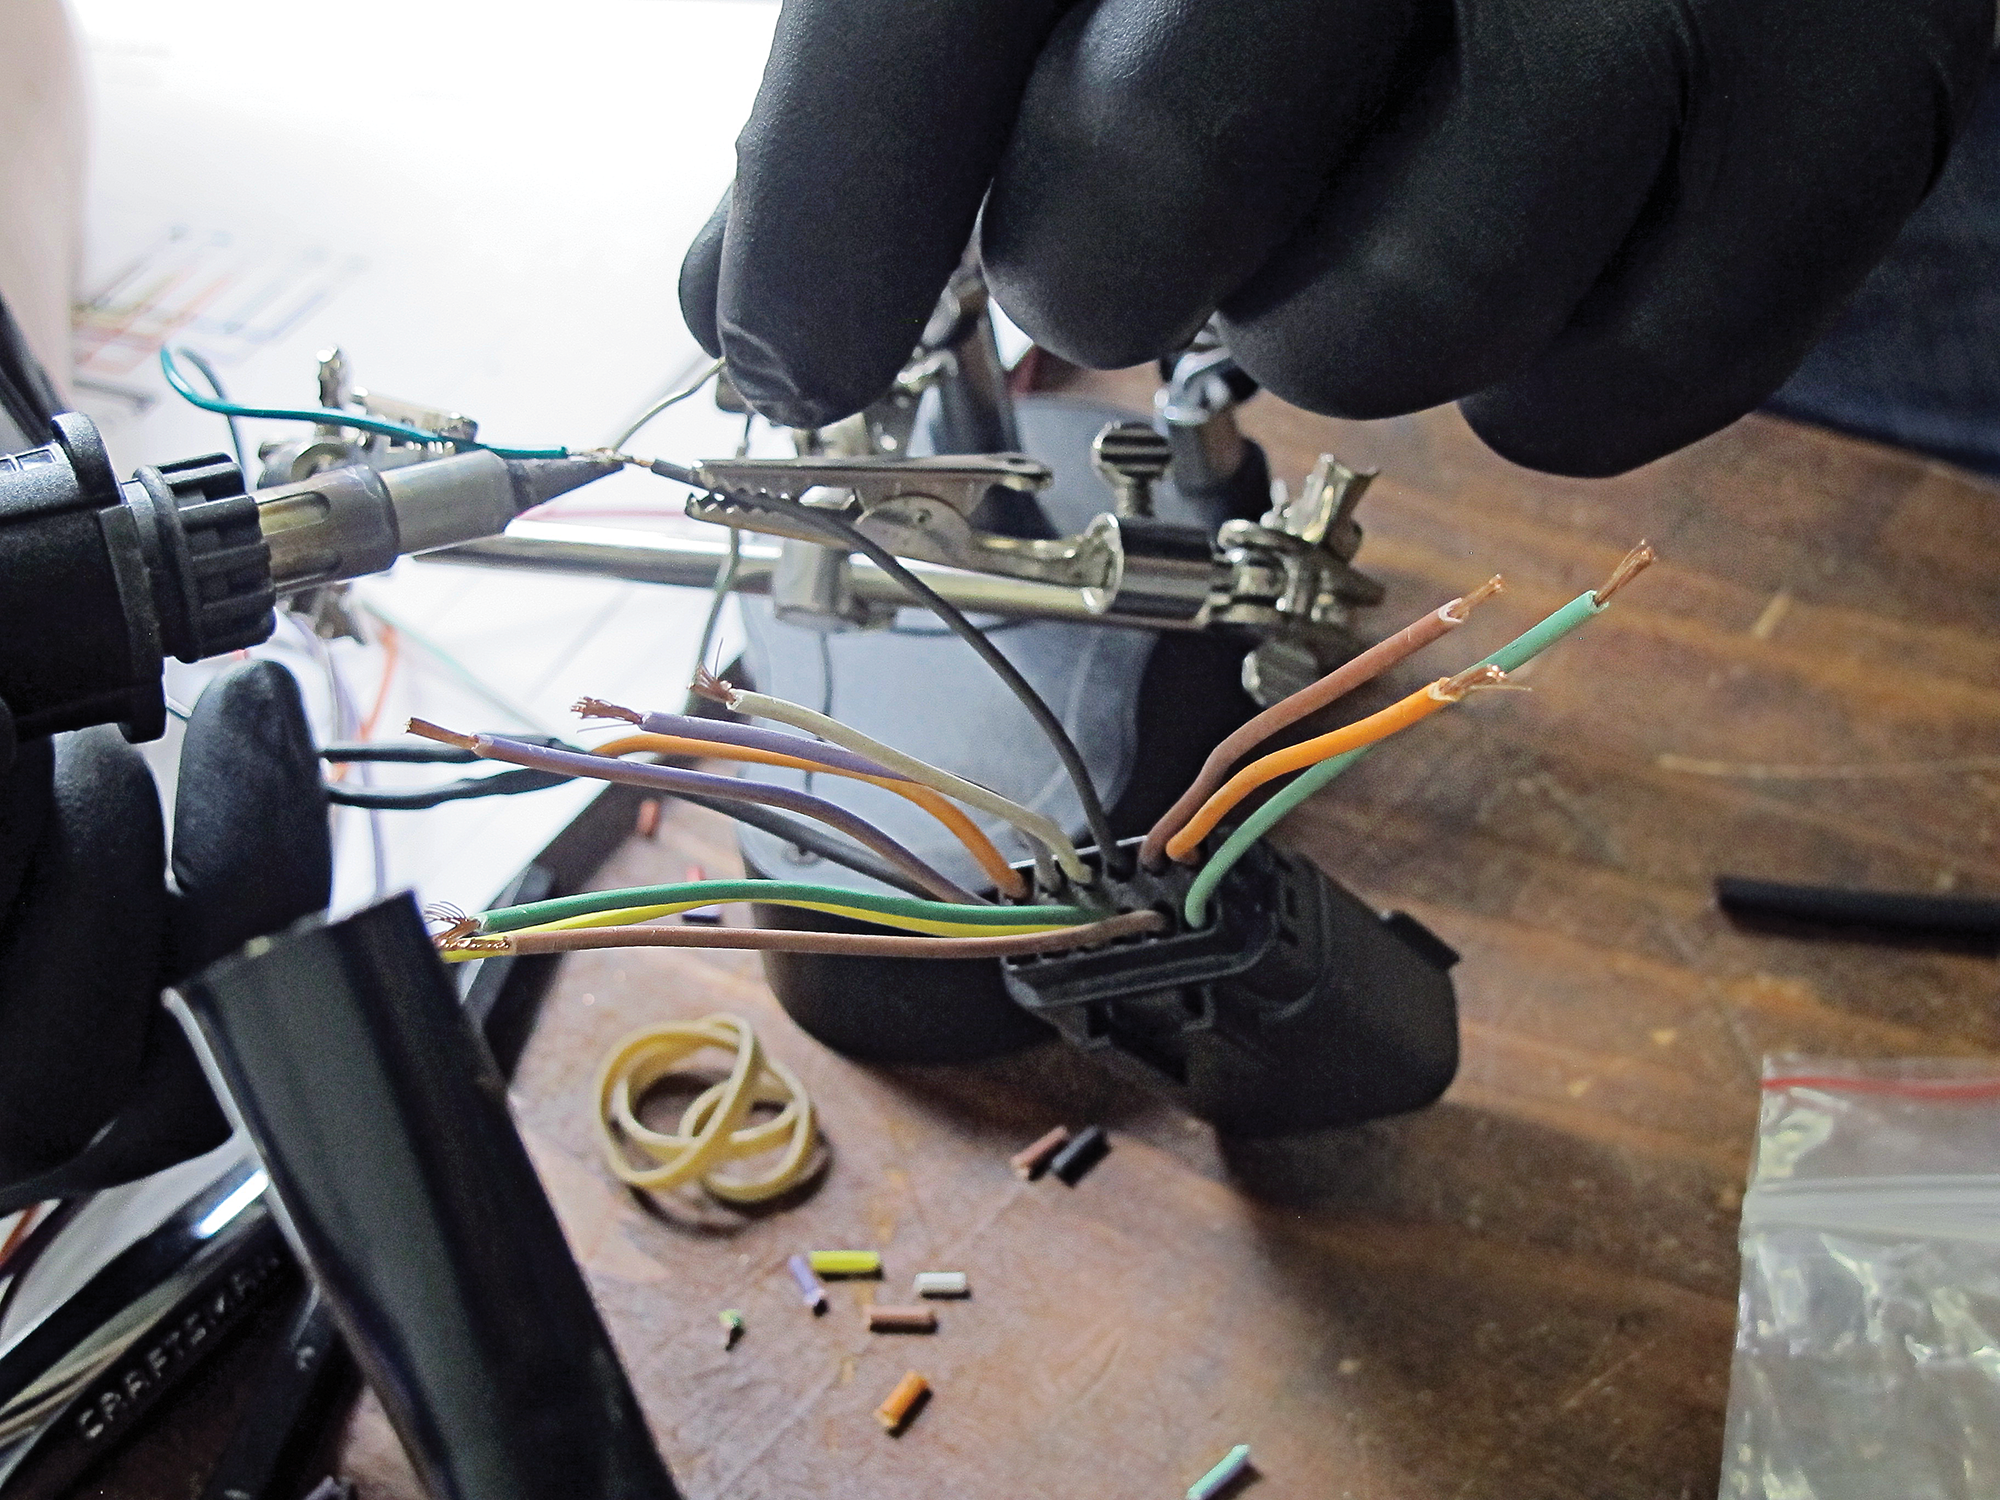
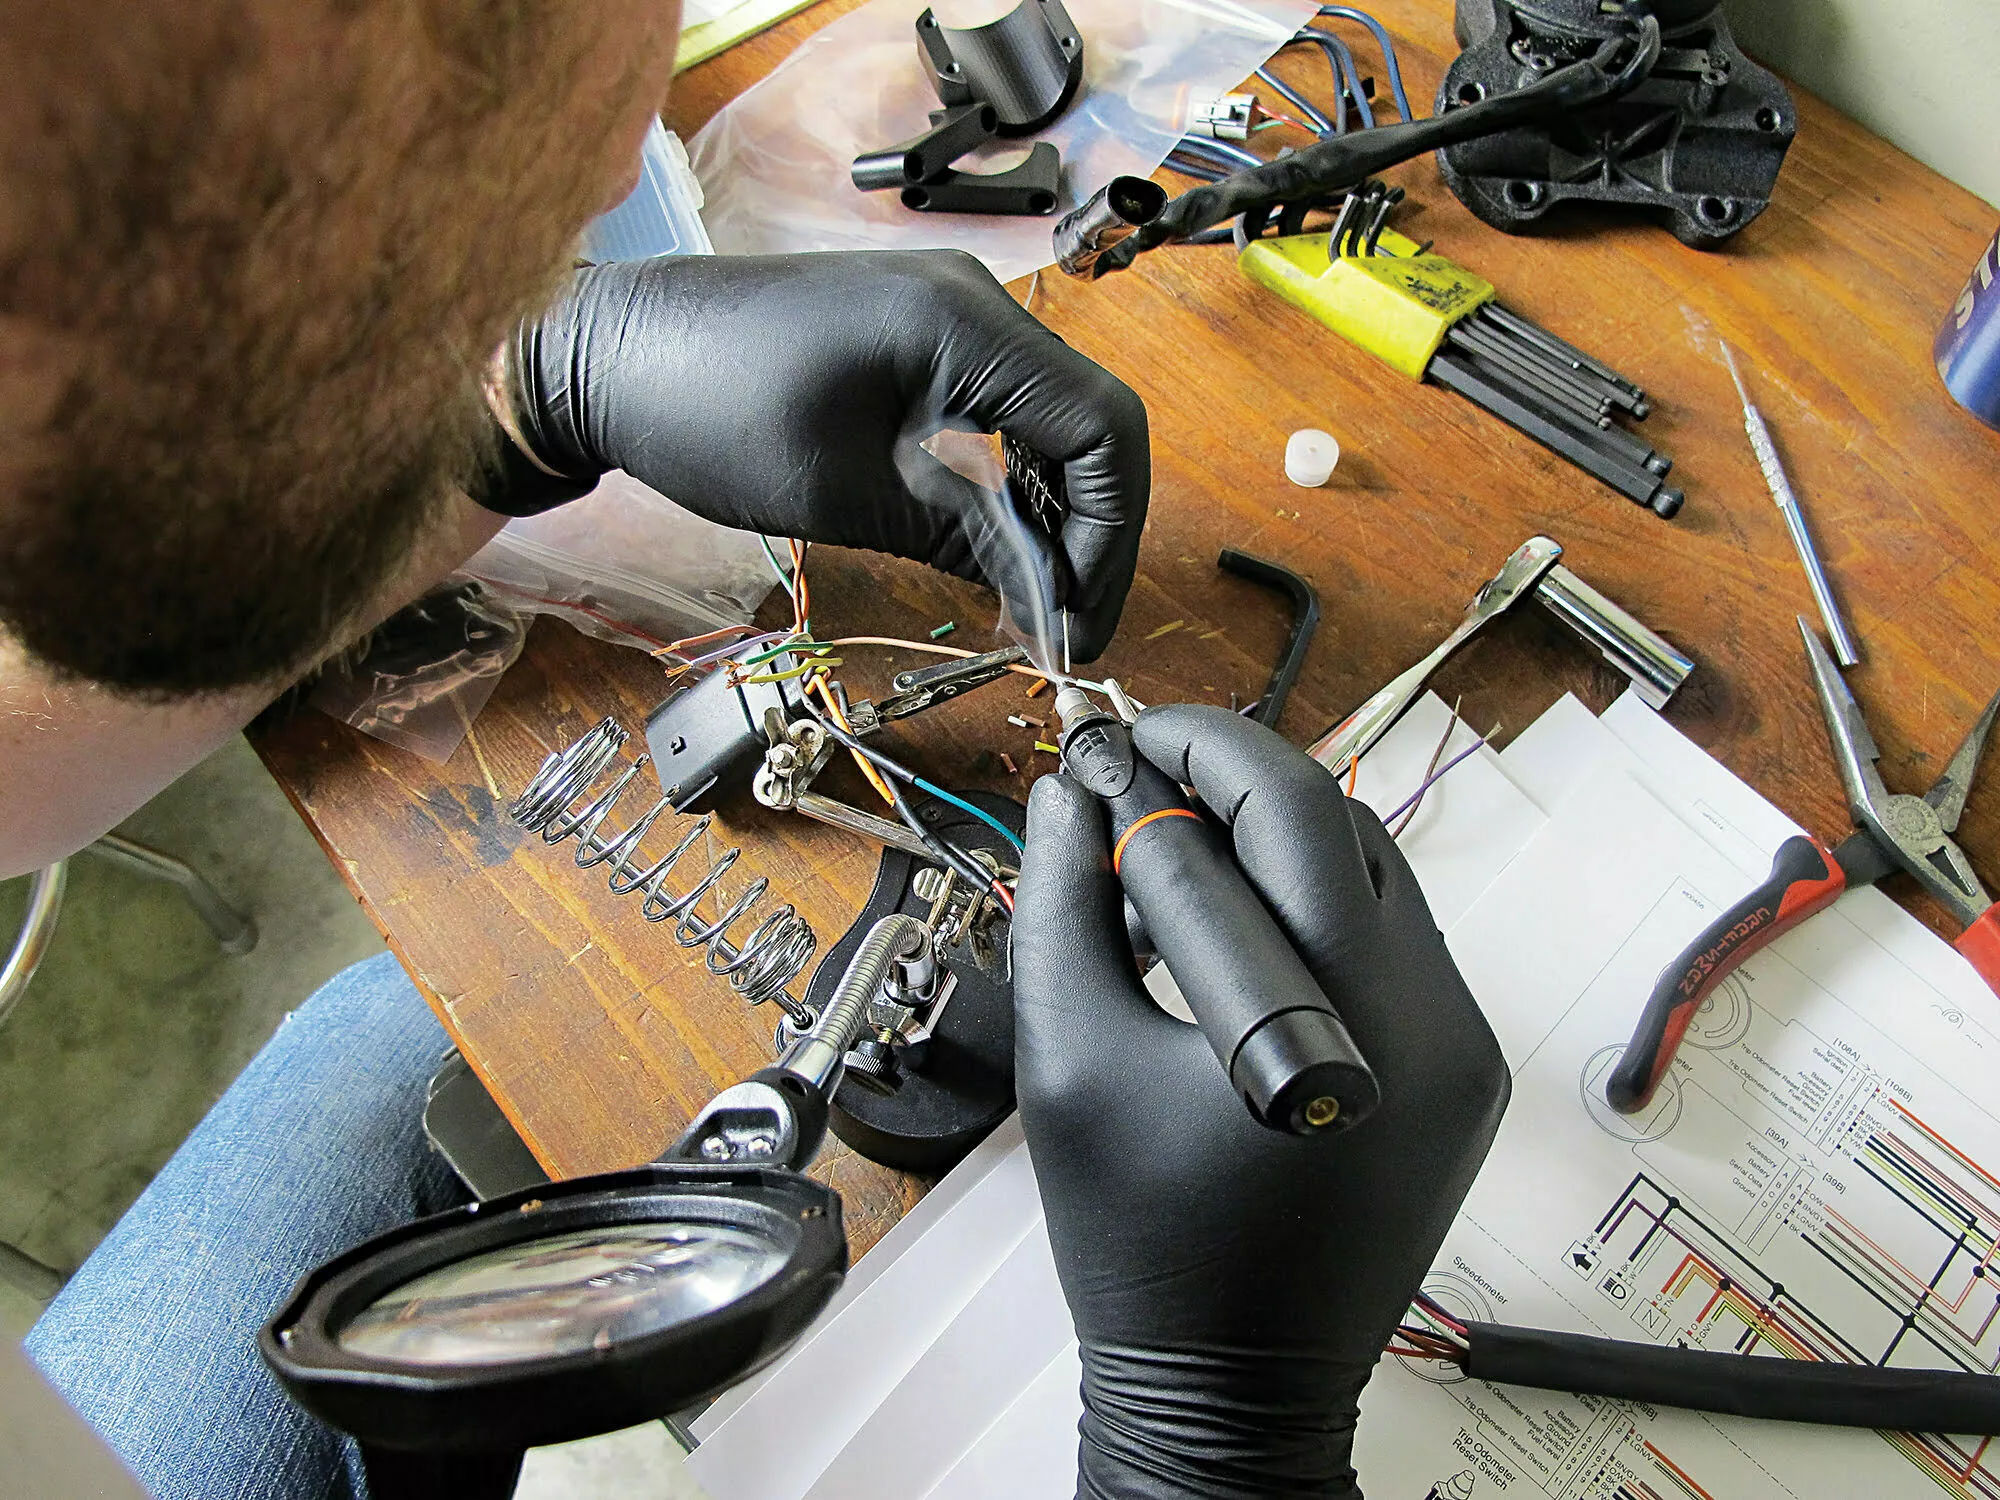
Cutting the stock connector meant a lot of soldering.
Robert Martin
Cutting the stock connector meant a lot of soldering.
Robert Martin
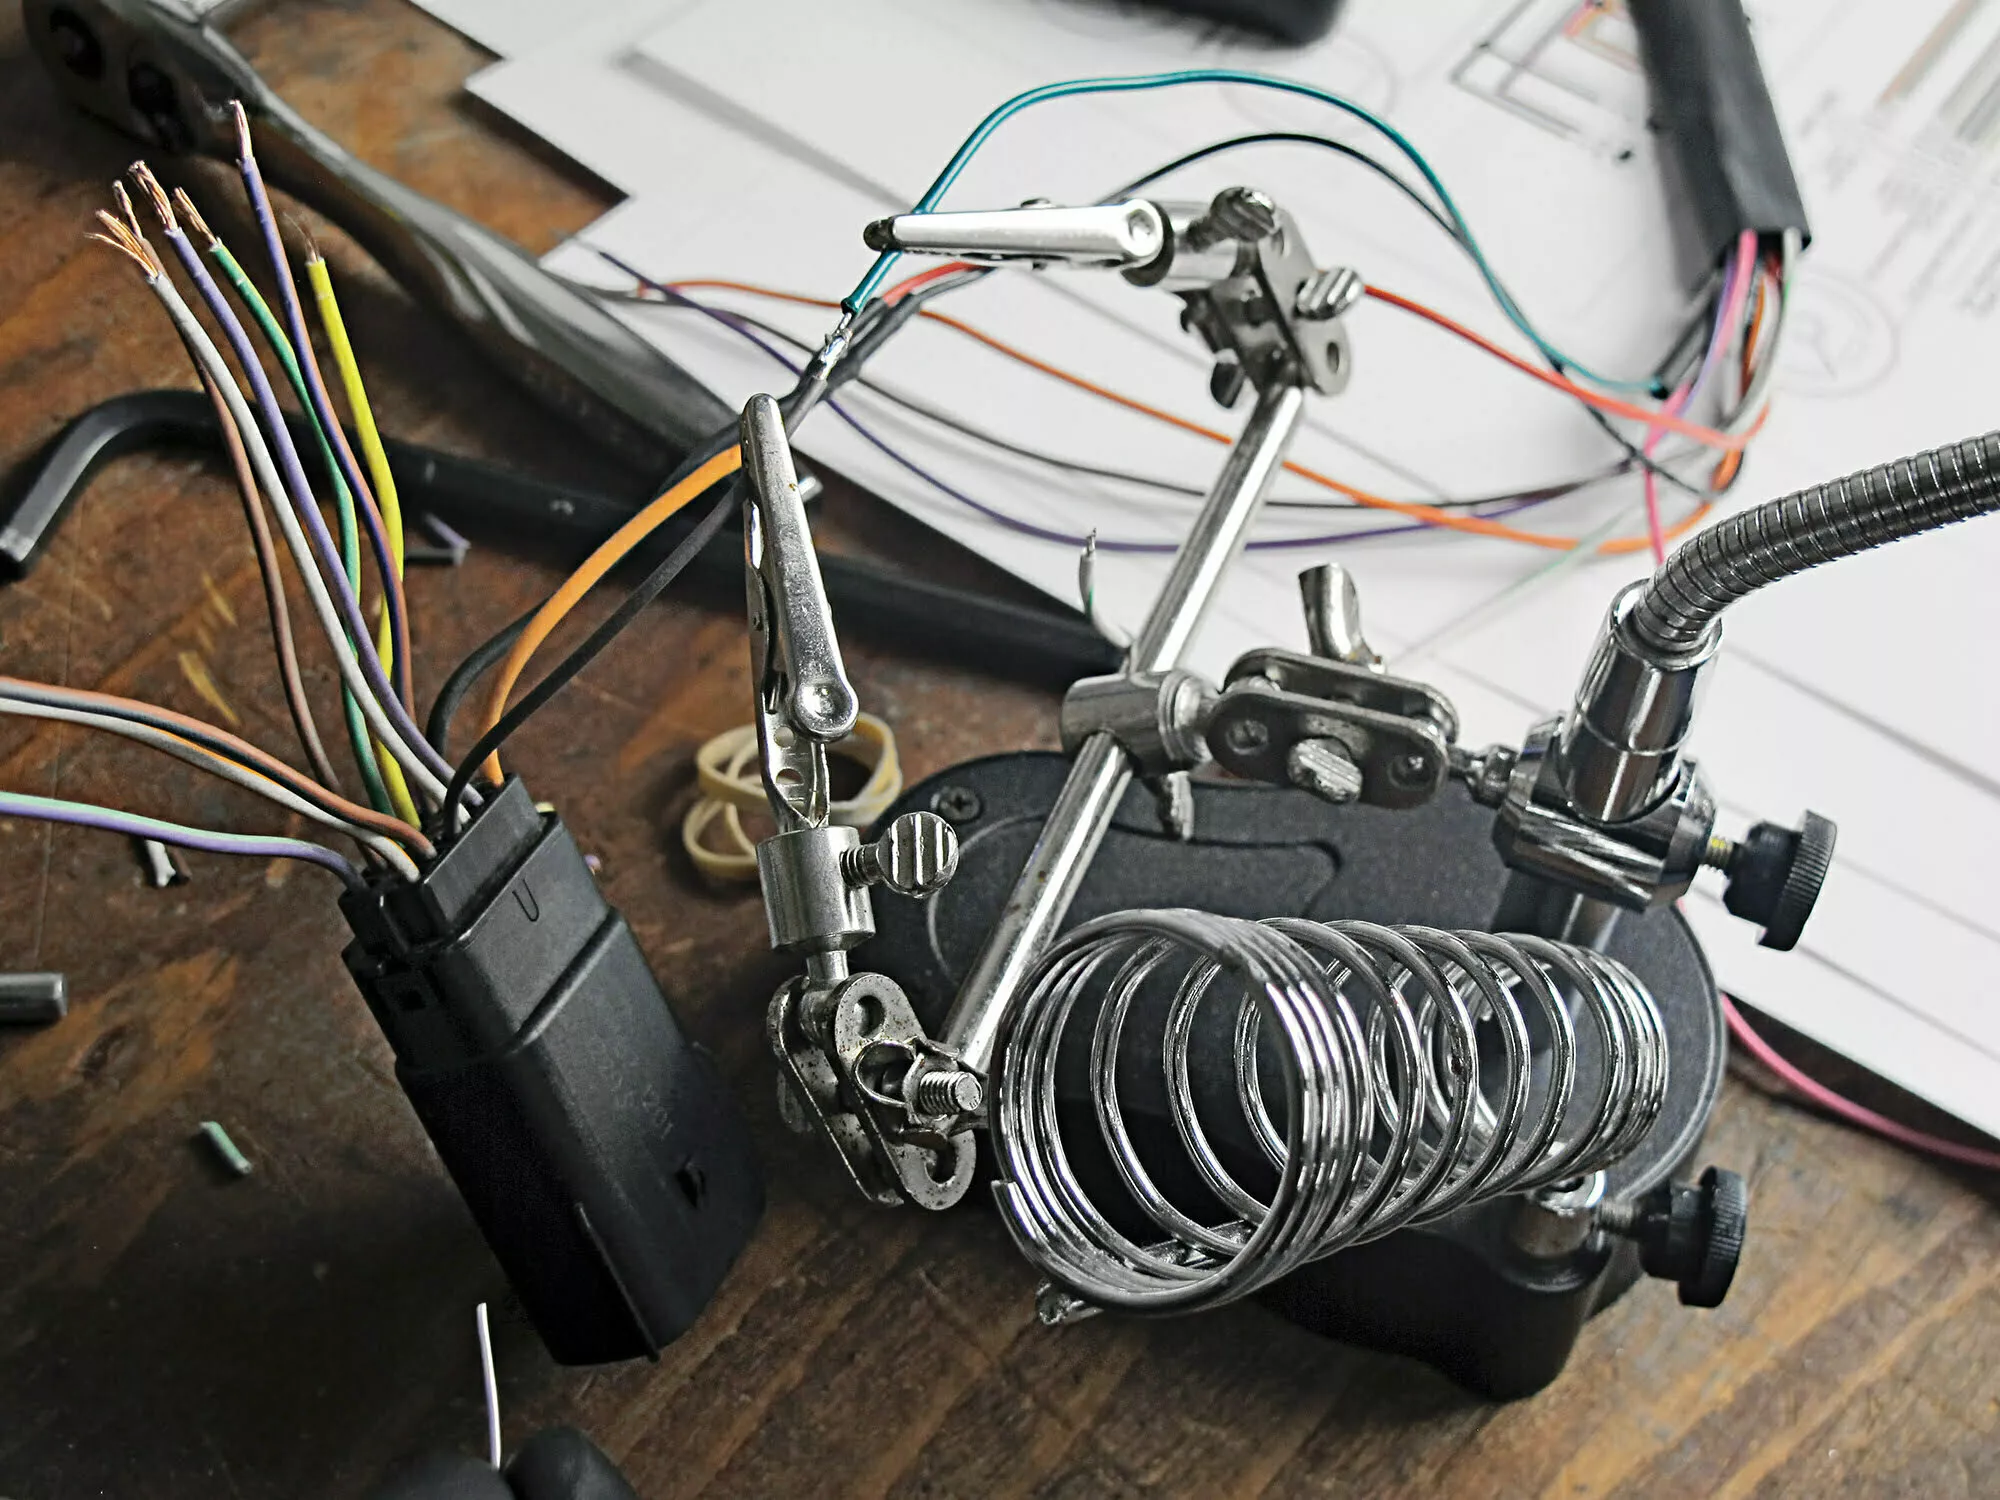
Double- and triple-checking your work is never a waste of time.
Robert Martin
Cutting the stock connector meant a lot of soldering.
Robert Martin
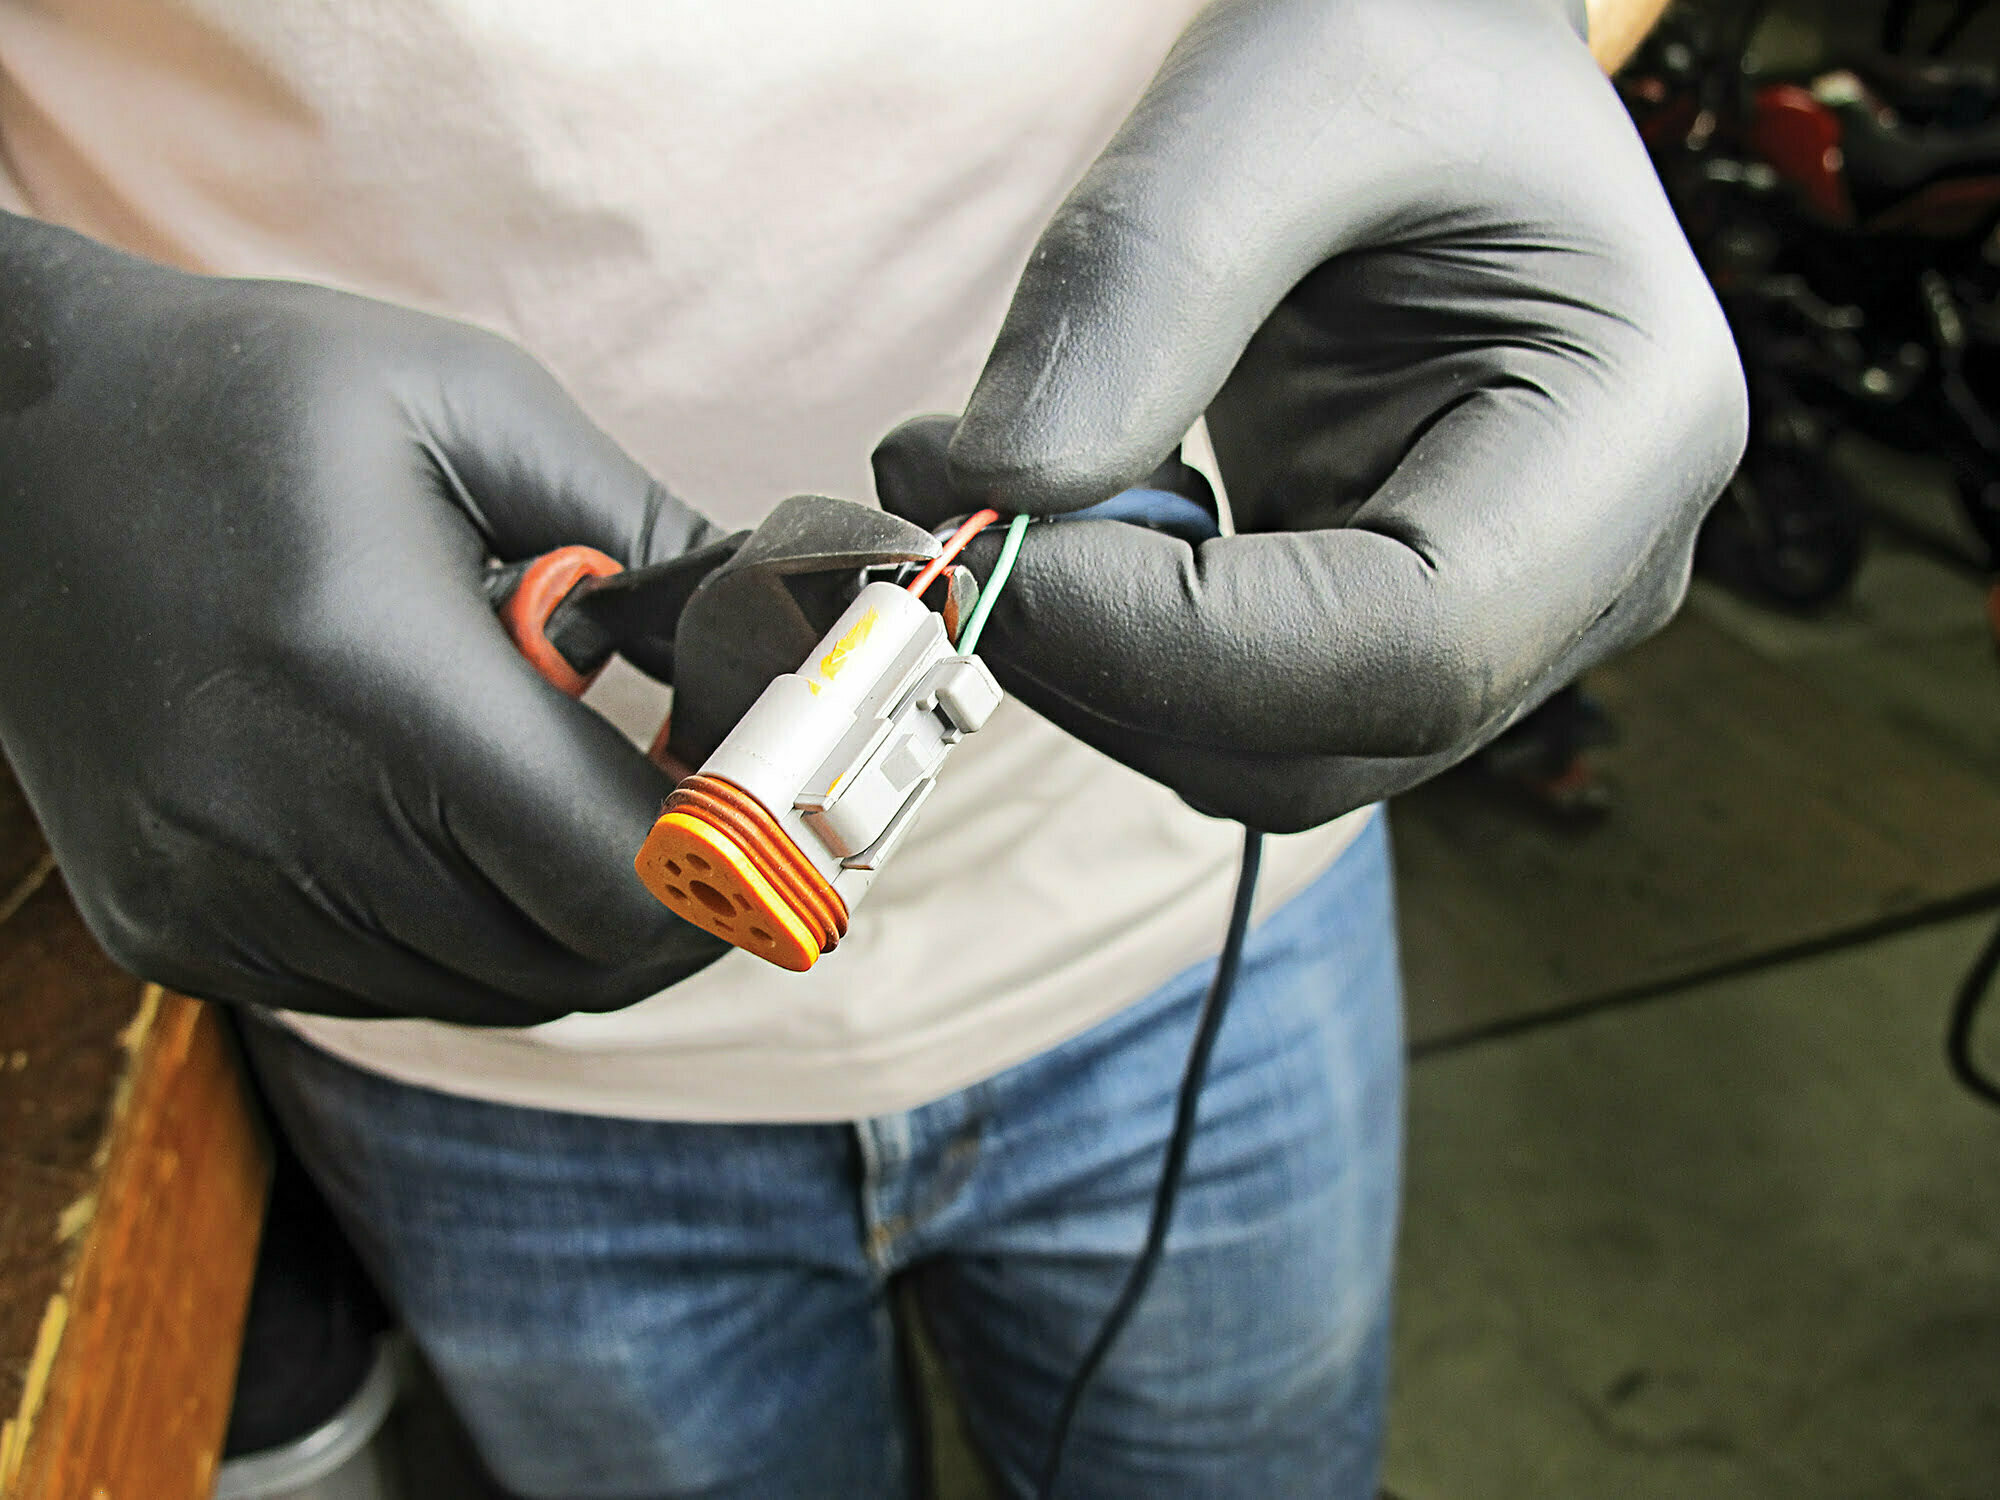
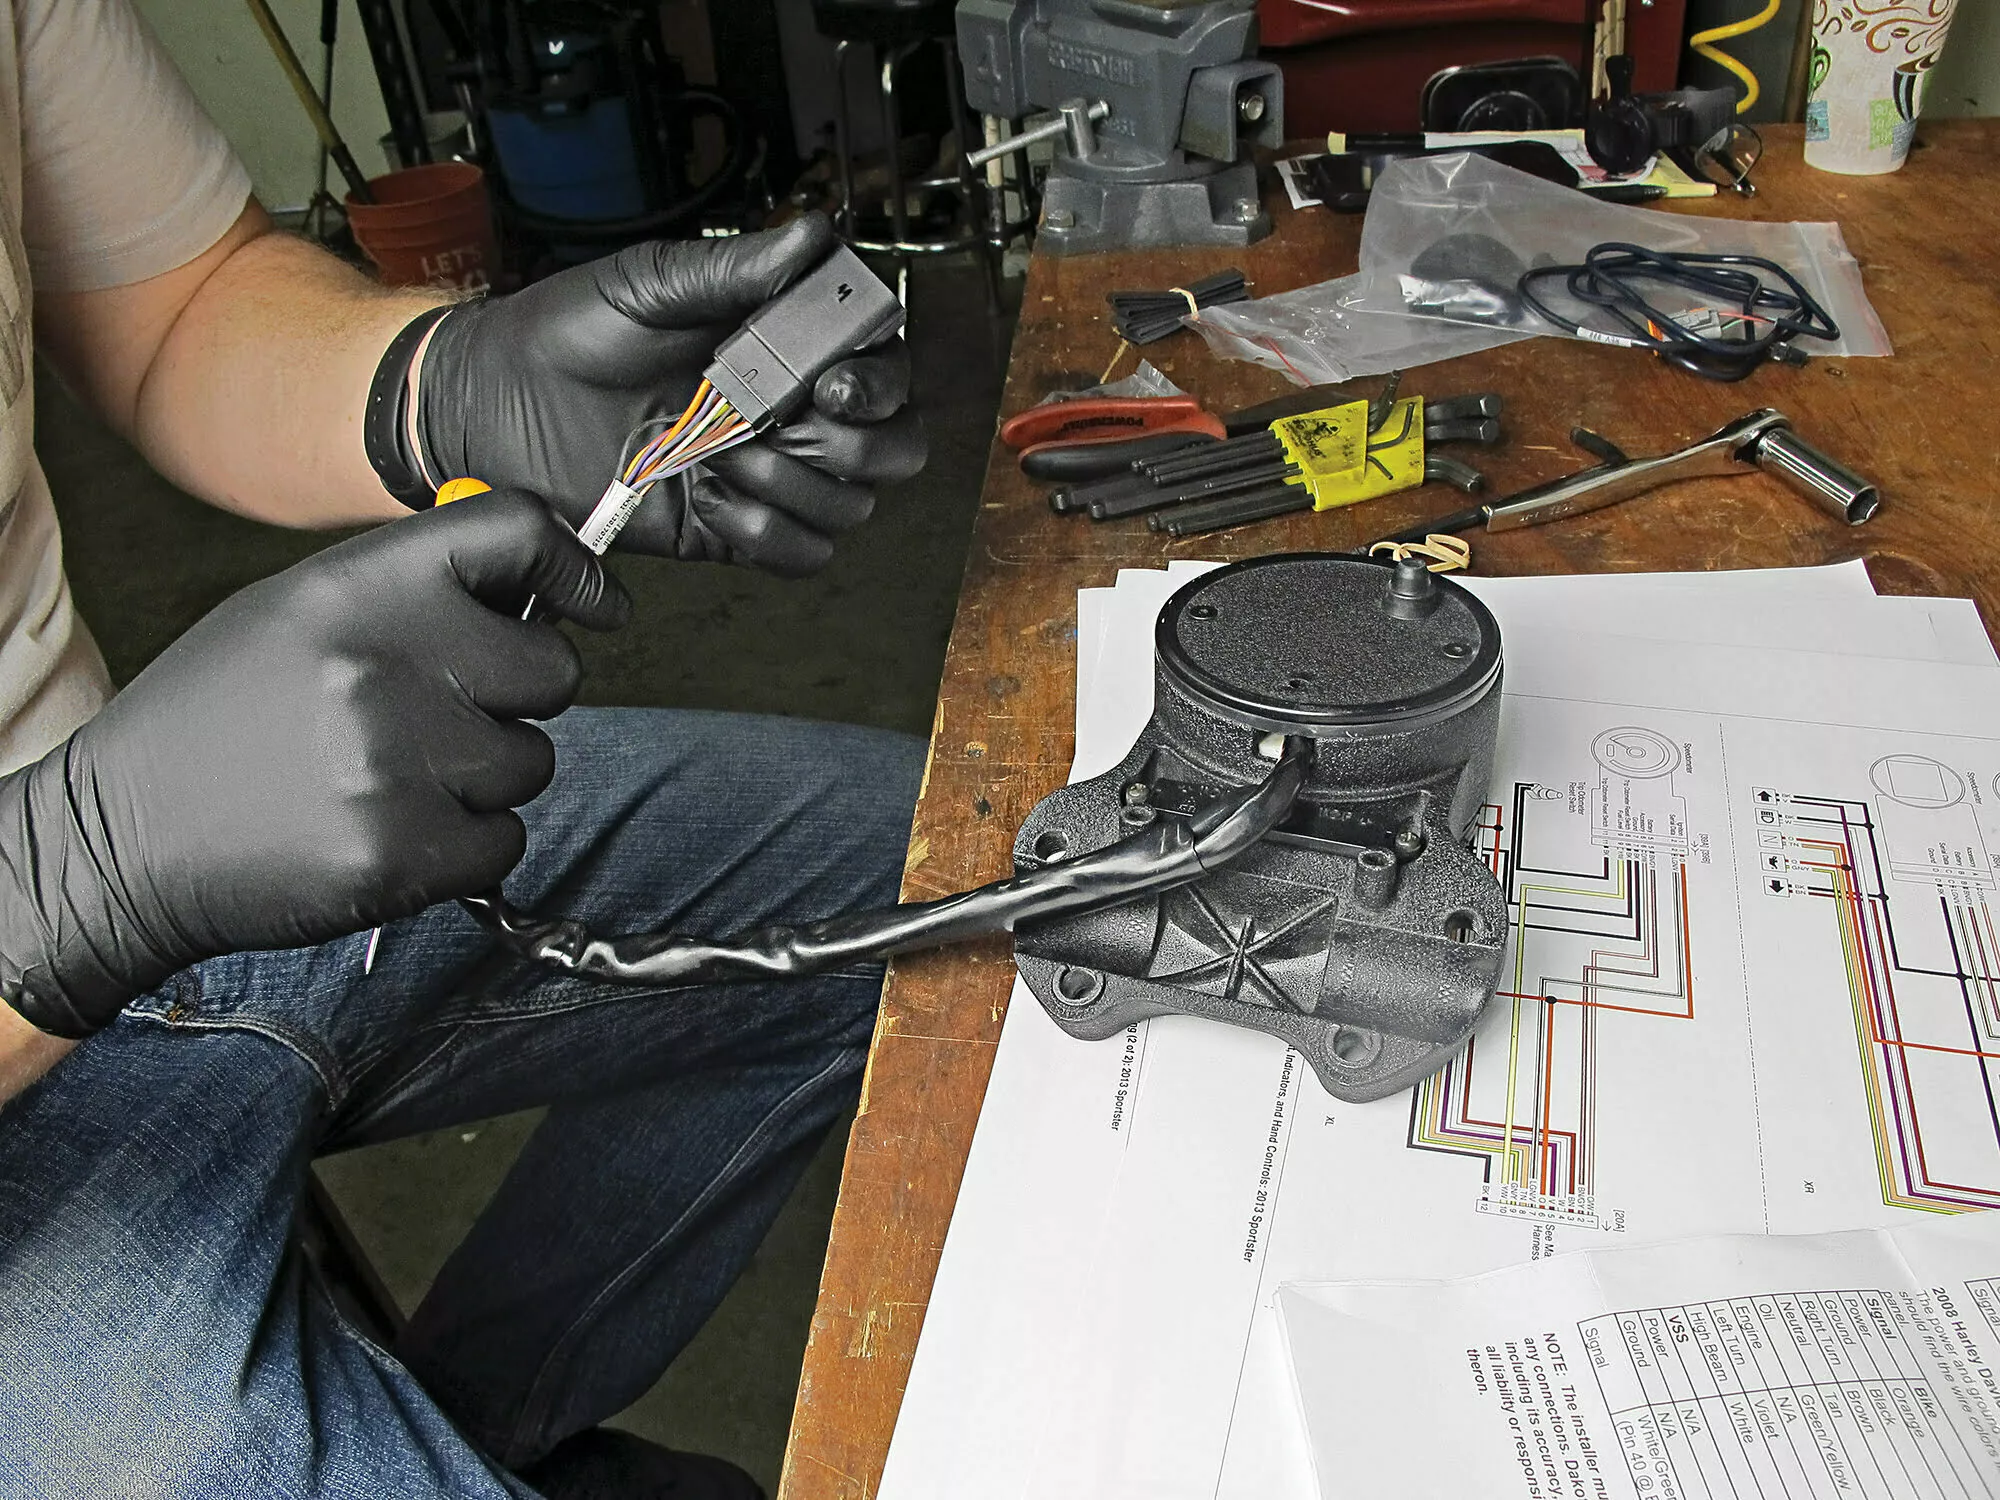
It being a universal kit, I had to cut the speed signal connector off to tap it into the stock speed sensor.
Robert Martin
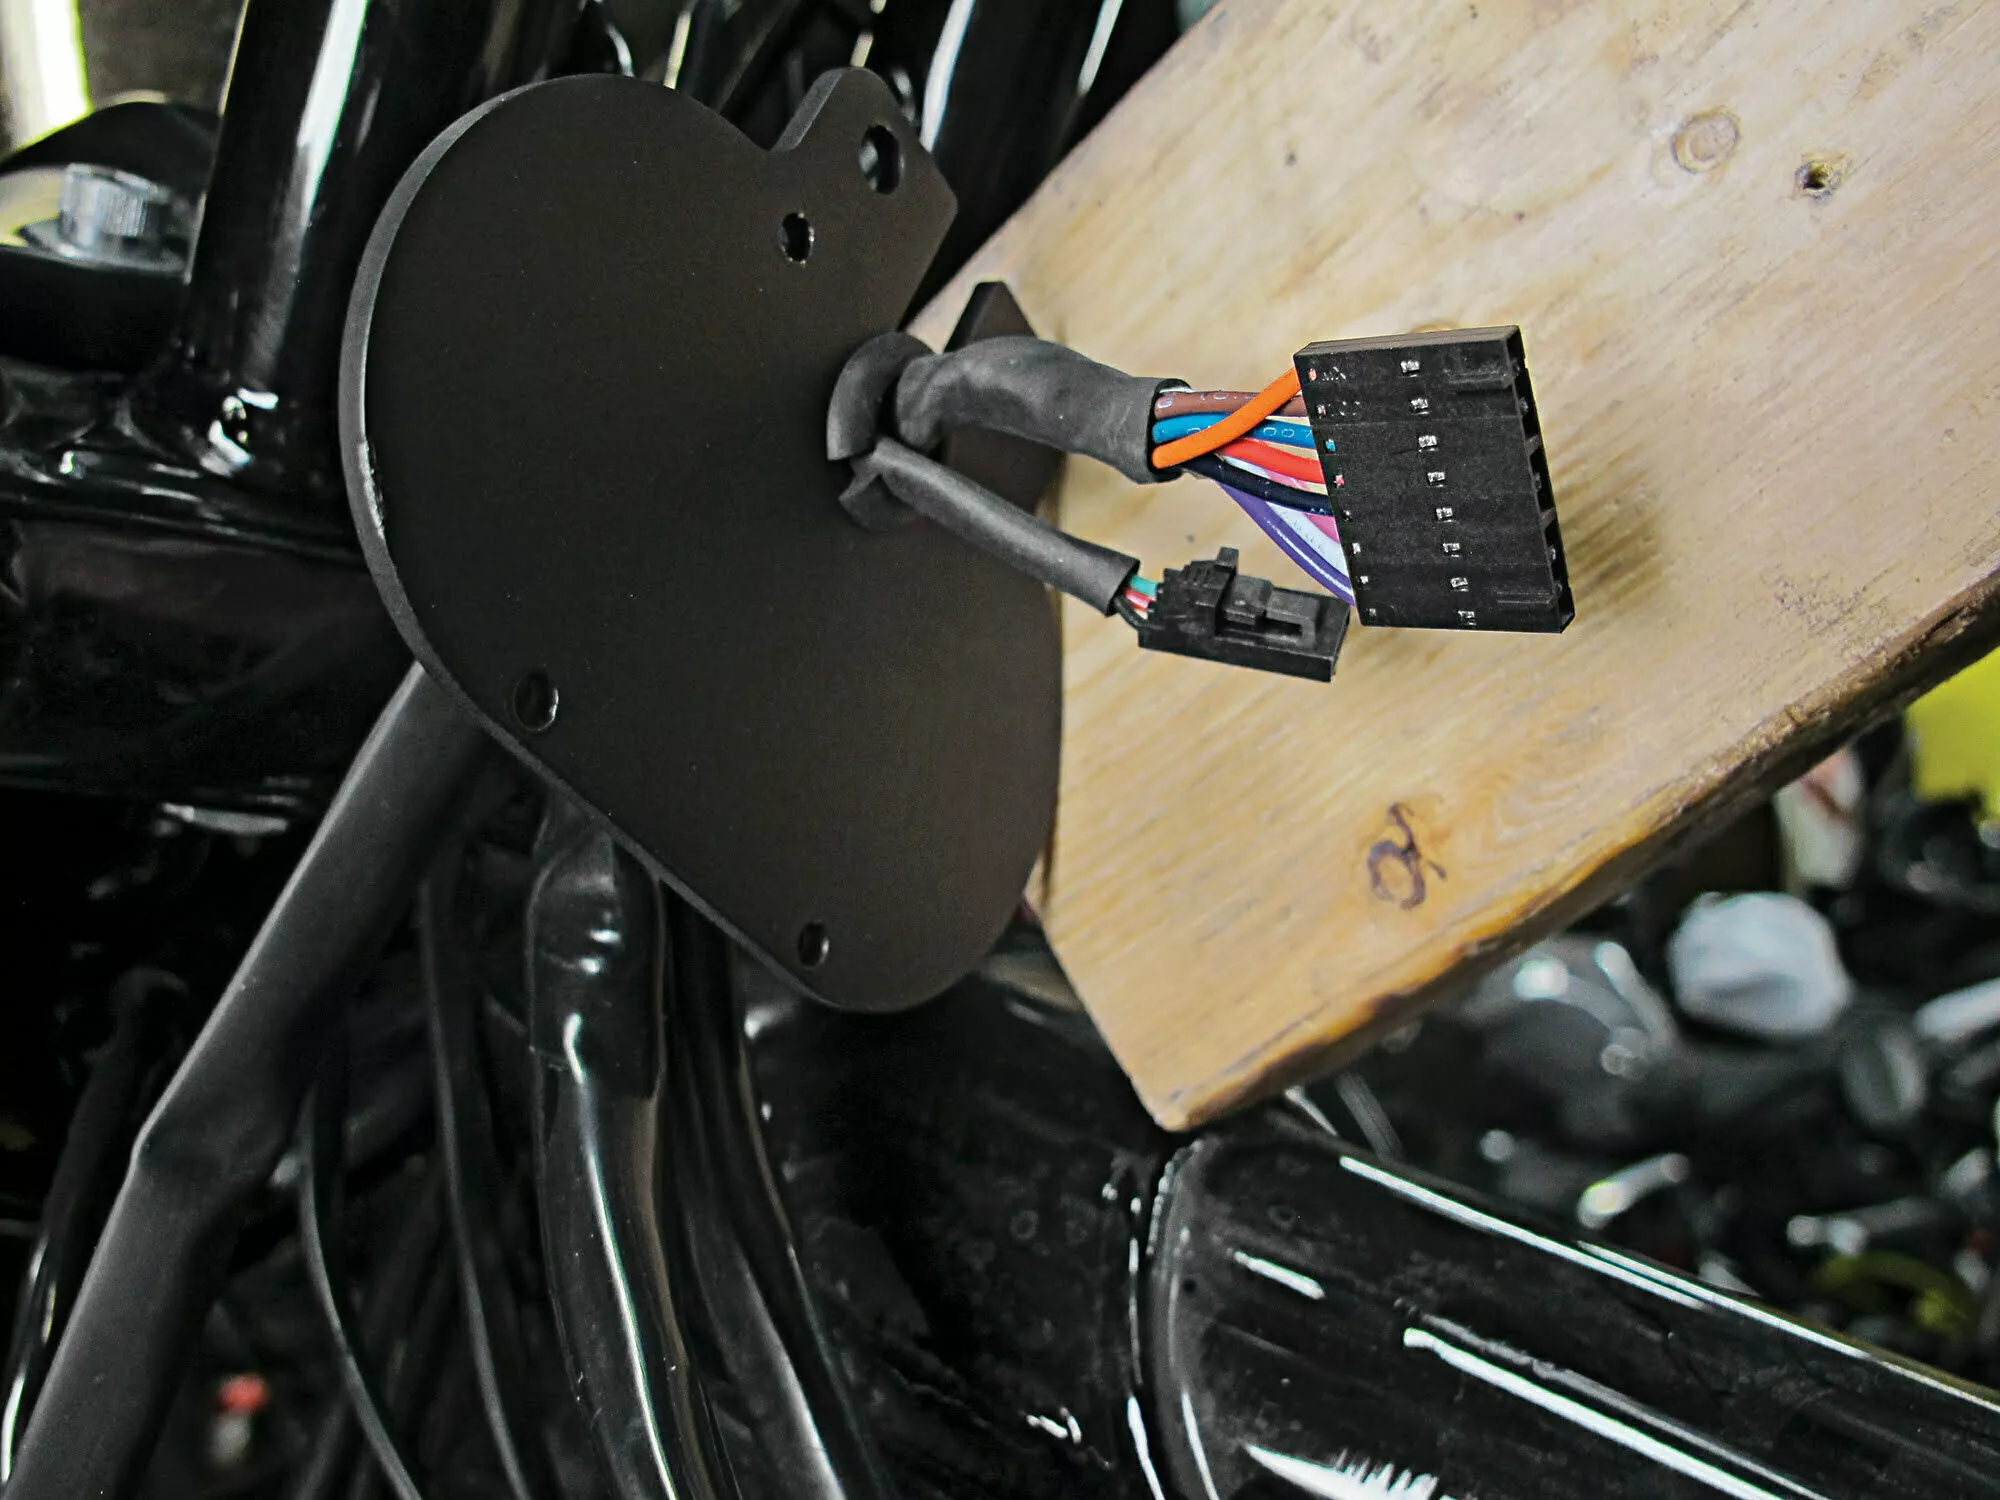
The kit came with ample wire length. Even with the taller bars there was plenty of wire to route the harness and leave enough room for steering.
Robert Martin
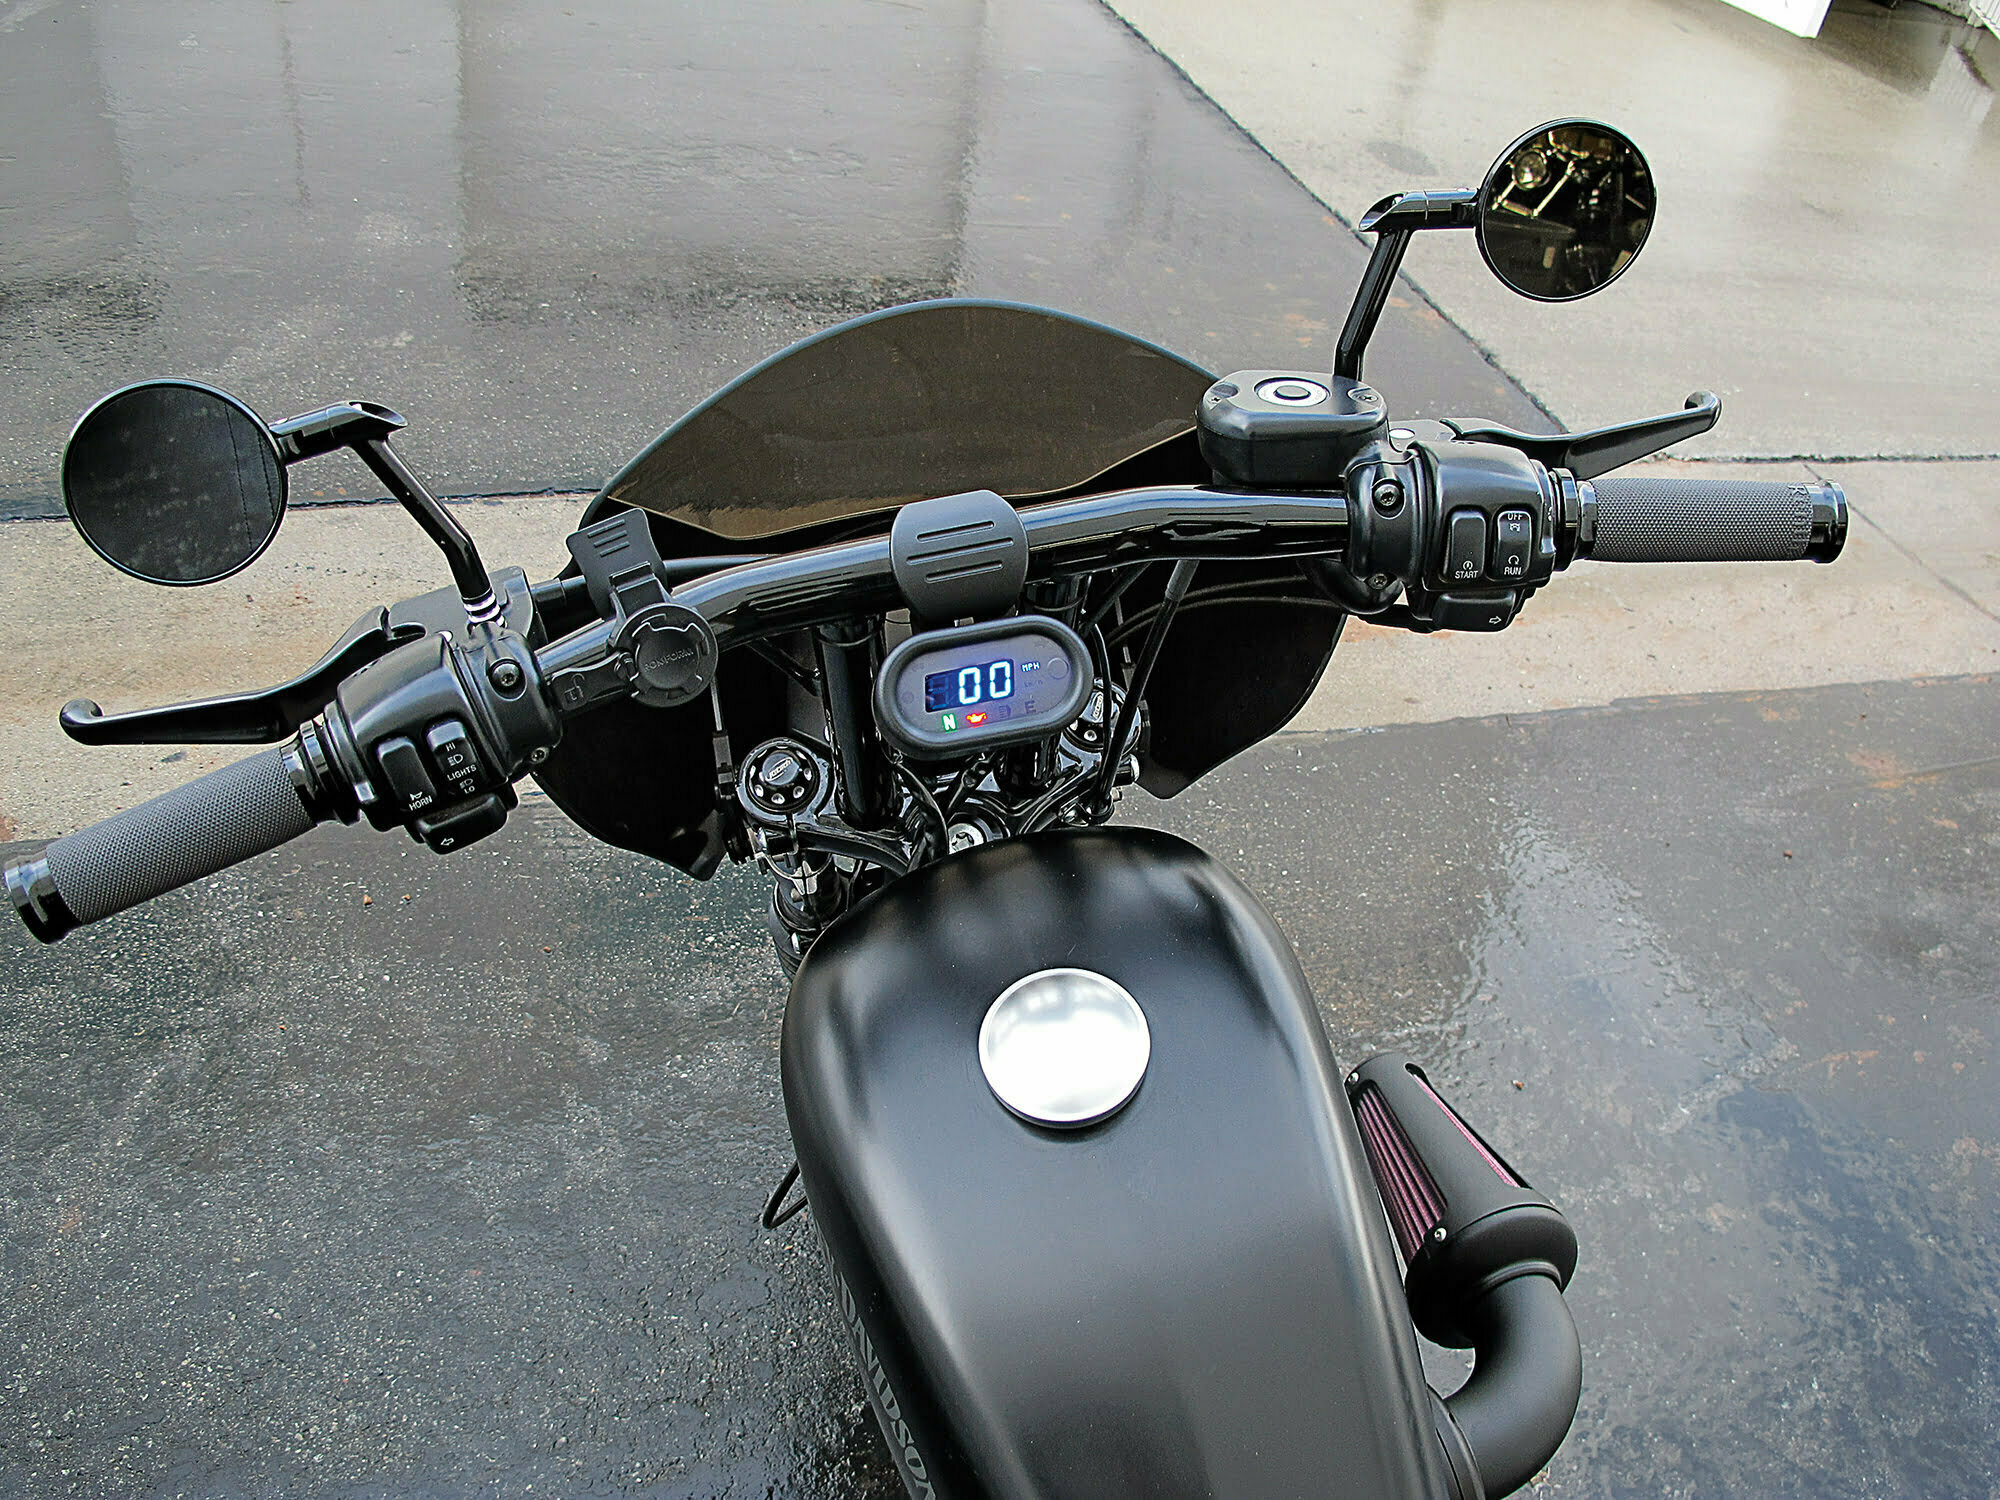
Dakota Digital’s MCL-5400
Robert Martin


